A wet hardwood floor is one of those problems that looks smaller than it is. A homeowner notices a dark hallway patch, grabs towels, and starts staring at the boards, trying to decide whether the floor is ruined or just damp. That instinct is understandable, but it's the wrong decision path.
The floor's appearance is only the surface story. The core question is whether the wood, the seams, and the subfloor are still holding moisture, because hidden water is what turns a cleanup into a repair job. A floor can look dry and still move, stain, cup, or fail later if the moisture inside the assembly hasn't come back to normal.
The first response should be blunt and simple. Stop the source, get the water out, and measure the moisture. Everything else, including sanding, refinishing, patching, or replacing, depends on those readings.
You Just Discovered Water on a Wood Floor
A homeowner steps into a hallway and feels that slight give underfoot where the boards should feel solid. The surface looks dull in one spot, maybe darker near the seams, and there's a temptation to start judging the damage by eye. That's how people lose time. A wood floor that has taken on water can look only mildly affected while moisture is already working its way below the finish and into the subfloor.
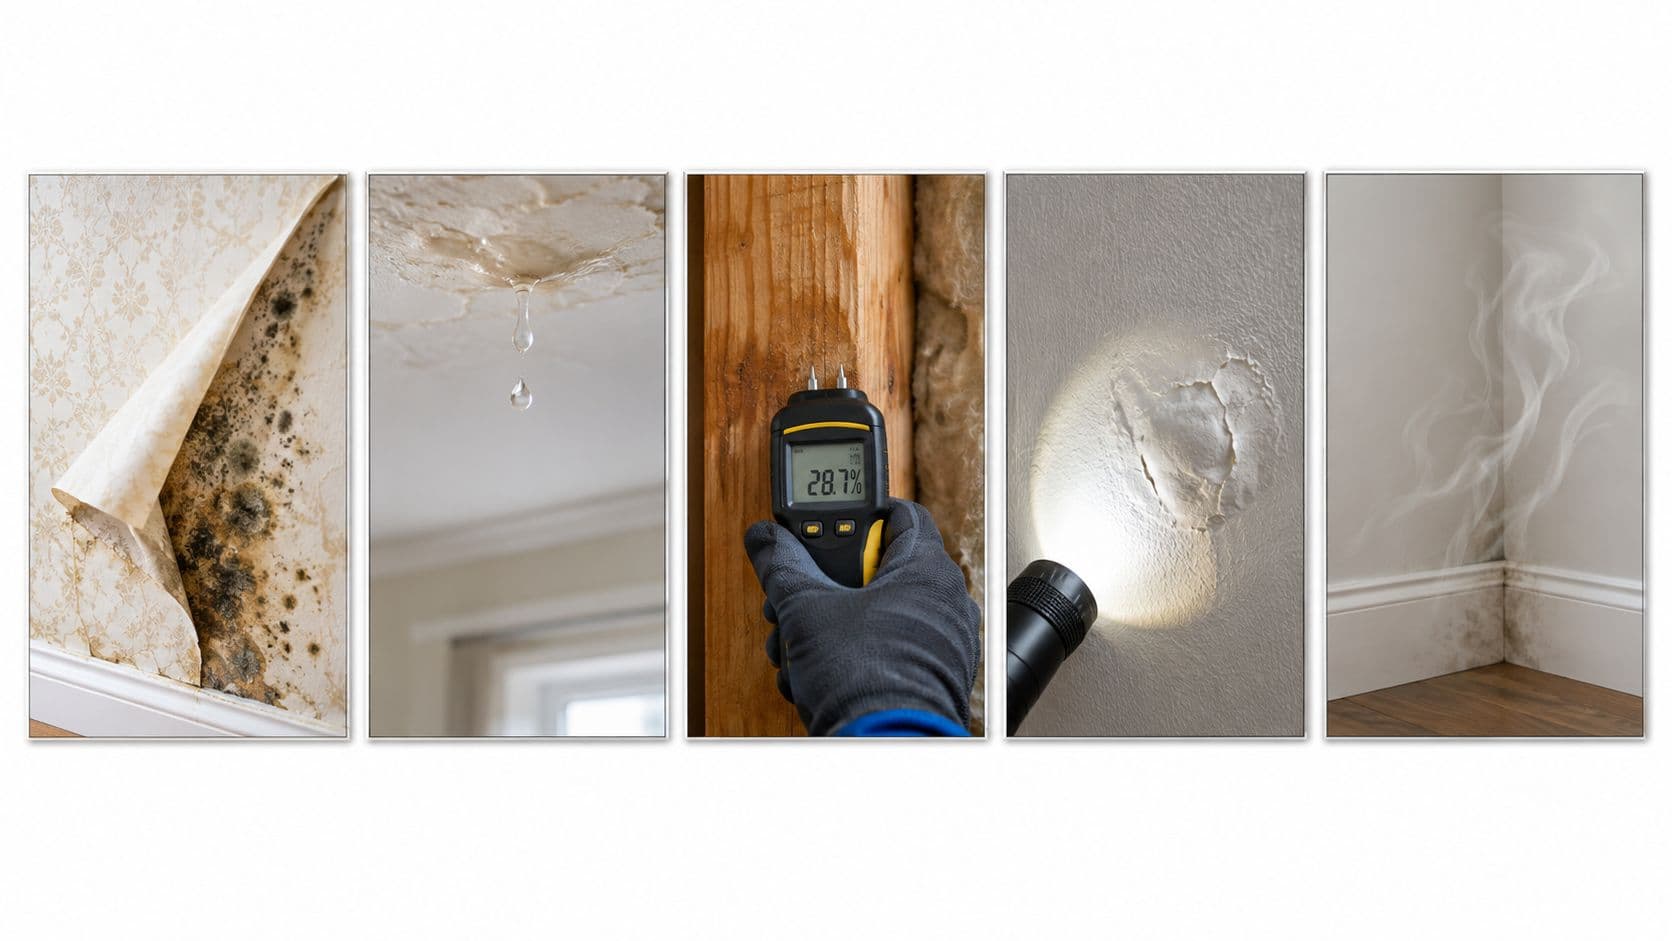
The first visual clues are useful, but only as a quick alarm bell. Cupping, swollen seams, darkening, and a soft spot all point to water moving where it shouldn't, yet none of them tells the whole story. A floor can look almost normal while the underside stays wet long enough to keep moving after the visible surface seems under control.
The first instinct is usually wrong
Many homeowners want to decide immediately whether the floor is saveable. That's backward. The immediate job is to prevent more water from entering, remove what's already there, and keep the damage from spreading under baseboards or into adjoining rooms. If the source is still active, the floor keeps changing while the homeowner is trying to judge it.
Practical rule: the next 30 minutes are about water removal and source control, not repair plans.
That means towels, extraction, and shutting off the leak if it's safe. It also means resisting the urge to sand, steam, or “see if it dries out on its own.” The floor's appearance will keep changing during the first day, and those changes are often misleading.
The better mindset is simple, treat the floor like a moisture problem first and a carpentry problem second. Once the source is controlled and standing water is removed, the rest of the article becomes a decision tree based on moisture readings, not guesswork.
How Water Moves Through Wood
Wood behaves like a sponge. It takes in moisture through seams, ends, fastener holes, and the underside, then releases it slowly as indoor air conditions change. A hardwood floor can feel dry to the touch while still holding enough water inside to swell or distort.
EMC is the number that matters
Equilibrium moisture content, or EMC, is the moisture level wood reaches when it matches the surrounding indoor conditions. When the wood and the subfloor are close to that level, they stop pulling against each other. When they are not, the floor moves, and that movement shows up as cupping, gaps, or a finish that will not stay flat.
A floor reacts to a moisture mismatch.
The number matters because wood flooring guidance says the floor's target moisture content should be within 2% of the expected in-use moisture content (hardwood floors moisture guidance). If moisture stays out of balance long enough, the boards keep moving instead of settling.
Why the top can lie
Water does not stay on the surface. It moves along the grain, settles into board ends, and lingers beneath planks where air circulation is poor. That is why a person can touch a board, feel dryness, and still be looking at a floor that is not ready for refinishing.
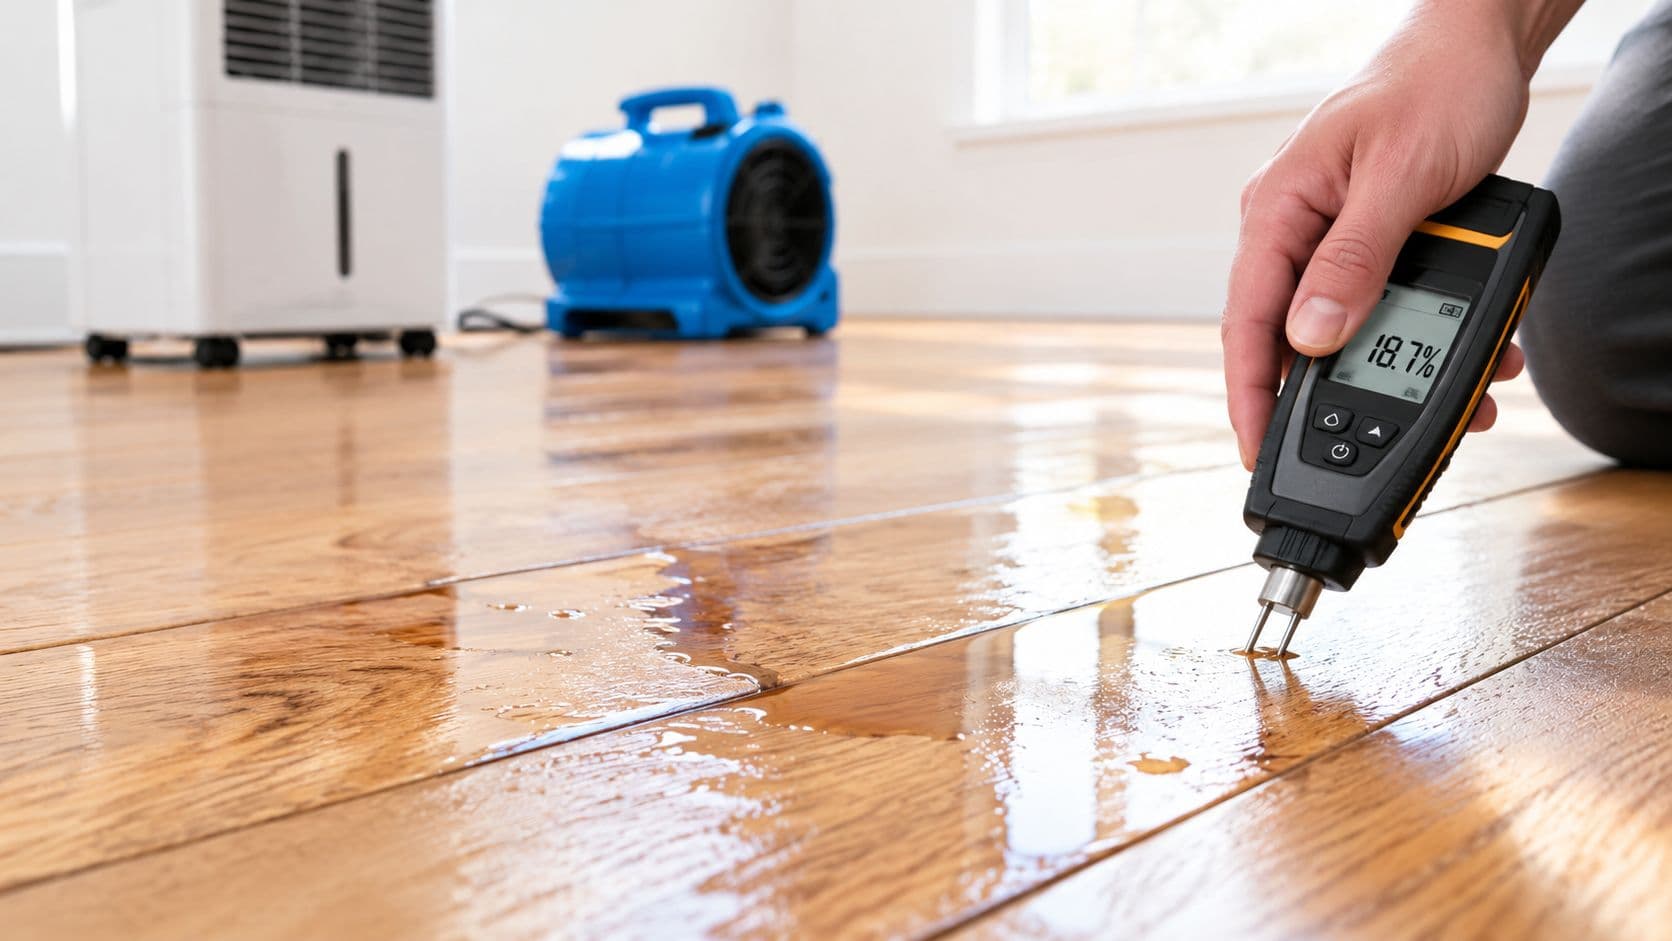
Moisture readings still above the 6% to 9% target range cited in hardwood-floor guidance mean the floor is too wet for refinishing, even if the surface looks stable.
The practical takeaway is simple. If the floor and subfloor are not close to equilibrium, the boards keep moving after the visible water is gone. That is why the next step is reading the damage, not guessing from the surface.
Reading the Damage on Top of the Boards
Surface clues are a triage map
Cupping is the classic sign that the underside of a board has more moisture than the top. The edges rise, the center dips, and the plank stops lying flat. Crowning is the opposite shape, usually appearing after a cupped floor dries unevenly or gets sanded too early, which is exactly how a floor can look “fixed” for a week and then turn into a bigger problem later.
Buckling is a more serious signal. The boards are no longer just swelling, they've started lifting away from the subfloor. Dark staining usually means the water sat long enough to leave behind discoloration, and a soft or spongy feel underfoot points to moisture below the boards rather than just on the finish. The important part is that each clue suggests hidden moisture, not just cosmetic damage.
Direct check: press gently near a seam, then walk the room's perimeter slowly. A soft or springy edge usually means the problem has gone deeper than the finish.
A homeowner can also use a straightedge across suspect boards. If the edges are visibly higher than the center, the floor is telling the truth about what's happening underneath. If the boards are lifting, stained, or changing shape from room to room, the surface is no longer a reliable guide.
Surface clue vs. what it suggests about moisture
| Surface Clue | What It Usually Means | Homeowner Check |
|---|---|---|
| Cupping | Moisture is higher underneath the board than on top | Place a straightedge across the plank |
| Crowning | The top dried faster than the bottom, or the floor was sanded too early | Compare the center height to the edges |
| Buckling | The boards have lifted and the moisture problem is advanced | Look for separation from the subfloor |
| Dark staining | Water sat long enough to discolor the wood | Check whether the stain follows a leak path |
| Soft or spongy feel | The subfloor may be saturated | Walk the perimeter and press near seams |
The point of this reading is not to declare the floor ruined. It's to sort the floor into the right response bucket. Once surface clues point to hidden moisture, the next question is whether drying is still enough or whether the floor has already crossed into repair territory.
What to Do in the First 24 to 48 Hours

The order matters more than the tools
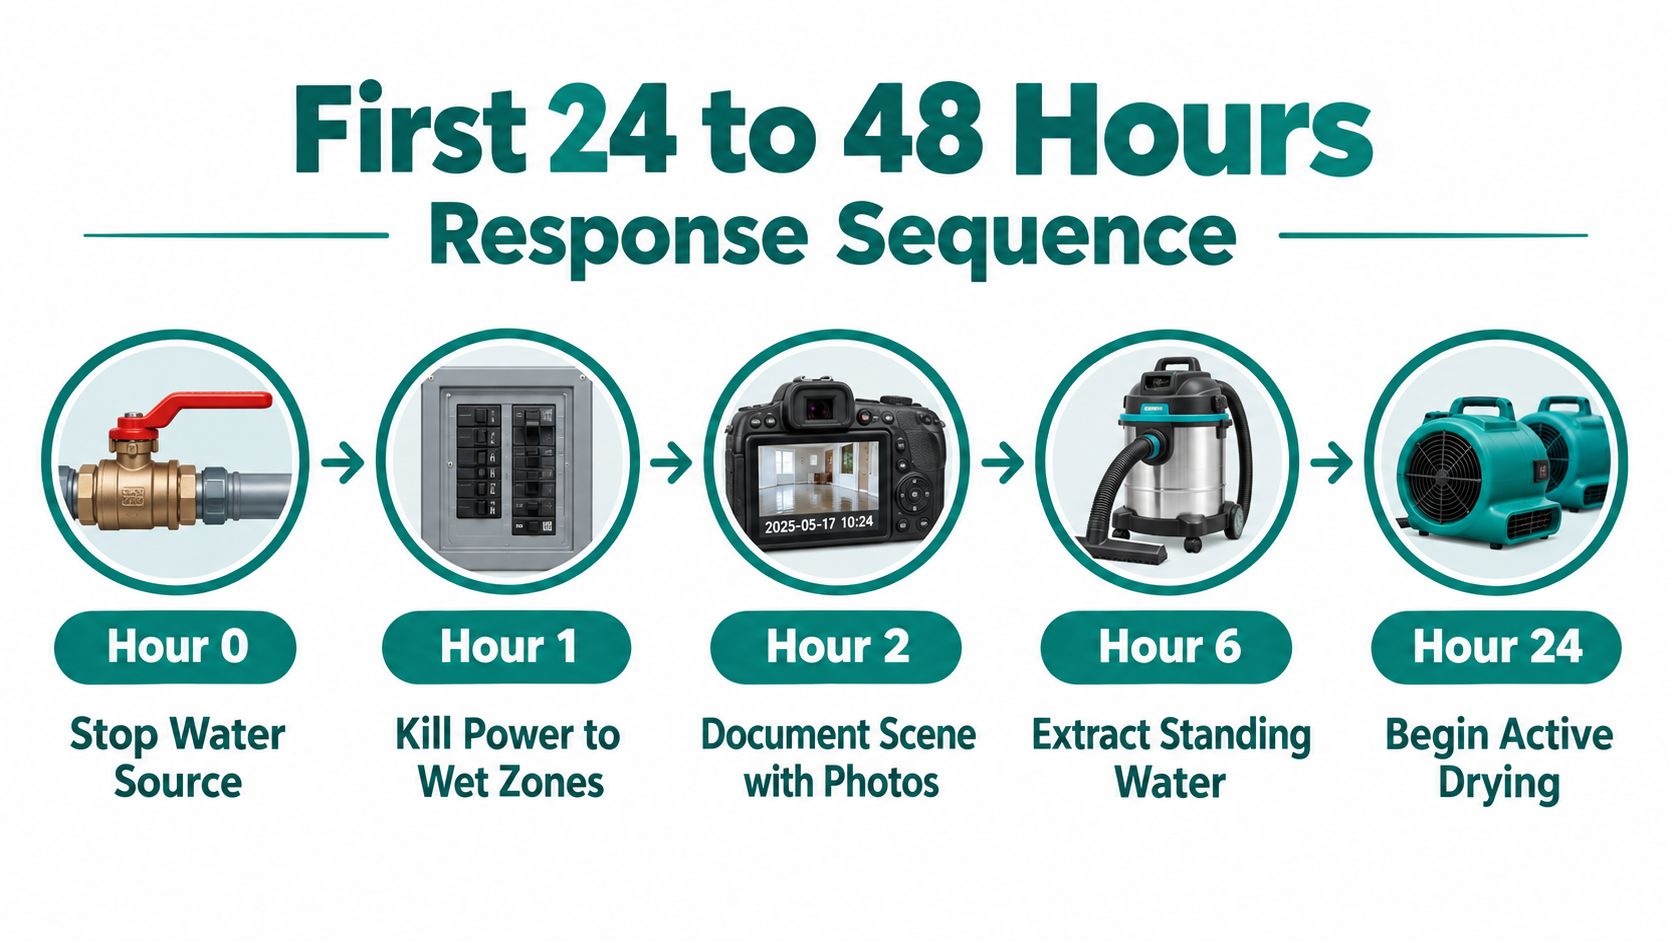
Start with control, not cleanup. Shut off the source if it is safe, cut power to wet zones when needed, and document the room before moving furniture or pulling up anything that may matter later. Take photos and video of the source, the path of the water, the affected boards, and any visible staining while the scene is still intact.
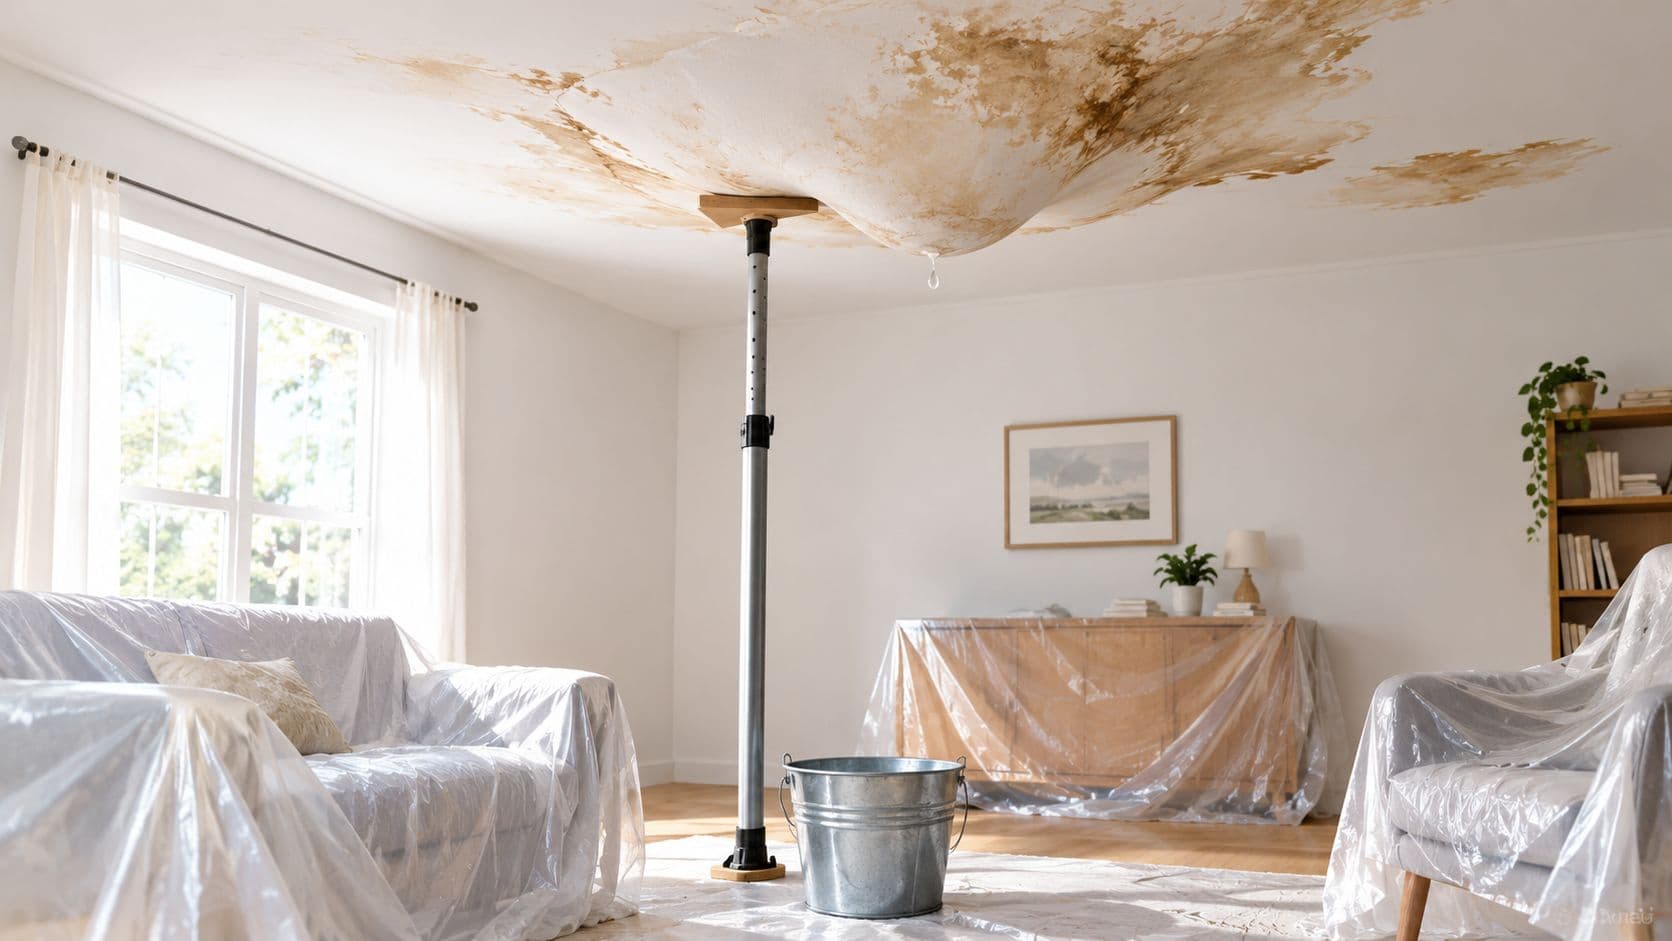
If the water is coming from above, follow the guidance in PostDamage's water leaking through ceiling guide before touching the floor. That matters because a ceiling leak can keep feeding the same wet area, and no floor dries properly while the source is still active.
Next comes extraction. Standing water should come out first, then rugs, mats, and anything else trapping moisture against the wood. Remove baseboards and quarter-round where appropriate so air can reach the edges, because trapped moisture at the perimeter is one of the fastest ways a floor keeps changing after the first cleanup.
Practical rule: if water is still trapped at the edges, the floor is still wet, no matter what the top boards look like.
Build a moisture baseline
Drying should be active, not passive. Run dehumidifiers and air movers in a balanced pattern, and keep the room in a controlled range instead of pushing heat to extremes. The goal is even moisture release, not baking the top layer while wetness stays below it.
Use a meter in multiple spots, not one board near the leak. Check the edges, the center of the room, areas beside walls, and any visible gaps where a subfloor reading can be reached. Compare the readings with unaffected areas in the same home, because a single number without a control point only gives half the picture.
For a broader checklist, use PostDamage's inspection checklist, and keep the moisture readings with the photos so they become the baseline for every later decision. That record matters because you are not judging the floor by appearance alone. You are tracking whether the wood has returned to its normal moisture equilibrium, or whether it is still drifting and needs more drying, repair, or replacement.
Choosing Between Drying, Repairing, or Replacing
The decision should follow the moisture, not the mood
Once the floor has stabilized enough to measure properly, the right choice comes from the readings. Dry-in-place works when the water was handled fast and the boards are only mildly affected. It is the right first move when the structure is still recoverable, and PostDamage's water mitigation guide explains what that process should cover. Refinishing fits damage that stays near the surface and a floor that has returned close to normal moisture. Board replacement makes sense for isolated planks that are stained, buckled, or physically damaged. Full replacement is the correct call when moisture, contamination, or structural damage is too widespread to trust the existing floor.
If the floor is still moving, it is not ready for sanding.
Drying vs. repair vs. replace
| Situation | Dry-In-Place | Refinish | Board Replacement | Full Replacement |
|---|---|---|---|---|
| Clean water, quick response, minimal cupping | Usually appropriate | Sometimes appropriate after stabilization | Usually not needed | Usually not needed |
| Surface-only damage, stable readings | Sometimes appropriate | Usually appropriate | Usually not needed | Usually not needed |
| Isolated buckled or stained planks | Usually not enough by itself | Sometimes after repair | Usually appropriate | Usually not needed |
| Long-standing leak or widespread damage | Usually not appropriate | Usually not appropriate | Sometimes limited use | Often appropriate |
Replacement becomes more likely when the floor has severe warping, delamination, contamination, mold impact, or it will not settle back to a stable moisture condition. Some guidance also treats moisture levels above roughly 20% to 24% as a point where replacement is more practical than extended restoration (replacement threshold guidance).
Sanding should wait until the floor has held steady long enough to prove it is no longer changing. Wait until readings hold steady for three consecutive days before scheduling sanding. If the wood and subfloor are still out of sync, the floor is not ready for finish work.
The Honest Case for Calling a Restoration Professional
Home equipment reaches a limit fast
A household dehumidifier can help, but it usually can't pull moisture out of the subfloor, the underside of planks, and the hidden pockets around edges as effectively as professional drying equipment. Mitigation crews use larger dehumidifiers, floor mat systems, and other drying methods designed to move moisture out of the assembly instead of just lowering room humidity. That difference matters when the goal is not to make the room feel less damp, but to make the floor stable again.
The timing also matters. Drying that starts within 24 to 48 hours has the best chance of limiting permanent damage, and the same window is commonly associated with reducing mold risk in restoration guidance (professional drying window). Once the floor has sat too long, the cost of secondary damage rises fast.
Delay is what makes the bill ugly
A floor dried too slowly can cup, crown, or trap moisture in the wall cavity and adjacent materials. That turns a floor issue into a broader structural cleanup. At that point, the true cost isn't just refinishing, it's drying, replacement, and the work needed to deal with what the water reached beyond the boards.
Documentation is the other reason to bring in a pro early. A certified restorer can produce moisture logs, psychrometric readings, and dated records that are easier to use in an insurance file than a phone album full of wet-floor photos. If the damage is from gray water, black water, or a source that's been sitting too long, the safest move is to hand the work off before the damage grows.
Clear line: once hardwood readings stay above 16%, subfloor readings stay above 18%, or the source isn't clean, professional mitigation is the better call.
The rule is simple. When the moisture data says the floor is still active, DIY stops being cheap and starts being a gamble.
Repair Costs, Insurance Coverage, and Documentation
The bill follows the amount of hidden moisture
Stop guessing from the surface. A floor that still reads wet needs drying first, and the bill rises fast once the moisture has moved into the structure. A DIY dehumidifier rental often lands in the $40 to $80 per day range, while professional structural drying for a 500 sq ft room can reach $1,000 to $3,500. Board replacement and refinishing often run $4 to $12 per sq ft, and full replacement can climb to $8 to $25 per sq ft depending on species and scope.
| Repair Option | Typical Cost Range | What It Includes | Likely Insurance Coverage |
|---|---|---|---|
| DIY dehumidifier rental | $40 to $80 per day | Basic drying support | Usually not reimbursed |
| Professional structural drying | $1,000 to $3,500 for a 500 sq ft room | Drying equipment, monitoring, moisture control | Often tied to sudden and accidental water loss |
| Board replacement and refinishing | $4 to $12 per sq ft | Selective repair, sanding, finish work | Sometimes covered if the cause is covered |
| Full replacement | $8 to $25 per sq ft | Removal, new flooring, installation | Depends heavily on cause and policy language |
Insurance turns on the cause of the water
Standard homeowner policies usually cover sudden and accidental discharge, not gradual seepage (Insurance Information Institute overview). Rising water is a different category and often needs separate flood coverage. A burst pipe and a slow leak are not treated the same way, even if the boards look equally bad.
Documentation should start immediately. Timestamped photos and video come first, then moisture meter logs, dehumidifier readings, written estimates, and a short timeline of the mitigation steps you took. That record shows the floor was handled based on readings, not a guess based on appearance.
An adjuster will care most about the link between the cause, the readings, and the repair estimate. If a claim gets questioned, answer with the documentation, not with a story about a wet floor. The strongest file is the one that proves why the work was necessary and where the moisture was still active.
If the floor is wet right now, PostDamage can help make the next step clearer before the damage spreads. Start with the water-damage guidance at PostDamage, then use it to decide whether drying, repair, or professional mitigation makes the most sense for the floor in front of you.