Water mitigation is the emergency response that stops water damage from getting worse. A homeowner usually finds the problem in a flash — water under the sink, a wet ceiling spot that was not there yesterday, flooring that feels soft underfoot. At that moment, three questions matter most: what is water mitigation, how urgent is it, and what should happen next?
The short version is reassuring. Mitigation is the first phase. Trained crews stop the source, remove water, dry the structure, and reduce the chance of bigger problems like odor, hidden moisture, contamination, and mold. Repairs and rebuilding come later. For the broader recovery path after a significant water event, see PostDamage’s water damage restoration guide.
You've had a water incident — here's what happens next
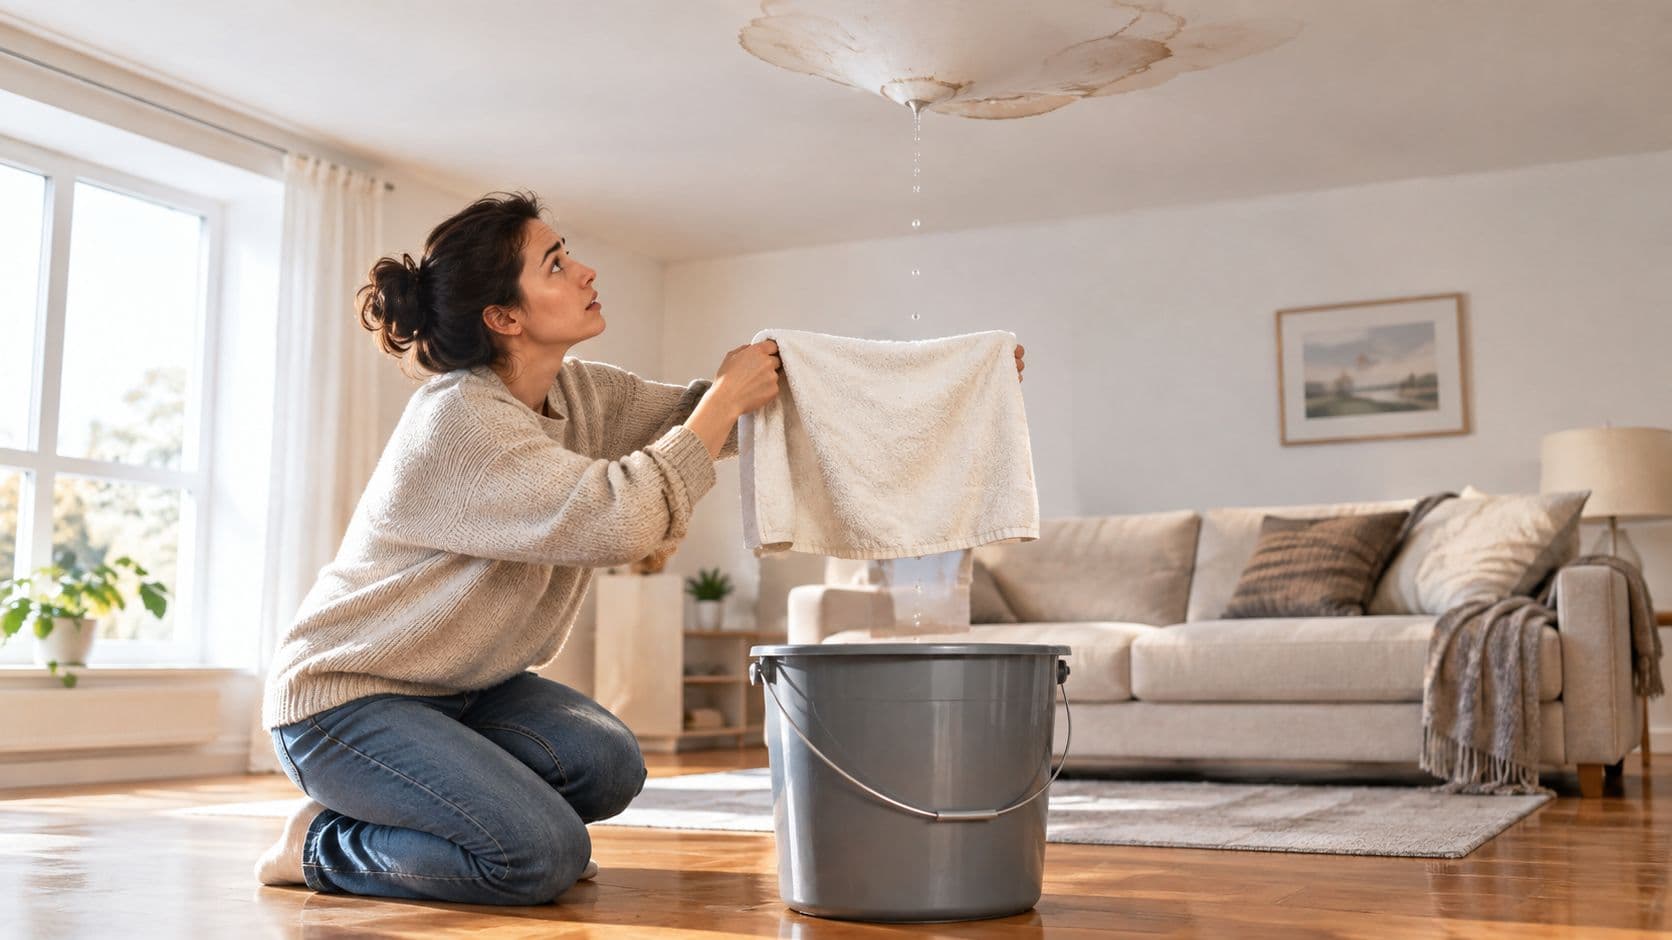
A homeowner walks into the laundry room before work and finds a puddle spreading across the tile. Another notices a brown ring forming on the ceiling after a storm. Someone else comes home to a dishwasher leak that has already reached the baseboards. Different causes, same feeling. Stress rises fast because the damage seems to spread by the minute.
That reaction makes sense. Water moves into drywall, flooring, trim, insulation, and framing much faster than most people expect. The first step after discovery is straightforward: the situation needs mitigation, not guesswork.
The first priority is control
Water mitigation means getting control back. That usually starts with stopping the water source if it is safe to do so, protecting the area from further spread, and getting a professional assessment as soon as possible.
A homeowner does not need to solve the whole loss in the first hour. The immediate job is smaller than that.
- Protect people first: Avoid standing water near outlets, appliances, or sagging ceilings.
- Stop active water if possible: A shutoff valve, appliance supply line, or main water line may need to be turned off.
- Call for professional assessment: Serious damage needs commercial extraction, drying, and moisture tracking.
- Document what's visible: Photos and short videos help preserve a record before cleanup starts.
Practical rule: Mitigation is about preventing a bad situation from becoming a much bigger one.
If you are still in that first hard stretch and need a calm sequence for safety and documentation, PostDamage’s emergency water clean up guide covers those immediate homeowner steps in more detail.
What a homeowner should expect emotionally and practically
It is a common worry that too much time has passed. In many cases, there is still plenty that can be protected if the response starts quickly. Carpets may be salvageable. Cabinets may not need full replacement. Structural drying may prevent much larger tear-out.
That is why mitigation should feel like the first calm, organized move after the shock. One step, then the next. Secure the area. Get qualified help. Let the drying and documentation process begin before hidden moisture turns a contained incident into a much larger repair.
Water mitigation explained in plain English
Water mitigation is the emergency work that reduces damage after water gets where it should not. It does not mean the home is fully repaired. It means the property is stabilized so the damage does not keep spreading.
A simple way to think about it is this: water mitigation is the emergency phase; water restoration is the rebuilding phase. One handles stabilization. The other handles repairs after the property is safe and dry.

Mitigation stops the situation from spreading
If a pipe bursts behind a wall, mitigation crews do not arrive and start repainting. They find where the water went, extract what they can, set up drying equipment, remove materials that cannot safely stay in place, and work to keep moisture from lingering inside the structure.
That distinction matters because homeowners often hear several similar terms at once — mitigation, remediation, restoration, reconstruction. In plain English:
- Mitigation means stopping additional harm.
- Restoration means repairing or rebuilding what was damaged.
Water mitigation vs. water restoration
| Aspect | Water mitigation (emergency response) | Water restoration (rebuilding phase) |
|---|---|---|
| Main purpose | Stop damage from getting worse | Repair damage after drying is complete |
| When it happens | Immediately after discovery | After the property is stabilized |
| Typical work | Water extraction, drying, dehumidifying, containment, cleaning | Drywall replacement, flooring replacement, painting, rebuilding |
| Focus | Protect what can still be saved | Return the property toward pre-loss condition |
| What success looks like | The structure is dry, safe, and ready for repairs | The home looks and functions normally again |
A house can look dry and still hold moisture inside walls, under flooring, or in framing. That is one reason mitigation comes before cosmetic repairs.
Why this distinction helps stressed homeowners
When someone asks what is water mitigation, they are usually trying to understand whether the home needs cleanup or full repair. The answer is often both, but not at the same time.
Mitigation handles the urgent part first. That is the phase that protects drywall from further breakdown, limits moisture trapped in subfloors, and creates a cleaner handoff to the repair phase. It is less about making things look normal today and more about making sure tomorrow’s repair bill does not become worse than it has to be.
Fans, dehumidifiers, and moisture checks may not look like “repair.” They are often the reason a property has a cleaner recovery.
The three key steps of professional water mitigation
Professional mitigation tends to follow a clear pattern. The tools may vary by loss, but the logic stays the same: remove the water, dry what cannot be seen, and address contamination where needed.

Step 1: Water extraction
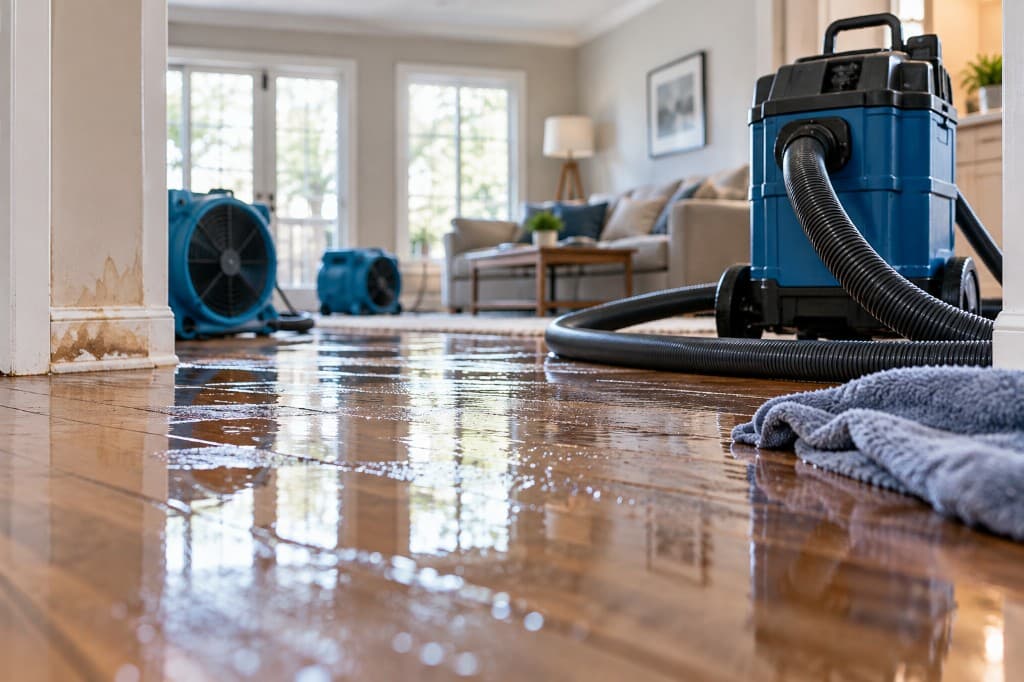
Standing water is the obvious problem, so crews start there. They use professional pumps, extraction units, and wet-vac systems to pull water out of flooring, carpet, and low points in the structure.
This step matters because visible water keeps feeding hidden moisture. Even a small-looking loss can spread into baseboards, padding, cabinets, and adjoining rooms.
A homeowner may think a mop and a household shop vacuum handled the worst of it. Often, they have only handled the surface.
Step 2: Drying and dehumidification
After extraction, the job becomes less visible and more technical. Crews place air movers, dehumidifiers, and sometimes other drying equipment to pull moisture out of materials and out of the air.
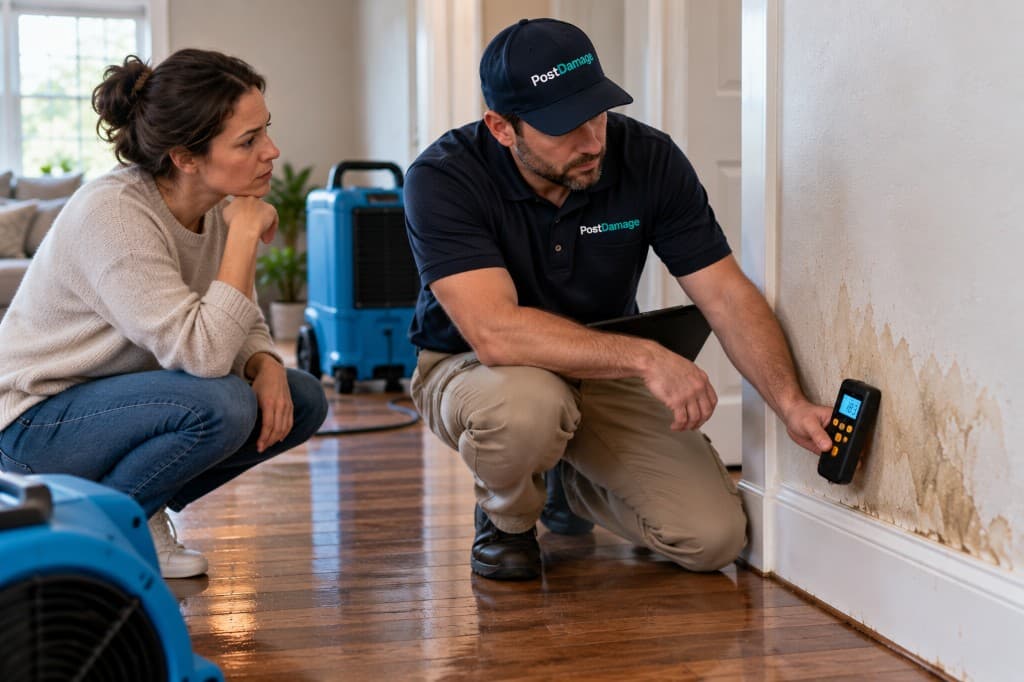
Moving air is not the same as drying a structure. Surface airflow can help, but the core problem is moisture trapped inside materials and high humidity that slows proper drying. A careful crew measures moisture, maps wet areas, tracks drying progress, and verifies when materials have reached acceptable drying goals — rather than guessing from how the room looks or feels.
Step 3: Cleaning and containment
Not all water is equal. Some losses involve relatively clean water. Others involve water that carries contaminants and need a different response.
Restoration crews commonly describe water by contamination risk:
| Category | Plain-English example | What it means |
|---|---|---|
| Category 1 | Fresh supply line leak, sink line, or clean appliance feed | Starts relatively clean, but it can become more hazardous as it sits or passes through materials |
| Category 2 | Water from appliances, toilet overflow without sewage, or water that has been sitting | Contains enough contamination to require more careful cleanup and disinfection |
| Category 3 | Sewage backup, outdoor floodwater, or heavily contaminated water | Unsafe to handle without proper protective equipment and professional procedures |
A thorough mitigation job may also include:
- Containment barriers to keep affected areas isolated from cleaner parts of the home
- Antimicrobial treatment when contamination risk is present
- Material removal when carpet pad, insulation, drywall, or porous items cannot safely stay
- Odor control through cleaning and targeted treatment when smells are tied to contamination
Drying alone is not enough when contaminated water is involved. The water category changes the entire response.
A strong mitigation team does not treat every loss the same. They identify what type of water entered the home, then match the extraction, drying, cleaning, and containment plan to that condition.
Why acting quickly — and professionally — matters
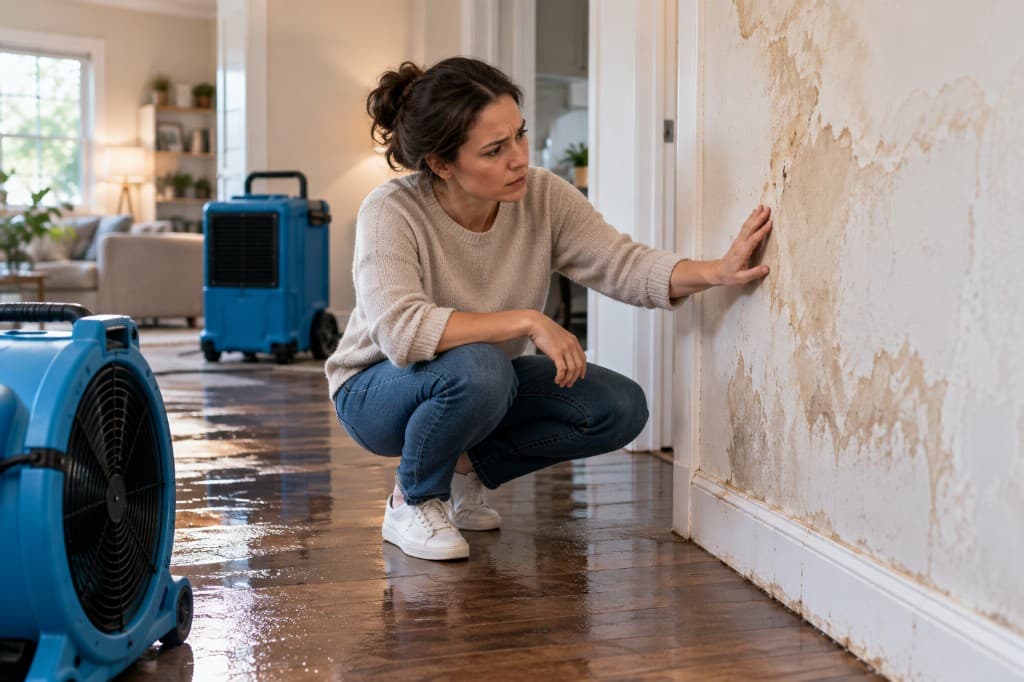
Water damage rarely stays put. It travels outward, downward, and into places a homeowner cannot easily inspect. What starts as a wet patch near a wall can become swollen trim, softened drywall, stained ceilings, trapped moisture under flooring, and microbial growth in enclosed cavities.
Delays are expensive in a practical sense, even before anyone talks about repairs. Waiting gives water more time to soak into materials that are harder to dry and more costly to replace.
Secondary damage is the real threat
The first incident is the leak, overflow, or intrusion itself. The second wave is what follows when moisture remains in the building. Wood can distort. Drywall can lose strength. Insulation can hold moisture. Odors can settle in. Hidden areas can stay damp long after the surface looks normal.
Published guidance from the EPA on mold cleanup after water damage supports a basic rule homeowners need here: wet materials must be dried quickly, and materials that cannot be dried or cleaned properly may need to be removed.
Why DIY often falls short
A homeowner can blot water, move belongings, and shut off the source if it is safe. That can help. But serious damage still needs professional assessment because hidden moisture does not announce itself.
Common DIY mistakes include:
- Using only household fans: Air movement without proper dehumidification can leave moisture behind.
- Closing the case too early: A surface may feel dry while the wall cavity or subfloor remains wet.
- Skipping contamination concerns: Gray water and black water need a different safety approach.
- Missing documentation: Insurance issues often start when there is no clear record of what happened and how the loss was addressed.
Speed matters, but qualified speed matters more.
Navigating insurance and documenting the damage
Insurance is often the second panic after the water itself. Homeowners want to know whether the loss is covered, what they should say first, and whether cleanup will somehow hurt the claim. The safest path is usually prompt mitigation paired with careful documentation.
Professional mitigation helps in two ways. It protects the property from further harm, and it creates a clearer record of what happened, what areas were affected, and what emergency actions were necessary.

What to document before cleanup changes the scene
If it is safe, gather basic evidence before materials are moved or removed.
- Wide photos: Capture the whole room so the insurer can see the spread pattern.
- Close-up photos: Show staining, wet flooring, bubbling paint, damaged trim, or the failed appliance or pipe.
- Short video clips: Walk through the area and narrate what is visible.
- Notes on timing: Record when the damage was first noticed and what may have caused it.
- Communication records: Save emails, claim numbers, and names of people spoken to.
Why mitigation records matter for coverage
Insurance often treats a sudden event differently from long-term neglect. That is why mitigation paperwork matters. A professional report can help show:
- What the source appeared to be
- When emergency extraction and drying began
- Which materials were affected
- What was done to prevent further loss
Important insurance point: Documentation should connect the extraction and drying work to the immediate water event, not just show that cleanup happened.
A simple claim-protection checklist
A homeowner does not need to become an adjuster overnight. A short checklist helps:
- Report the loss promptly to the insurer.
- Keep damaged items if told to do so, unless they create a safety issue.
- Save invoices and estimates from emergency services.
- Ask for moisture and drying records from the mitigation contractor.
- Write down every conversation with the insurer or contractor.
That kind of recordkeeping lowers confusion later, especially when timelines blur together after a stressful event.
Costs, timelines, and what to expect from a careful contractor
Cost is one of the first questions homeowners ask, and it is a fair one. Water mitigation pricing varies because the job changes based on how far the water spread, what materials got wet, and whether the water was clean or contaminated.
Why prices and timelines vary so much
A simple appliance leak affecting one room is very different from sewage backup or a multi-room loss with soaked drywall and insulation. Contaminated water raises labor, cleaning, safety, and disposal demands. Drying hardwood, subfloors, wall cavities, and cabinetry also changes the scope.
Timelines vary for the same reason. A smaller, cleaner loss may move through mitigation relatively quickly. A larger event, or one involving contamination and removal of unsalvageable materials, can take longer. The exact schedule depends on moisture readings, not impatience.
What good contractor behavior looks like
A careful contractor experience should feel organized, not chaotic. Homeowners should expect:
- Clear communication: The crew explains what is wet, what can likely be saved, and what happens next.
- Professional equipment: Extraction units, air movers, dehumidifiers, meters, and containment materials should match the loss.
- Regular monitoring: Drying progress should be checked, not guessed.
- Documentation: Moisture readings, photos, and work records should be available.
- Respect for the home: Clean work areas, protected pathways, and straightforward answers matter.
A homeowner does not need a contractor who promises the fastest sales pitch. A homeowner needs one who can show a sound process, explain the scope calmly, and document the work carefully.
Frequently asked questions
Can a homeowner just use household fans?
Sometimes fans help with surface moisture, but they do not replace professional drying. Household air movement does not automatically remove trapped moisture from wall cavities, subfloors, insulation, or dense materials. Serious damage still needs professional assessment.
How long does mitigation usually take?
The timeline depends on the source of water, the amount of affected material, and whether contamination is involved. Some jobs move quickly. Others take longer because the crew has to monitor moisture levels until the structure is dry.
Will the homeowner have to move out?
Not always. It depends on safety, the affected rooms, noise from equipment, contamination level, and whether key areas like bathrooms or kitchens are usable. If Category 3 water or major demolition is involved, temporary relocation may make more sense.
Should damaged materials be thrown away immediately?
Only if they create a safety issue or a mitigation professional advises removal. It is often better to document first, then let the mitigation and insurance process guide what stays, what gets removed, and what can be restored.
What matters most in the first few hours?
Safety, stopping the source if possible, documenting the damage, and getting professional help. For serious water losses, waiting usually makes the recovery harder.
When a home has water damage, the fastest way to regain control is a professional assessment and a clear response plan. If you need help figuring out next steps, PostDamage’s guided incident flow can help you describe the situation and find an appropriate local professional.