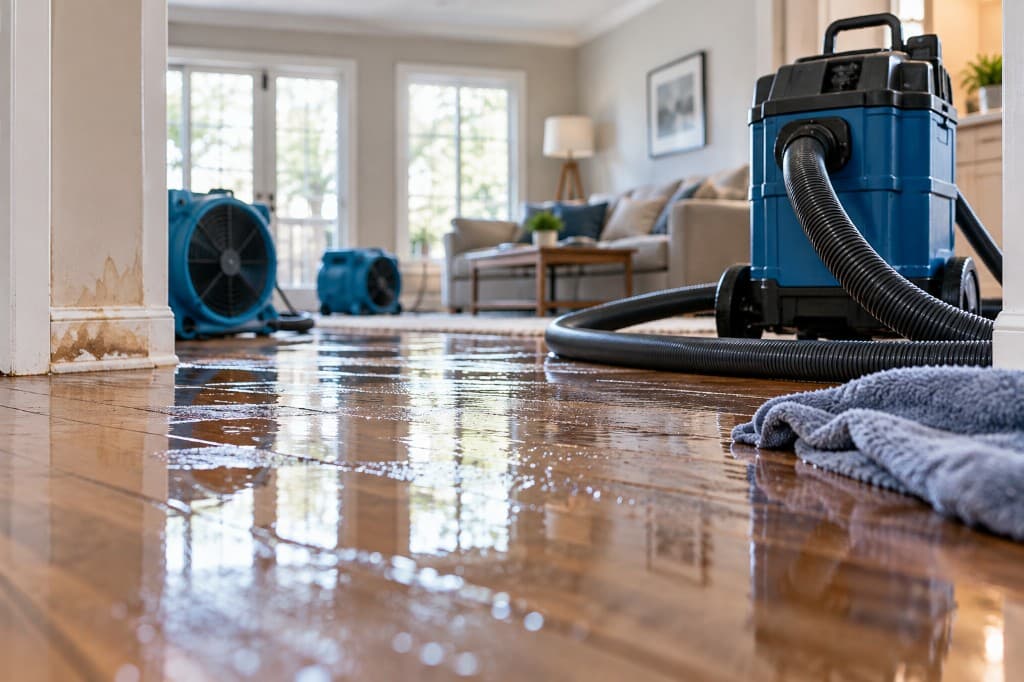
A ceiling leak has a way of turning an ordinary room into a problem you can't ignore. The stain overhead is usually the least important part. The main issue is that water may already be moving through drywall, insulation, and framing, and the clock on drying has already started.
Treat water leaking through ceiling as a time-sensitive water damage event, not a cosmetic one. If wet materials stay trapped too long, the ceiling can move from salvageable to replacement territory fast, and guidance used by Massachusetts says materials should be dried within 24 to 48 hours to reduce the risk of microbial growth and avoid a bigger demolition decision later Massachusetts moisture guidance. That's the frame to use from the start, stay safe, contain the drip, find the source, and document everything while the assembly is still recoverable.
What to Do First When Water Is Leaking Through Your Ceiling
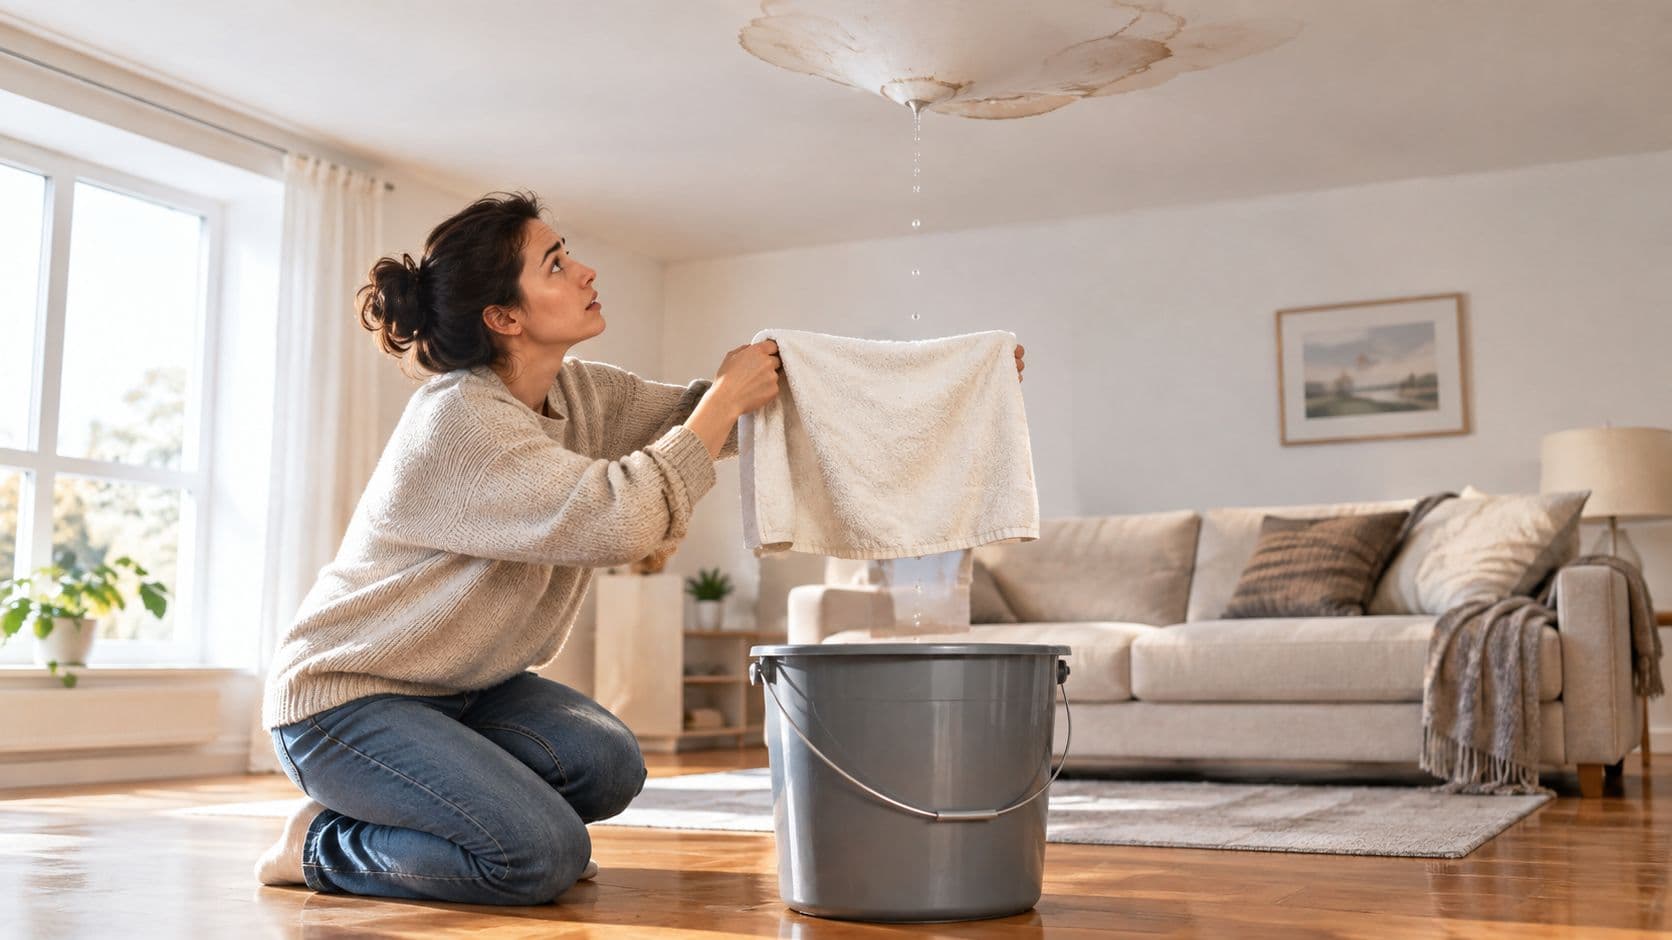
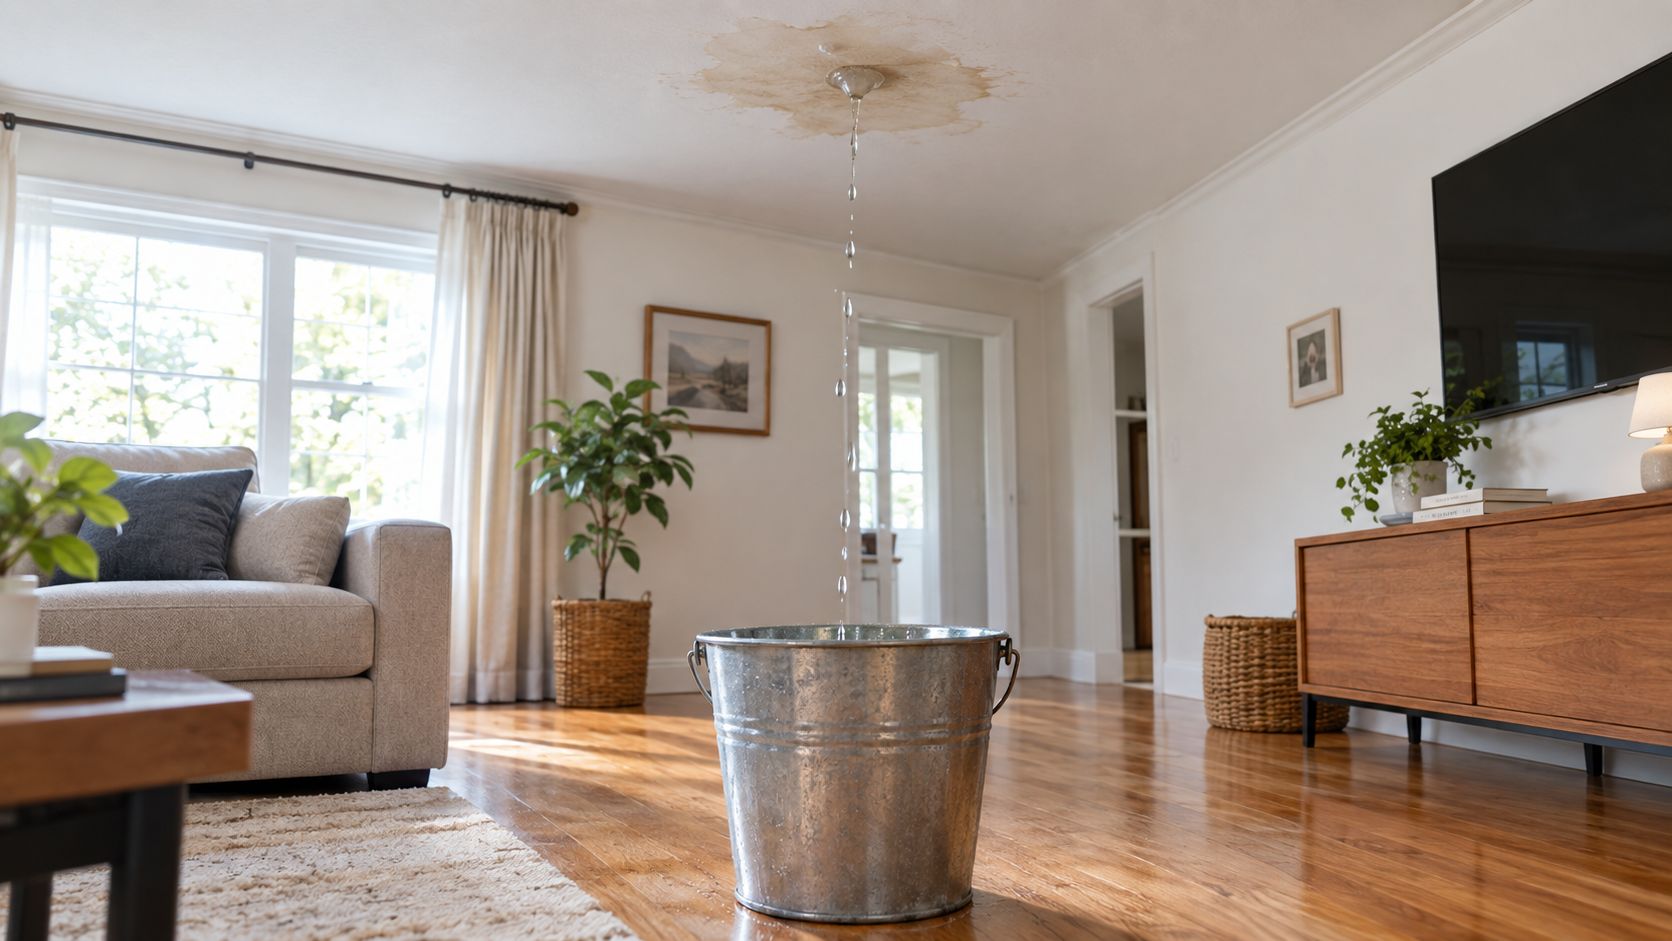
A homeowner hears the first drip at night, looks up, and sees a brown ring widening around a light fixture. The natural instinct is to grab a towel and hope it stops. That's the wrong mindset. The right one is simple, assume hidden spread until proven otherwise, because the stain only shows where the water finally surfaced.
Think in terms of wet materials, not stains
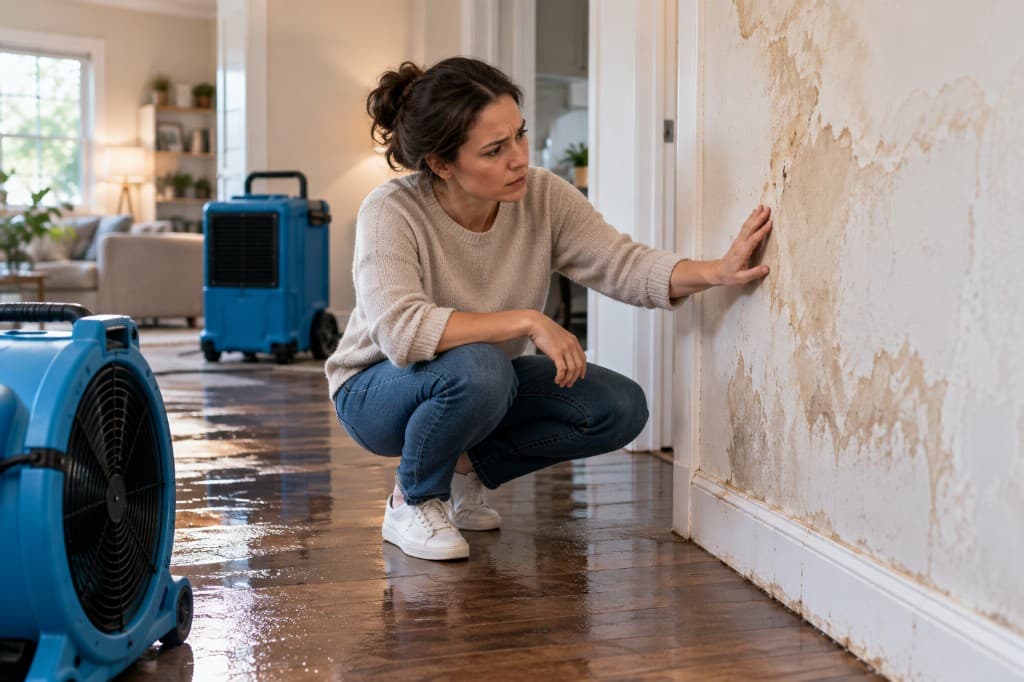
A visible spot on the ceiling doesn't tell the full story. Water can travel above the finish layer, then soak insulation and the back side of drywall before anyone notices. That's why a leak is really a moisture problem inside the assembly, not just a mark on the surface.
The first priority is to slow the loss and avoid making a bad decision in panic. If the ceiling is bulging, sagging, or soft, nobody should stand directly under it. If the water source is above a finished room, assume the leak path may be offset from the stain and may involve an upstairs bathroom, a roof penetration, or a shared building element in a multi-unit property.
Practical rule: if the ceiling is still wet, the clock matters more than the cosmetic damage.
The 24 to 48 hour window is the line homeowners need to take seriously. Once that span passes, drying gets harder, hidden cavities stay wet longer, and the chance of replacement rises. That's why the best first move is not to “wait and see.” It's to contain, inspect, and start meter-based drying as soon as the area is safe.
Keep the first response narrow and controlled
The room should be treated like an active loss scene. Move quickly, but don't rush into opening the ceiling, drilling random holes, or tearing materials out by hand. Those moves can spread contamination, damage salvageable materials, and make the source harder to trace.
If there's any doubt about the cause or extent, a professional water damage assessment is the cleaner path. For homeowners who need next-step guidance tied to ceiling leaks and broader drying work, water damage restoration help is the place to start once the leak is contained.
Immediate Safety and Containment Steps Inside Your Home
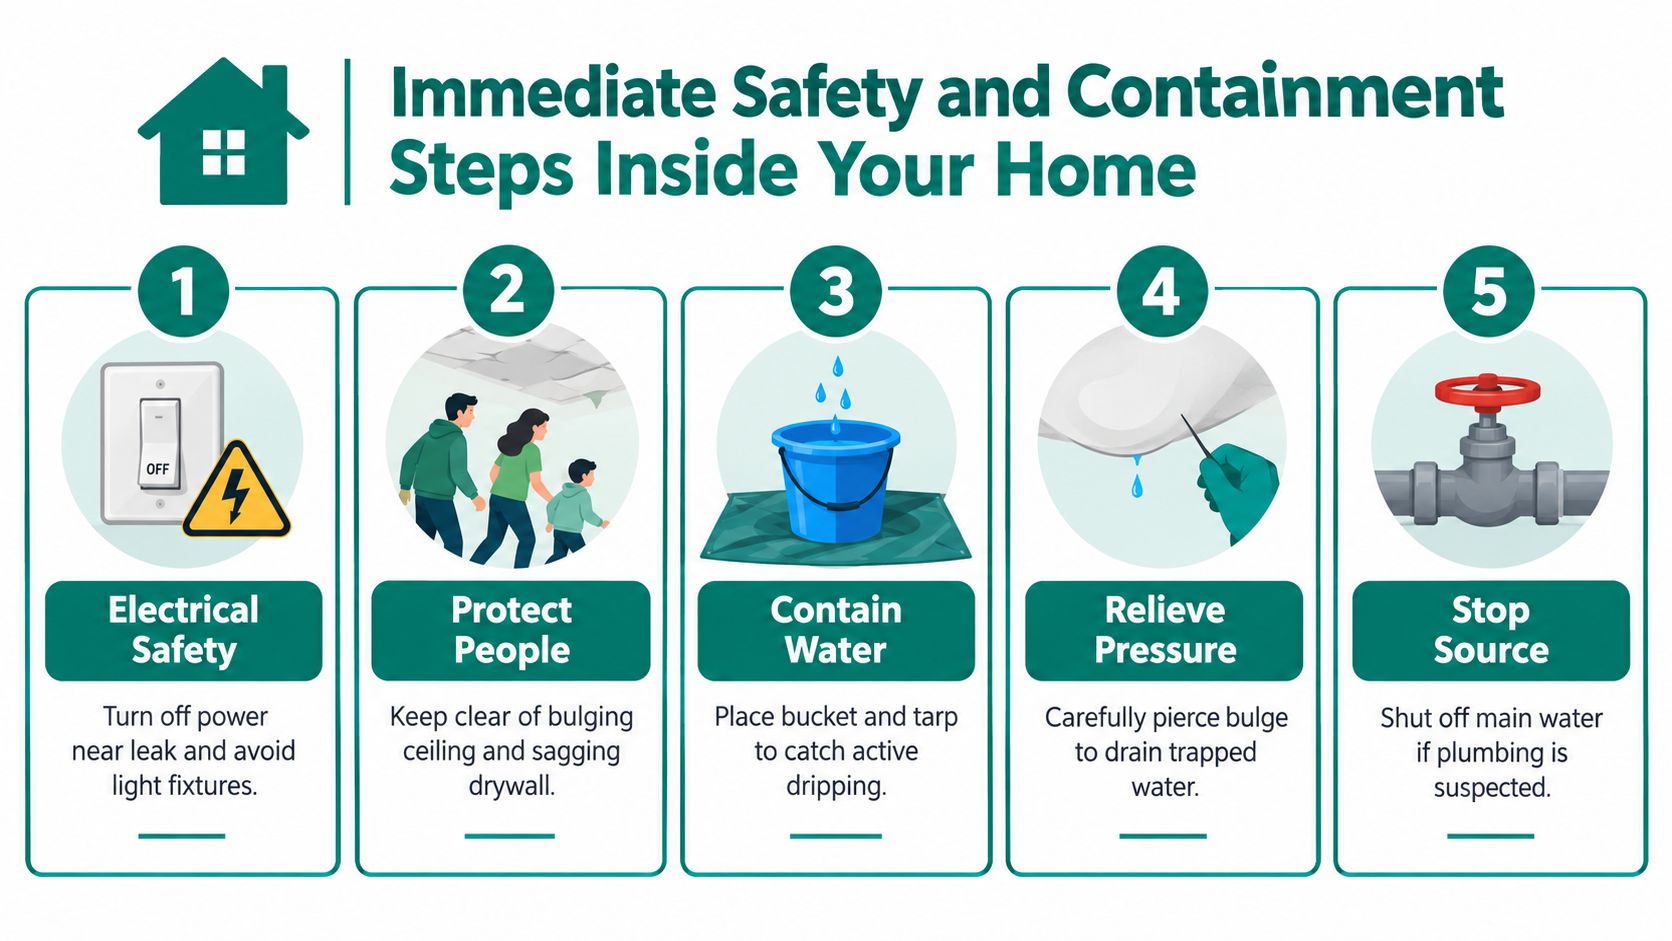
Power, water, and a soft ceiling are a bad combination. The first job is to keep people safe, then keep the damage from spreading, then stop the source if that source is plumbing. That order matters because a wet ceiling can hide electrical risk even when the room still looks usable.
Start with electricity and people
If water is near a light fixture, outlet, ceiling fan, or switch, the safest move is to shut off power to that area if the electrical panel is accessible without stepping into standing water. Nobody should touch a dripping fixture or stand under a swollen ceiling while the circuit remains live. If there's any doubt, leave the room dark and keep everyone out.
The second move is simple. Keep people, pets, and furniture away from the bulging section. Sagging drywall can let go suddenly once trapped water shifts, and a small drip can become a larger release without warning. Move electronics, rugs, documents, and any soft goods out of the splash zone before the ceiling opens up on its own.
Contain the drip without making the ceiling worse
A bucket under the drip is fine. A tarp can help direct water into the bucket if the leak is spreading over a wider area. What should not happen is random poking, hammering, or stripping the ceiling apart. The goal is to control the water, not to create a collapse.
If the leak is coming from plumbing and the source is known or strongly suspected, shut off the main water supply immediately. That one move can stop ongoing flooding inside walls and ceiling cavities. If the source is a roof or exterior intrusion, shutting off the water won't help, so focus on containment and drying instead.
A ceiling that is swollen or soft should be treated like a weak floorboard, nobody should test it by hand.
Relieve trapped water only if the situation is stable
A small controlled drain point can reduce pressure in a bulging ceiling, but it needs judgment. If the ceiling is near electrical components, heavily sagging, or already breaking apart, this is not a DIY moment. The safer approach is to let a restoration crew assess where the water has pooled and decide how to open it without causing extra damage.
Once the active drip is under control, set up air movement only if the area is safe and power has been addressed. Drying equipment works best after the source is stopped and the ceiling cavity can be monitored. That's when the loss shifts from emergency containment to actual recovery.
How to Identify Where the Ceiling Leak Is Coming From
The stain on the ceiling is rarely the source. Water often enters somewhere higher or farther away, then travels along framing, insulation, or building layers before it shows up indoors. In multi-unit buildings, that path can even move through parapet flashing, HVAC curbs, blocked drains, or facade cracks, which is why a drip during rain doesn't automatically mean the roof leak is directly overhead Hong Kong building seepage guidance.
Read the timing before you guess the source
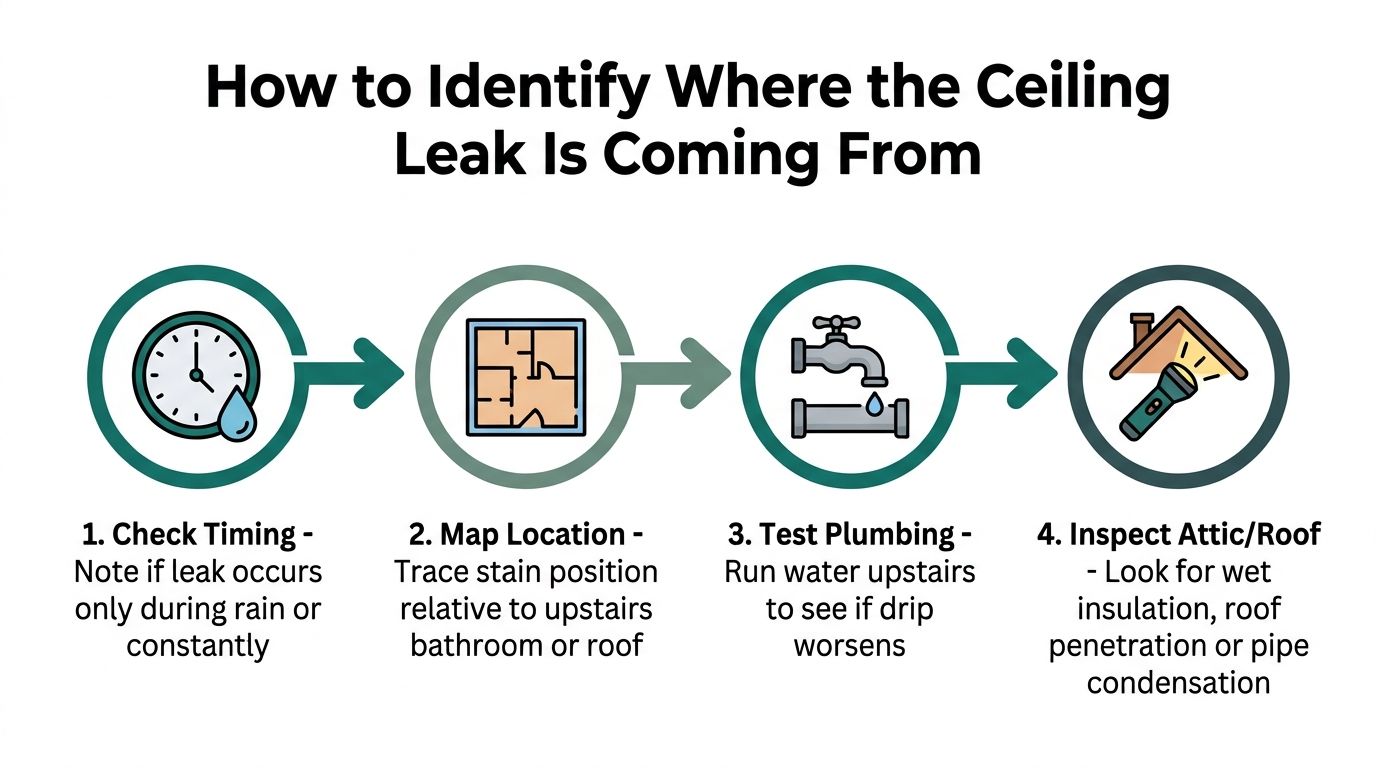
If the leak appears only when it rains, the problem is often upstream from the visible stain. If it worsens when an upstairs bathroom, laundry area, or HVAC system runs, the source is more likely internal. That timing clue matters because it narrows the search without tearing open the wrong area.
The sound of dripping can also mislead. Water may enter at one point and land several feet away after traveling inside the assembly. In an upstairs unit, that means the leak can show up in a downstairs ceiling even when the actual entry point is near a bath, a utility chase, or a shared wall.
Use a meter-based workflow instead of touch and guesswork
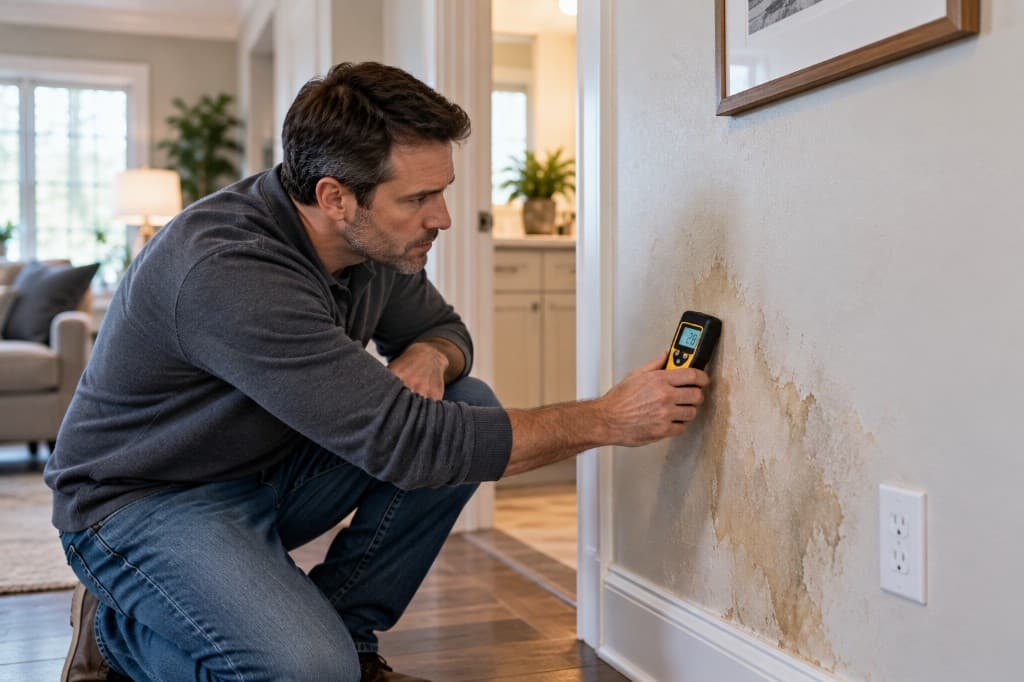
A sound diagnosis sequence starts with infrared thermography to flag cooler, suspect areas, then uses a moisture meter to confirm wetness, then maps several readings around the stain to outline the seepage path infrared water leak detector guidance. That matters because the visible stain often underrepresents the spread of moisture. One-point testing misses the edges of the wet area.
Key takeaway: the source should be confirmed with readings, not with a fingertip or the shape of the stain.
This is also where homeowners get tripped up by condensation. Thermal bridging or old staining can look active when the ceiling is dry in that spot. Quantitative readings solve that problem. The area around the leak should be tested in multiple points, and the damaged material should be compared to unaffected material in the same building so the technician can see where the wet contour ends.
Separate plumbing, roof, and HVAC clues
Plumbing leaks often change when fixtures are used above the stain. Roof intrusion usually tracks with rain or melting water. HVAC-related leaks often show up near equipment areas, especially where condensate handling is involved. A ceiling leak is not solved by naming a category, though. The primary job is tracing the path back to the entry point before opening more of the assembly than needed.
When You Can Dry It Yourself and When to Call a Pro
Some ceiling leaks are dryable. Others are not. The decision comes down to water category, time wet, and material condition, not hope or surface appearance. If the drywall stayed firm, the water was clean, and drying started fast, repair may be possible. If the ceiling is sagging, crumbling, or still wet deep inside the assembly, replacement is the better call.
| Condition | Dry and Repair | Remove and Replace |
|---|---|---|
| Drywall stayed firm and clean water was involved | Often possible if drying begins quickly and readings return close to normal | Not usually needed if the material stays intact |
| Drying started within about 24 to 48 hours | More likely to be salvageable with controlled drying and monitoring | Less likely unless the material was already damaged |
| Ceiling is sagging, soft, or crumbling | Not a good candidate for in-place drying | Replace the affected section |
| Water was contaminated or the source is unclear | Usually not worth saving | Replace and address the source first |
| Moisture remains trapped in insulation or framing | Drying may continue with professional equipment and daily monitoring | Replace any material that won't return to acceptable readings |
The bench line for gypsum drywall is strict enough to matter. One source aligned with IICRC guidance says drywall can be dried in place only when the water is clean and drying begins within 48 hours, with a gypsum moisture target at or below 16% before the assembly is closed up water-damaged drywall guidance. That's a practical threshold, not a comfort blanket.
Match the problem to the right pro
Plumbing-related leaks need a plumber. Roof-related intrusion needs roof repair. HVAC condensate problems need HVAC service. When the leak has already spread into drywall, insulation, framing, or multiple rooms, a water damage restoration team becomes the right lead because the job shifts from fixing the source to structural drying, dehumidification, and moisture verification.
Drying is not finished when the ceiling looks dry. It's finished when meter readings confirm the material is close to unaffected reference areas.
A common mistake is stopping too early because the surface has painted over or feels firm. That leaves wet insulation or framing hidden inside the cavity. The safer approach is to keep monitoring daily until the readings match nearby unaffected materials closely enough to justify closing the assembly.
Documenting Damage and Navigating Insurance for Ceiling Leaks
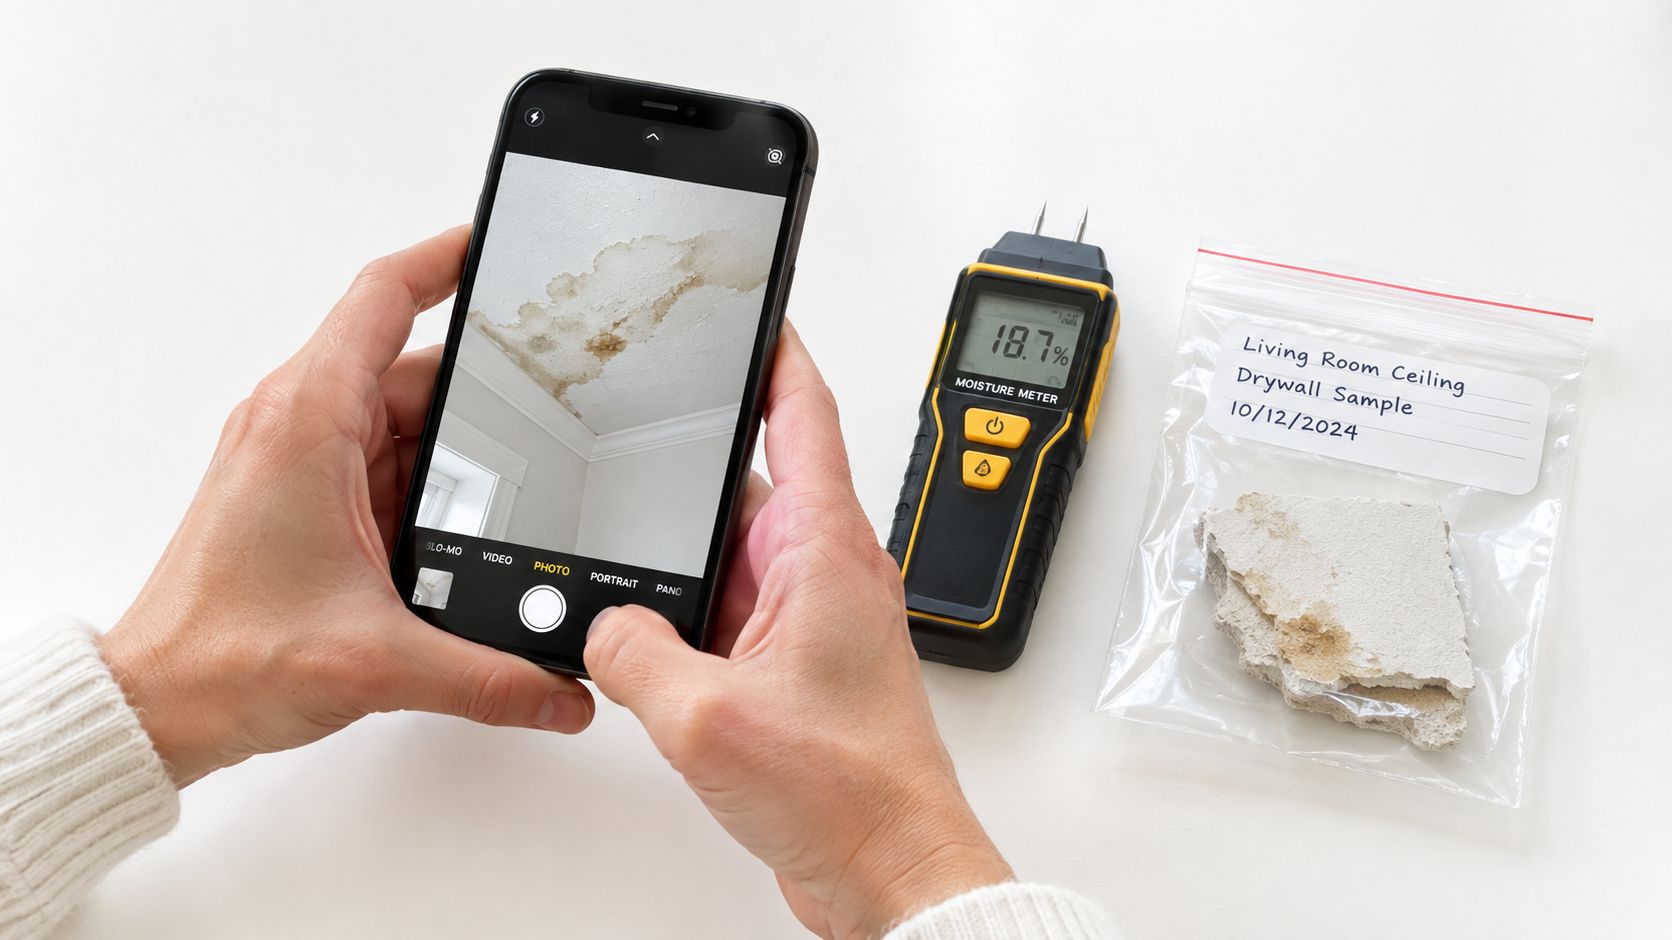
The financial side of a ceiling leak starts the moment water shows up. Get the room documented before you disturb the evidence. Photos, moisture readings, and damaged material all help prove what got wet, how fast the area dried, and whether the leak was handled correctly. If repairs begin too soon, the claim becomes harder to support.
Document while the damage is still active
Take wide shots of the room, then close shots of the stain, sagging drywall, drips, and anything moved out of the way. Add a short video if the leak is still active. Motion shows the problem better than a still photo. Keep a simple log of when you found the leak, whether rain or fixture use changed it, and what you did to slow the spread.
Record moisture as soon as you can. Daily notes on temperature, relative humidity, and material readings show what was wet, what is drying, and what still needs work. That matters most when the water has traveled through insulation, framing, or into adjacent units, because the visible stain is often only the surface sign of a larger path.
If you suspect hidden dampness or mold risk, follow mold inspection guidance before the cavity gets closed again.
Understand the insurance distinction that matters
Homeowners insurance often covers sudden and accidental water damage, such as burst pipes or other abrupt internal water events, but generally not slow leaks or neglect homeowners insurance guidance. Timing and documentation decide how that distinction gets treated. A fast loss with clear records is easier to defend than a ceiling that sat wet for days.
Water claims also tend to get expensive fast. A recent consumer summary cited water-damage-and-freezing claims at about $15,400 on average and said water-related losses make up 22.6% of homeowners losses water leak insurance overview. Those figures do not predict one claim, but they show why insurers focus on source, response, and drying.
Keep the claim defensible
If you remove ceiling material, save samples and take photos of the exposed cavity. If the leak is still active, note the date and time the source was shut off. If a restoration team steps in, ask for moisture readings and drying logs so the file shows what was done and when. That paper trail helps separate a clean claim from a dispute over whether the damage was gradual.
Next Steps Costs and How PostDamage Connects You to Help
Restoration after a ceiling leak usually follows the same basic sequence, extraction if needed, controlled drying, repeated moisture checks, and then repair. The final cost depends on how far water traveled, what materials were affected, and whether the source was plumbing, roof intrusion, or something else hidden in the assembly. A small, clean-water leak that's caught early is a very different job from wet insulation and damaged framing behind a large section of ceiling.
Focus on the next 48 hours
The next two days should stay practical. Keep the room safe, keep drying moving, keep reading meters, and keep documenting. If the ceiling is still wet after that window, or if the readings don't come down as expected, the damage is more serious than the stain suggests.
A few signs should push the decision toward professional help fast. The ceiling sags, the leak keeps returning, the source isn't obvious, the water smells off, or the affected area keeps growing. Those are not “watch and wait” conditions. They're signs that the assembly needs more than a surface fix.
Use the right help, not the loudest help
A homeowner doesn't need three separate sales calls to solve one leak. The better move is to identify the likely source, then connect the problem to the right kind of help. That may mean a plumber, a roofer, an HVAC technician, or a water damage restoration crew, depending on where the water entered and how far it spread.
For homeowners, landlords, and property managers who want a clear path from ceiling leak to recovery, PostDamage is built for that kind of next step. It's most useful when the source is still unclear, the damage needs a response plan, or the building needs help from the right local pro without wasting time.
If the ceiling is wet right now, start with containment and documentation, then move straight to source tracing and drying. PostDamage can help point the recovery in the right direction, and the faster that happens, the more likely the ceiling assembly is to stay salvageable instead of turning into a larger rebuild.