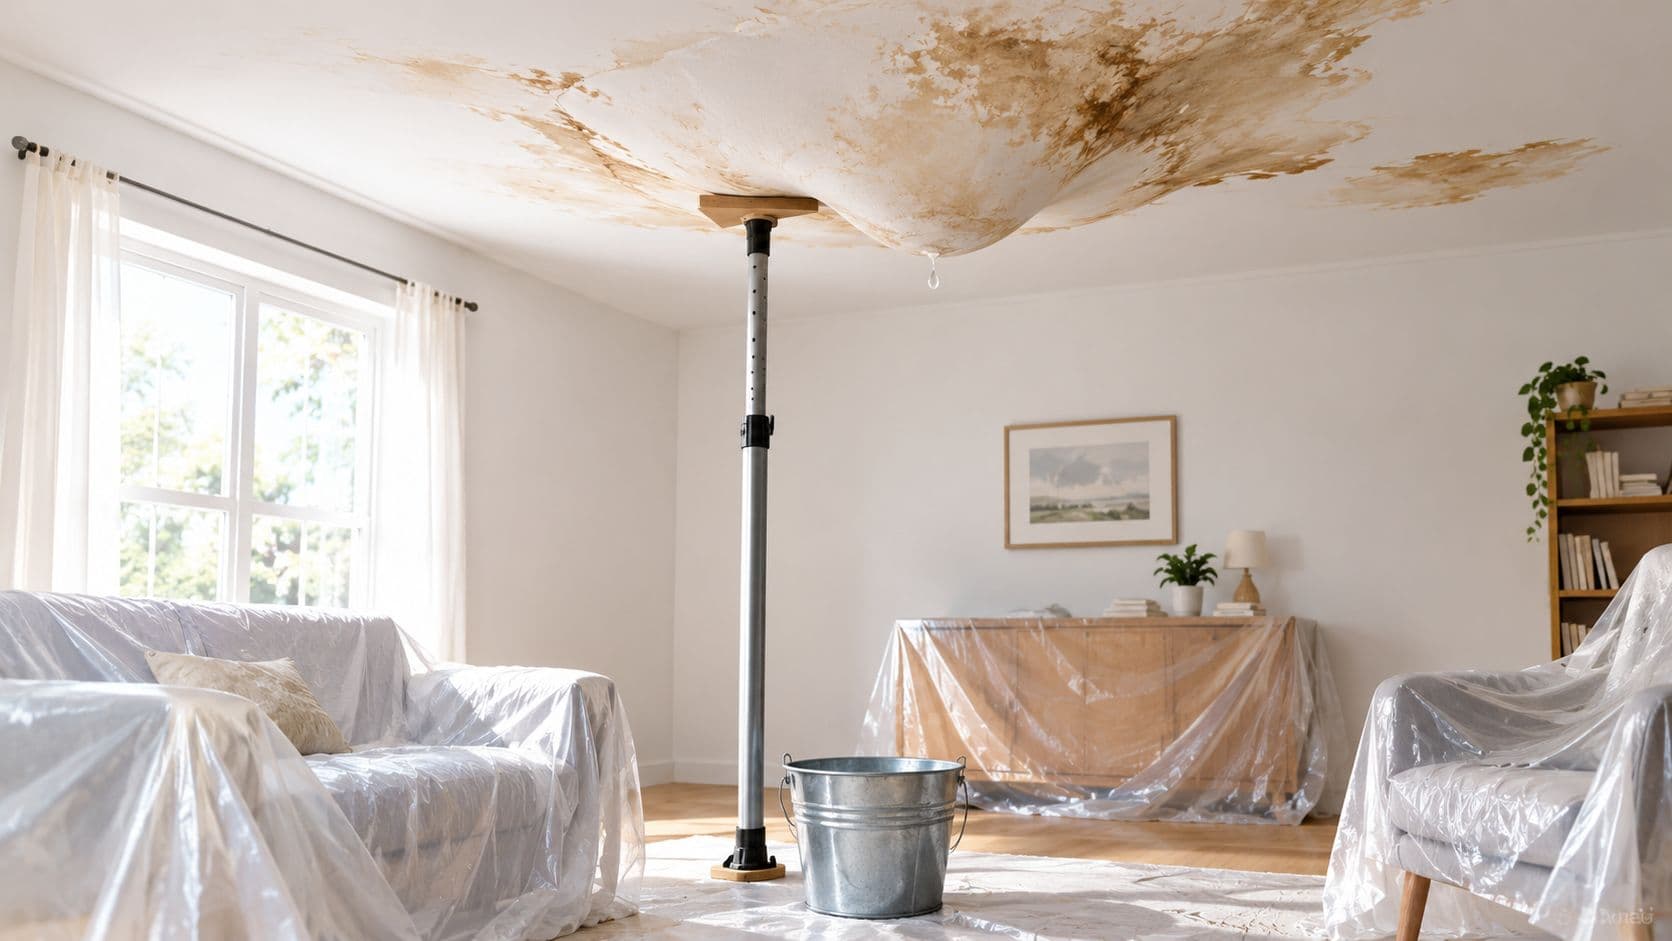
A homeowner notices it while carrying laundry down the hall. The ceiling over the upstairs bathroom doesn't look flat anymore. It has a soft-looking belly in it, with a stain spreading around the edges, and a drip starts hitting the floor every few seconds. The first thought is usually simple: can that be patched?
That reaction makes sense. Many ceiling water problems start as stains. Sagging ceiling water damage is different. A bulge means the ceiling material has taken on water, gained weight, and lost strength. What looks like a surface blemish may be the visible bottom of a much larger problem hidden above the drywall.
That's why this situation feels scary. It should be taken seriously, but it doesn't need panic. A sagging ceiling is best treated as an urgent water-damage event until the source is stopped and the ceiling assembly is properly checked. Industry guidance treats sagging, bulging, or soft ceiling areas as warning signs because wet drywall can lose rigidity and fail with little warning, and water damage is already one of the most common and costly property-loss problems in the U.S. according to this water-damage overview.
A worried homeowner usually has four immediate questions:
- Is it safe to stand under it
- Should the bulge be drained
- Can it dry out on its own
- Will this turn into a repair, a restoration job, or an insurance claim
Those are the right questions. The answers depend on what caused the leak, how much water is trapped above the ceiling, and whether the drywall and materials above it still have enough strength left to stay in place.
Introduction Why a Sagging Ceiling Is More Than a Stain
A ceiling stain can sit there for days and tempt someone to think the problem is mainly cosmetic. A sagging ceiling changes that calculation. The shape itself tells a story. Water has likely entered the ceiling cavity, soaked into drywall, and added overhead load to a material that was only meant to span flat and stay dry.
Why the bulge matters more than the color
Drywall isn't a waterproof panel. It depends on a gypsum core, paper facing, tape joints, and fasteners all working together. Once those materials stay wet, the ceiling can stop behaving like a firm sheet and start behaving like a heavy, weakened membrane.
Practical rule: A stained ceiling may need investigation. A sagging ceiling needs immediate caution.
Many readers get tripped up. They see only a few square feet of visible damage and assume the wet area is equally small. In reality, water often travels along framing, pools above the lowest point, and shows up far from where it entered. The bulge is often the place where the assembly finally reveals what has already been happening out of sight.
What matters in the first few hours
A calm response helps most. People and pets should stay out from underneath the sag. If the source can be stopped safely, that comes next. Floors and belongings can be protected after the area is cleared.
The bigger point is this: a sagging ceiling isn't just a finish problem to paint over later. It can be the end stage of a leak that has already affected drywall, insulation, framing, and electrical fixtures nearby. The rest of this guide walks through what's happening overhead, what to do right away, how to trace the source, and how a proper repair is usually handled.
How Water Makes a Ceiling Sag and Why It Can Fail Quickly
The easiest way to understand sagging ceiling water damage is to think about a simple mismatch. Water adds weight. Wet drywall loses strength. When those two things happen at once overhead, the ceiling can deform fast.
Drywall gets heavier as it gets weaker
A ceiling panel is designed to stay flat while attached to framing. Water changes the equation. Independent safety guidance published in 2026 notes that sagging drywall commonly develops within 48 to 72 hours of an unresolved water source, and the same guidance warns that collapse risk can become significant after only a few days of continued wetting, as explained in this ceiling-collapse safety guide.
That timeline surprises many homeowners. The stain might look recent, but the structural change can happen quickly once the material is saturated enough.
The hidden load above the ceiling
The drywall itself may not be the only thing holding water. Wet insulation above the ceiling can add more weight. Water can also collect around light fixtures, along the vapor barrier, or on top of the drywall surface inside the cavity before the homeowner sees anything below.
Common sources above the ceiling cavity include:
- Roof leaks that let water enter from above and travel along the underside of roof or attic components
- Plumbing failures from bathrooms, supply lines, or drains on the floor above
- Overflow events from tubs, toilets, or washing machines that spill into the assembly
- HVAC condensate problems that drip repeatedly into one section of the ceiling
Those source categories are repeatedly identified in guidance on water-damaged ceiling collapse causes.
Why the drywall itself usually can't be trusted once it sags
Once ceiling drywall visibly sags or bulges, the issue isn't just moisture content. It's material integrity. Industry guidance tied to the IICRC S500 notes that visibly sagging or completely saturated ceiling board should be removed rather than dried in place because the board can lose bond strength at the paper facing and release unexpectedly. That same guidance notes mold risk can begin in as little as 24 to 48 hours, depending on conditions, in this gypsum board moisture-damage reference.
A ceiling bulge is a load problem. Water has added weight at the same time the ceiling material has lost the strength needed to hold that weight.
This is the key reframing. Homeowners often treat the discoloration as the problem. The core problem is the combination of water load, loosened fasteners, softened board, and hidden cavity moisture. Drying the room air alone doesn't fix that loss of structural reliability.
Immediate Safety Checks and What to Do Right Now
The first minutes matter more than the first repair idea. A homeowner doesn't need a full diagnosis yet. The goal is to make the area safer, limit added damage, and avoid a bad decision that turns a ceiling bulge into an injury.

Start with distance and stability
A visibly sagging or bulging ceiling should be treated as a collapse risk until proven otherwise. Neutral guidance consistently advises keeping the area clear and avoiding casual tests by hand or attempts to poke or drain it, as summarized in this guidance on ceiling water-damage warning signs.
That means the safest first move is often the least dramatic one. Step back. Move children, pets, guests, and coworkers away from the area. Shift chairs, beds, electronics, and anything valuable out from underneath if that can be done without standing under the bulge.
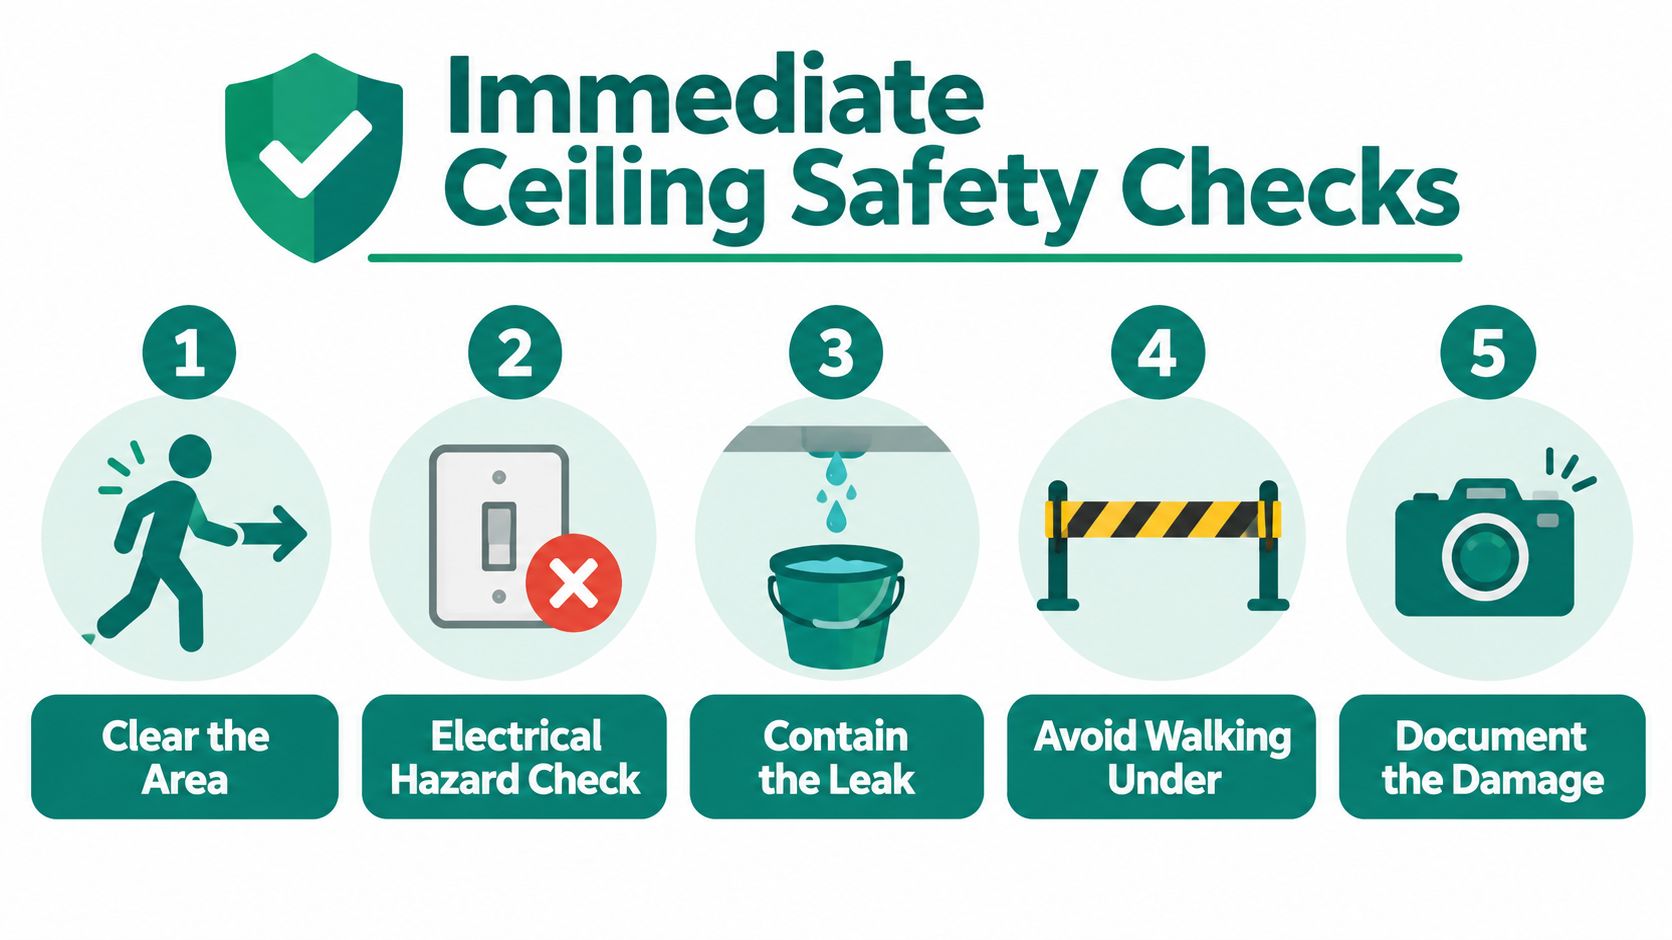
The first-hour checklist
- Clear the space: Create a no-walk zone beneath and around the sagging area.
- Check for electricity nearby: If water is near a ceiling light, fan, recessed can, outlet, or switch path, power to the affected area may need to be shut off if it can be done safely.
- Contain dripping water: Place buckets or plastic bins under active drips, but only if they can be set from the edge of the hazard zone.
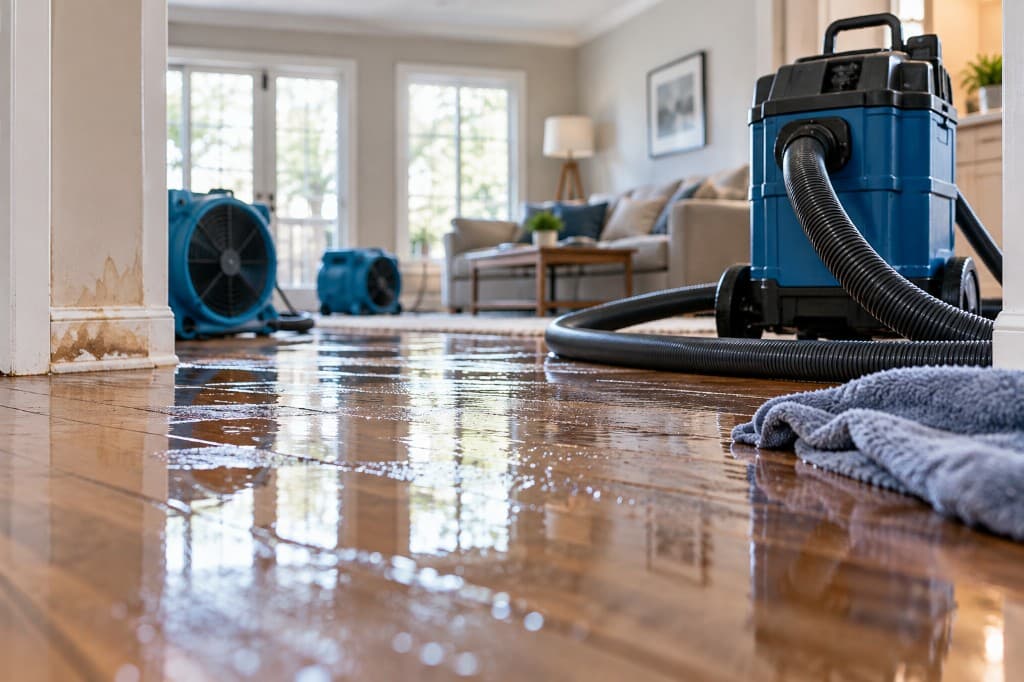
- Protect surfaces: Use towels or plastic sheeting on flooring and furniture outside the immediate danger area.
- Document before moving too much: Take photos and short video of the bulge, stain pattern, drips, nearby fixtures, and any affected contents.
Many readers facing this problem are also dealing with active leakage. For a broader walkthrough focused on the leak itself, guidance on water leaking through a ceiling can help frame the immediate response.
What not to do
Some homeowners feel tempted to poke a hole in the lowest point and let trapped water out. That can sometimes reduce weight, but it can also trigger uncontrolled collapse, spread contaminated water, or create an electrical hazard if the source and nearby fixtures aren't known.
Do not assume the bulge is just trapped clean water. Until the source is identified, the safer assumption is that the ceiling assembly is unstable and may contain more water than the visible shape suggests.
Another common mistake is pressing on the drywall to “see if it's soft.” That test doesn't provide useful information the way people think it does. If it's already bulging, the visual sign is enough to justify keeping clear and arranging assessment.
If the water source is known
Sometimes the source is obvious. A toilet overflow upstairs, a burst supply line, or a leaking tub may point to a simple shutoff. If the water can be stopped safely, stopping it matters more than setting up fans. Fans don't help much if the leak is still active.
If the source isn't obvious, the homeowner doesn't need to guess from underneath. The safer holding pattern is to isolate the area, document it, catch active drips, and move to source tracing.
Finding the Source and Deciding If You Need a Professional
Once the area is stable enough to approach carefully from outside the hazard zone, the next question is where the water came from. Most sagging-ceiling incidents trace back to something above the cavity, but the clue that matters most is often timing.

Four source patterns to compare
A simple comparison helps narrow the search:
| Source pattern | Typical clue |
|---|---|
| Roof leak | The ceiling leak appears during or after rain, often near exterior walls or below roof penetrations |
| Plumbing failure above | The leak worsens when fixtures, drains, or supply lines upstairs are used |
| Overflow event | The timing matches a bathtub, toilet, sink, or appliance spill |
| HVAC condensate issue | Dripping shows up near air-handling components or during cooling operation |
The reason this matters is practical. A repair won't hold unless the source is corrected first. Ceiling patching before source control often leads to repeat damage.
When DIY observation stops being enough
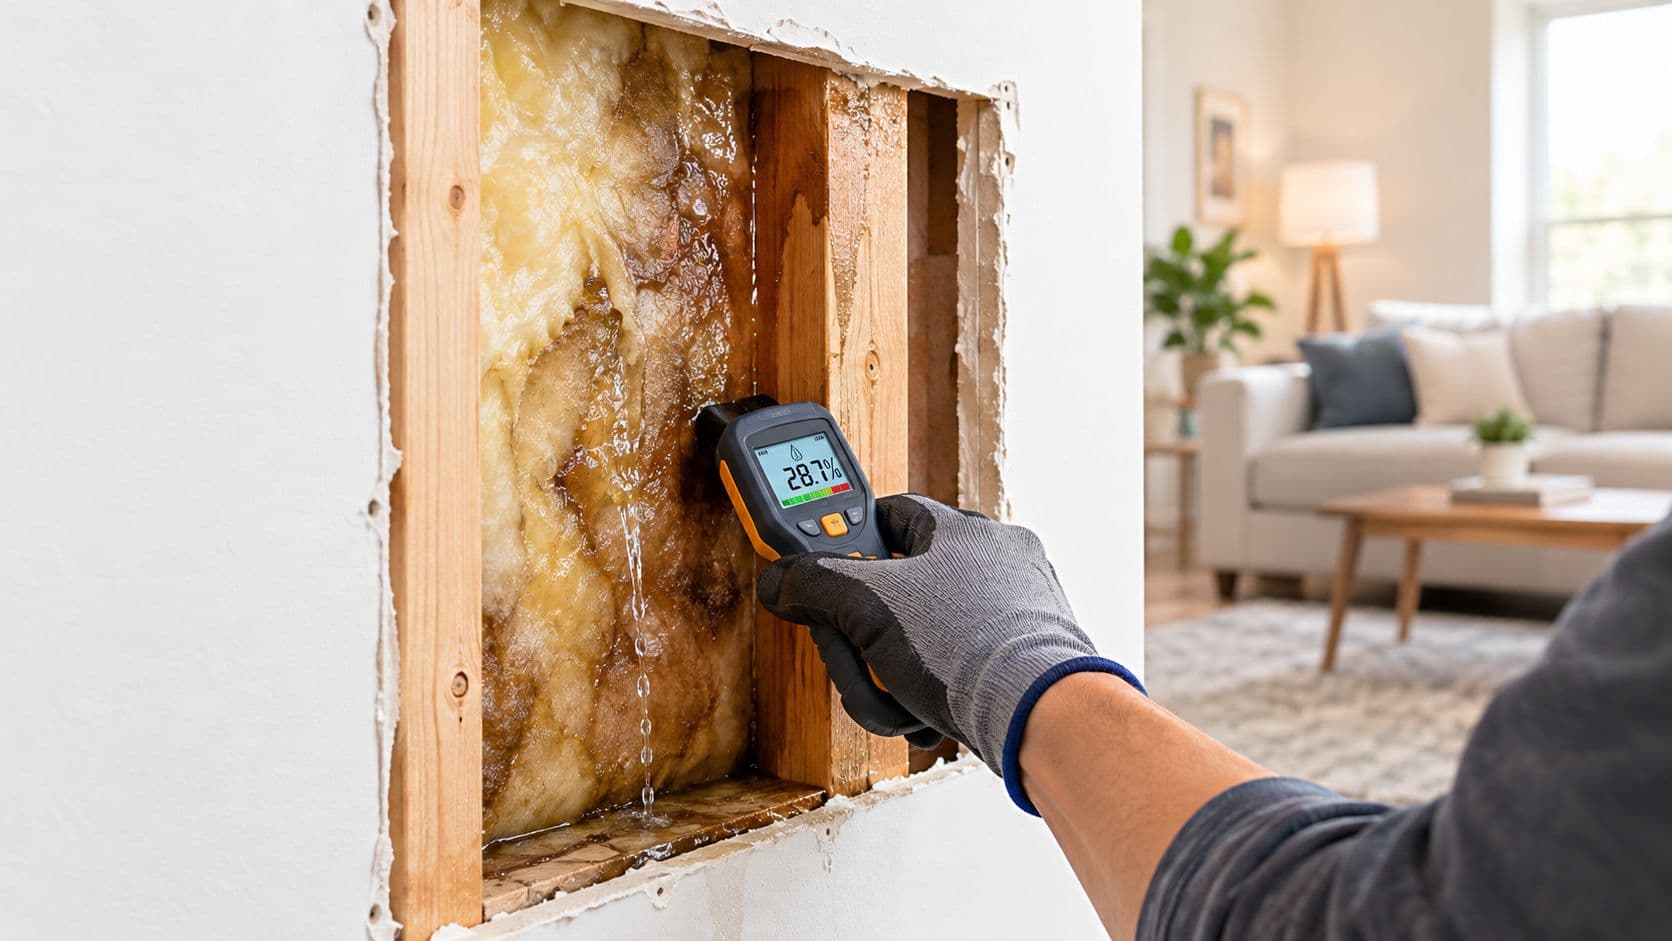
A homeowner can often do basic pattern matching. A homeowner usually can't verify hidden moisture by sight alone. Professional water-damage standards call for measuring ambient psychrometrics and material moisture content, and restoration guidance commonly uses a wood framing threshold of about 16% moisture content as a practical drying benchmark, as discussed in this IICRC S500 study reference.
That benchmark matters because a ceiling surface can look dry while the framing and cavity remain wet. Hidden moisture is exactly what confuses many repair decisions. The stain fades. The drywall feels cooler or drier. The cavity still hasn't reached a safe drying endpoint.
Signs that professional assessment is the better call
- Visible sagging or bulging: That alone points away from cosmetic repair.
- Active dripping with an unknown source: The leak path may be more complex than it appears.
- Water near electrical fixtures: Lighting, fans, or wiring in the area raise the stakes.
- A soft or swollen ceiling around a larger area than the stain: The wet zone may extend well beyond what's visible.
- A repeat leak in the same spot: Earlier surface repair may have missed hidden moisture or the original source.
A homeowner trying to decide whether the problem is localized or deeper usually benefits from a water damage inspection guide because inspection is less about the stain itself and more about confirming what stayed wet behind it.
If the drywall is already sagging, the key question usually isn't “Can this be dried?” It's “What else above it is wet, and how far does that wet area extend?”
That's where professional equipment and measured drying logic become useful. Visual dryness and actual dryness are not the same thing.
How Professionals Dry Repair and Restore a Sagging Ceiling
Professional restoration usually follows a sequence. Stop the source. Remove what can't reliably be saved. Dry what remains. Verify dryness. Then rebuild. That order matters because a ceiling with lost integrity can't be talked back into strength just by moving air through the room.

Removal comes before cosmetic repair
Accepted repair guidance says damaged sections should be cut out back to stable framing or joists, the cavity should be inspected for wet insulation and framing damage, saturated insulation should be removed if present, and new drywall should be installed with proper support. One repair guide also notes that panels with moisture readings above 15 percent should be replaced rather than re-fastened in this repair guidance document.
That explains why sagging ceiling water damage often turns into a removal-and-rebuild job instead of a patch. Once the board has deformed, professionals generally don't trust it to flatten out and hold long term.
What the restoration workflow usually looks like
Controlled demolition
Workers protect the area below, remove unstable drywall in a planned way, and expose the cavity rather than waiting for an uncontrolled failure.Cavity inspection
The open area lets them check insulation, framing, fasteners, and nearby building components for spread beyond the original bulge.Structural drying
Air movement and dehumidification target the wet framing and cavity, not just the room surface.Moisture verification
Drying is confirmed with measurements, not guesswork.Rebuild and finish
New drywall, tape, texture, and paint go in only after the assembly has reached an acceptable drying endpoint.
A homeowner researching the drying side in more detail can review how wet drywall is typically dried and evaluated before asking contractors what parts will be removed and what parts may remain.
What “dry enough” really means
Professional drying standards tied to the IICRC S500 say affected materials should be returned to within 2 to 4 percentage points of unaffected reference materials in the same building, according to this summary of the structural drying benchmark.
That's one of the most useful questions a homeowner can ask: how is dryness being verified before the ceiling is closed? “It looks dry” isn't a measurement. “It matches the unaffected area within the accepted range” is closer to a real answer.
What to ask: Which materials are being removed, which are being dried in place, and how will dryness be confirmed before new drywall goes up?
That question often reveals the difference between a true restoration process and a fast cosmetic patch.
Costs Timelines and Insurance Documentation for Water Damaged Ceilings
A sagging ceiling often creates a budgeting mistake. Homeowners see a damaged surface and expect a patch. The cost usually comes from the weight that water added above the ceiling, the drywall strength that was lost, and the hidden moisture trapped in the cavity.
That distinction matters because a ceiling bulge is closer to a load failure than a cosmetic flaw. If the drywall softened, fasteners loosened, or insulation above became saturated, the repair scope expands beyond stain blocking and paint. Part of the job may involve opening the area, removing unstable material, drying what sits above it, and then rebuilding only after the structure is dry enough to close.
What usually makes the job cost more
The final price rises when the ceiling needs to be opened wider than the visible sag. Contractors may need enough access to remove weakened drywall, pull wet insulation, check framing, and reach the original leak path. Texture matching and repainting can also spread beyond the damaged spot so the repair does not look like a square patch in the middle of the room.
Time follows the same pattern. Stopping the leak may be quick. Drying and verification often take longer than homeowners expect, especially if moisture reached the cavity, framing, or insulation. Rebuilding starts after those materials are ready, not when the ceiling surface looks dry.
What drives sagging ceiling repair cost and time
| Factor | What It Affects |
|---|---|
| Leak source complexity | How quickly the cause can be stopped and whether other trades are needed |
| Size of damaged drywall area | Demolition scope, rebuild labor, and finishing work |
| Wet insulation above the ceiling | Removal, disposal, and replacement needs |
| Hidden framing moisture | Drying duration and whether the cavity can be closed yet |
| Nearby electrical fixtures | Safety steps, access, and possible electrician involvement |
| Finish level and texture match | Final repair labor and visual blending |
Insurance documentation that helps
Good documentation works like a timeline you can hand to an adjuster. It shows what happened, how the problem changed, and why the repair involved more than touching up a stain.
- Photograph the progression: Take clear photos of the bulge, stains, active dripping, affected belongings, and any visible source once it can be seen safely.
- Record the likely cause: Note whether the problem appeared after rain, plumbing use, an overflow, or HVAC operation.
- Save receipts and invoices: Keep records for temporary protection, cleanup supplies, emergency visits, and repair assessments.
- Write down timing: Record when you first noticed the issue, when it worsened, and when the water source was stopped.
- Keep removal notes: If part of the ceiling or insulation is taken out, note where it came from and why it had to be removed.
Coverage often turns on policy language and the type of water event involved. Clear notes and early photos help show that the ceiling was not just stained. It had lost strength, held added weight, and needed structural drying and repair before it was safe to close up again.
Next Steps to Stabilize Your Home and Get the Right Help
A sagging ceiling puts homeowners in a stressful spot because the damage feels both visible and uncertain. The visible part is the bulge. The uncertain part is everything above it. That's why the safest response is to treat the problem as a structural warning first and a repair project second.
Three priorities matter most. Keep people clear of the area. Stop the water source if it can be done safely. Verify drying with measurements instead of appearance. Those steps protect both the home and the people inside it.
A small stain may sometimes turn into a paint job. A sagging ceiling usually doesn't. Once the drywall has lost integrity, the work often involves cavity inspection, removal of non-restorable material, measured drying, and then rebuild. That sequence is what prevents the same spot from reopening or trapping moisture overhead.
For readers weighing whether this is a minor repair or a true mitigation issue, it helps to review broader guidance on professional water damage restoration options. That gives the next decision some structure without rushing into a fix that only addresses the surface.
A homeowner who sees a bulge, active drip, soft ceiling field, or water around fixtures has enough information to justify fast action. The ceiling doesn't need to be on the floor before the situation counts as serious.
PostDamage helps homeowners, landlords, and small businesses understand what to do after water damage and whether a situation calls for professional restoration, repair, or inspection. For a sagging ceiling, that kind of guidance can help turn a confusing overhead hazard into a clear next step. Visit PostDamage to learn more and request situation-specific help without the usual flood of competing calls.