A wet spot on the wall can turn a normal day into a stressful one fast. Maybe the paint is bubbling under a bathroom pipe leak. Maybe a ceiling stain suddenly spread after last night’s storm. Maybe a baseboard feels damp and nobody knows how long it has been that way. In that first hour, most homeowners want one answer: can this drywall be dried, how is it dried properly, and when does it need to be replaced?
Quick action matters, but the right action matters more. Whether drywall can be saved depends on how saturated it is, where the water came from, what is behind the wall, room conditions, and how quickly mitigation begins. Panic does not help. A calm plan does.
You found wet drywall — now what?
The first discovery is usually small. A stain. A soft patch. A swollen baseboard. What unsettles homeowners is not just the mark on the wall. It is the thought that water may have been traveling behind the paint, into the cavity, across the floor line, or down from a ceiling for longer than anyone realized.
That is why the first move is not to start patching. It is to slow down and think in terms of safety, source, and spread. If the wall got wet from a one-time clean-water event and the area is addressed quickly, drying in place may still be an option. If the wall has been wet repeatedly, the risk of structural weakening and mold goes up.
Wet drywall is not just a wall problem. It can be a cavity, insulation, trim, and flooring problem at the same time.
A common example is a supply line leak behind a vanity. The visible damage may be a damp wall corner in the next room. By the time that spot appears, water may already have moved along the base plate and into adjoining materials. A roof leak can do the same thing from above, staining one section while soaking another.
If you still need to confirm whether moisture is traveling inside the assembly, see how to detect water leaks in walls. For the broader repair-versus-rebuild decision after drying, see water damage wall repair.
Your first steps within the hour
The goal in the first hour is simple: stop active damage and reduce risk. This is not the full restoration process. It is emergency first aid that helps limit how much worse the situation gets.

Stop the water and secure the area
If water is still entering the wall, drying cannot begin yet.
- Shut off the source if it is safe to do so. Close the nearest supply valve for a sink, toilet, washing machine, or appliance. If the source is not obvious and the main shutoff is reachable from a dry location, turn off the home’s main water supply.
- Treat water near outlets, switches, fixtures, appliances, or the electrical panel as an electrical hazard. Avoid unsafe contact with wet areas near power. Do not walk through standing water to reach a breaker panel. If safe isolation of power is uncertain, seek qualified emergency or electrical help.
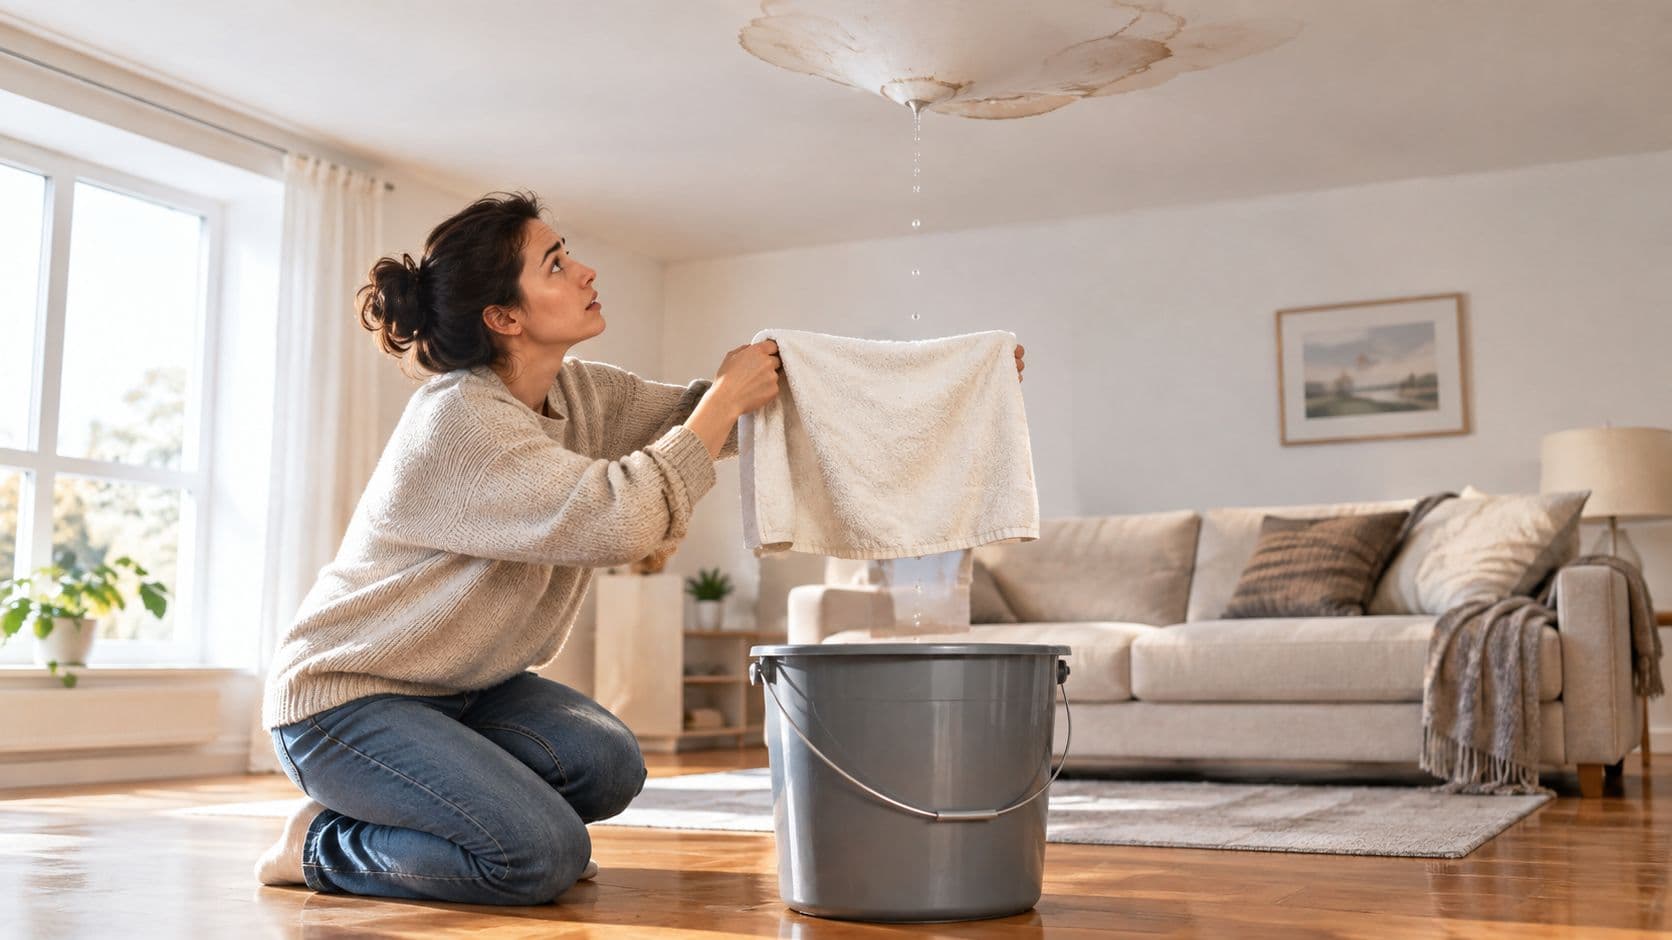
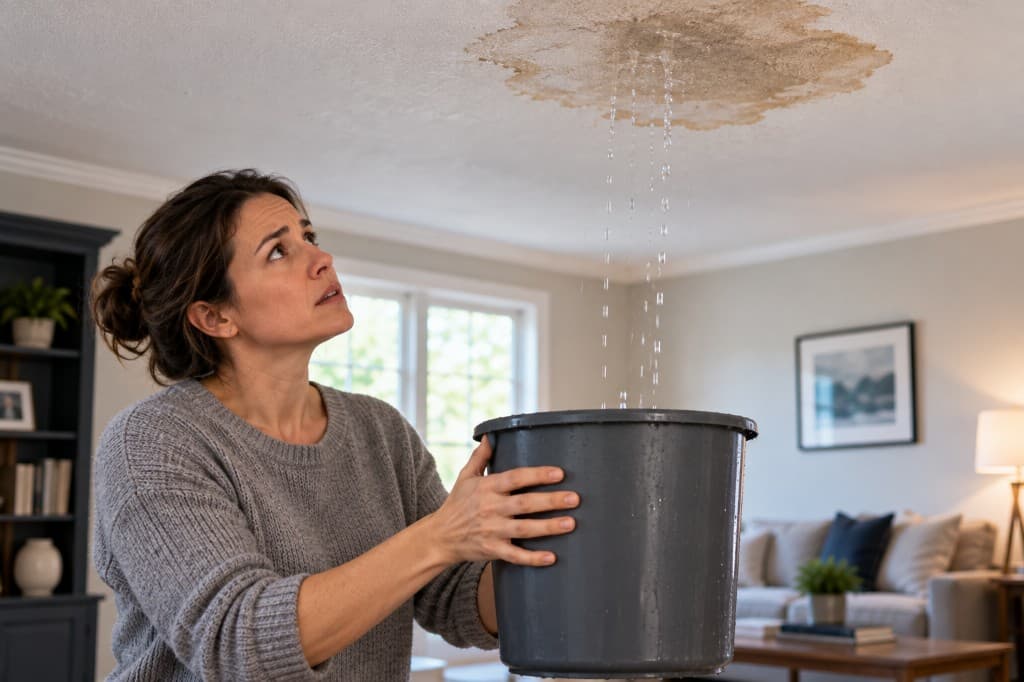
- Avoid opening a bulging ceiling or poking a swollen wall. Saturated drywall can fail suddenly. Stay out from under sagging sections.
These steps buy time. They do not answer whether the drywall is salvageable.
Protect people and belongings
Once the source is controlled and the area is safe to enter:
- Lift furniture away from wet walls. Upholstered items, wood furniture, and rugs can absorb migrating moisture.
- Pick up items stored on the floor. Cardboard boxes, shoes, baskets, and linens often wick moisture before homeowners notice.
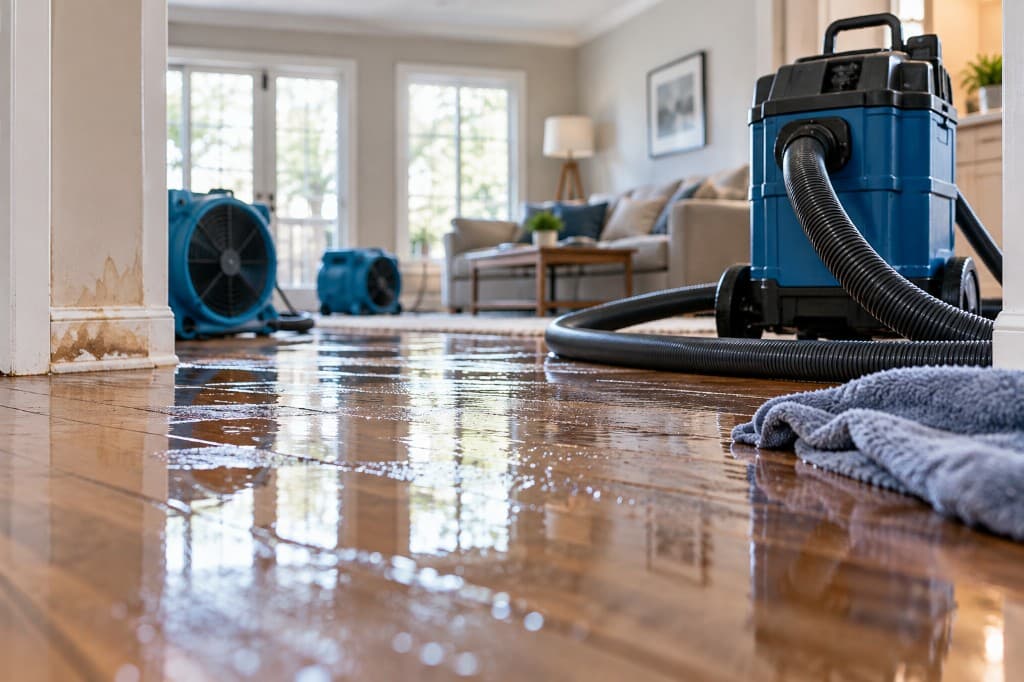
- Blot or extract floor water if it is safe. Towels, a wet vacuum, or basic water removal can help keep water from feeding the wall further.
Practical rule: Anything touching a wet wall or damp floor edge should be moved first. Secondary damage spreads quietly.
Treat this as first aid, not a full fix
Running a box fan at the wall may make the paint feel dry. That does not mean the gypsum core, base plate, or wall cavity is dry. Homeowners often lose time by assuming surface dryness means the problem is over.
A better next step is professional assessment when the wet area is larger than a light splash, insulation may be involved, or the source is unclear. For what professional stabilization usually involves before rebuild, see what water mitigation is.
If household fans are used while waiting for help, treat them as temporary support only. They are not a substitute for controlled drying, contamination decisions, or moisture verification.
How to assess the extent of the damage
Visual inspection will not tell the whole story, but it can tell a homeowner a lot. The key is to stop looking only at the obvious stain and start looking for the path water likely followed.

What can be seen without opening the wall
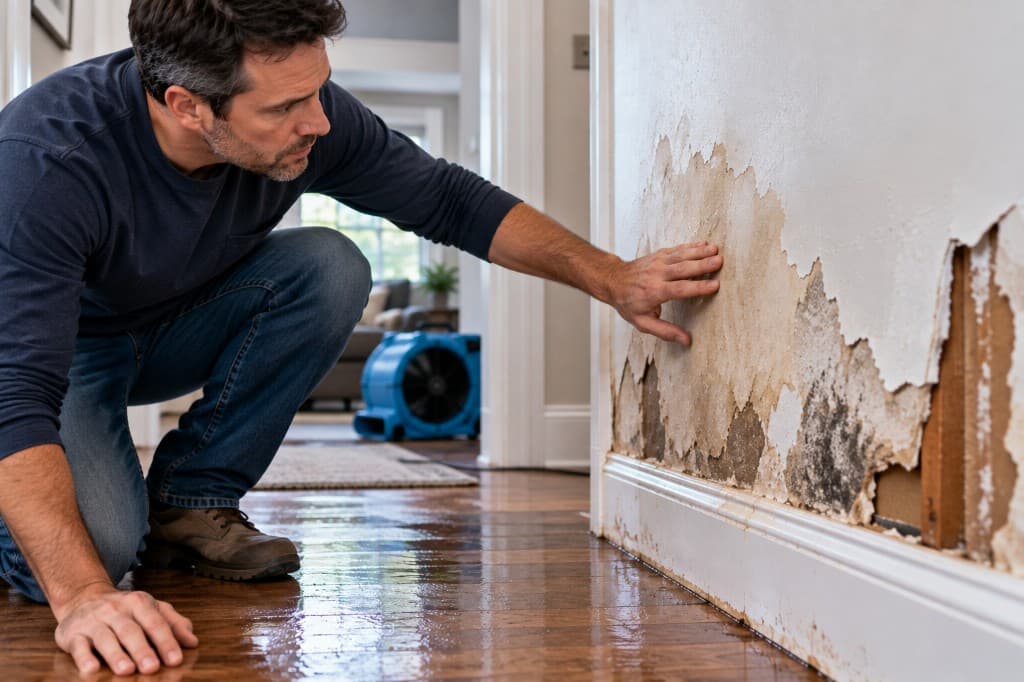
Look for signs that the drywall has absorbed more than a light surface splash:
- Swelling or bulging near the baseboard or below a leak path
- Peeling paint or bubbling texture where moisture has pushed outward
- Brown or yellow staining that suggests past or ongoing wetting
- Softness when pressed lightly with the back of a knuckle, not a hard poke — only if the area is electrically safe and not sagging
- Baseboards pulling away or trim joints opening up
Water rarely stays centered where it first appears. It can travel down framing, spread sideways behind paint, or wick through the gypsum.
A short visual check can also help identify whether cabinets, flooring edges, door casings, or adjacent rooms may be involved. If one wall is wet, the next material in contact with it may be wet too.
Why the water source changes everything
Not all wet drywall gets the same treatment. Water type is one of the biggest decision points.
| Water source | What it often means for drywall |
|---|---|
| Cleaner supply-line water | Drying in place may be considered in some situations after a careful assessment |
| Category 2 (gray) water | More careful cleaning and often selective removal; do not assume the board can simply be dried |
| Category 3 (black) water or sewage | Removal of porous materials is commonly required because contamination risk is high |
Contaminated water changes the job. If the water came from a drain backup, toilet overflow with waste, outdoor floodwater, or sewage, the question is often not “how do I dry this drywall?” — it is how to remove affected porous materials safely and dry the structure behind them. Exact scope should come from a qualified assessment, not a one-line internet rule.
Why moisture meters matter
Homeowners can spot stains. They cannot reliably measure hidden moisture by touch.
A wall can feel dry on the paint surface and still hold damaging moisture inside.
That is why professionals use moisture meters to map where water is, not where it looks like it is. Compare readings in dry reference areas to the suspect wall. A visual check is a start. It is not a conclusion. Exact “pass/fail” percentages vary by meter type, material, and job conditions — ask the contractor what dry standard they are using and to show the readings.
The professional drying process explained
Professional drying looks very different from the usual homeowner response of opening a window and pointing a fan at the wall. The method matters because drywall does not dry evenly from the outside surface inward.

Why a fan alone usually fails
A box fan helps air move across a room. It does not control humidity, reach trapped moisture in the wall cavity, or verify whether the gypsum core has dried. In some homes, opening windows can make things worse by bringing in more humid air.
Professional drying is built around control. The work area may be contained so outside air does not constantly interfere with drying. That environment lets air movers and dehumidifiers work together instead of fighting uncontrolled air exchange.
What professional drying actually looks like
The most effective approach focuses on the wall interior, not just the painted face. For insulated walls, that may mean selective opening so wet insulation and cavity surfaces can be addressed. For some assemblies, baseboards and flooring edges may also come off to allow airflow where moisture is trapped.
Common tools in that setup include:
- Air movers placed to drive evaporation across wet materials
- Commercial dehumidifiers that pull moisture out of the air continuously
- Containment when needed to isolate the work area and stabilize drying conditions
- Moisture meters to check progress instead of guessing
How long drying takes depends on saturation, construction, insulation, humidity, temperature, and how quickly work begins. There is no honest universal calendar for every wall.
For the broader emergency stabilization sequence around extraction and drying, see what water mitigation is.
How pros know the wall is really dry
A proper dry-out does not end when the stain lightens or the room feels better. It ends when testing confirms materials have reached an acceptable dry condition for that home and material.
Ask for:
- Moisture readings from affected and unaffected comparison areas
- Notes on which materials were wet
- Confirmation that cavities and remaining materials meet the contractor’s drying goal before finishes go back
Drying is a controlled process, not a waiting game.
That is the difference between a wall that looks better for now and a wall that is ready for repair.
Should you repair or replace the drywall?
This is the question most homeowners ask first, but it is usually the last one that should be answered. Before deciding on patching or replacement, the wall has to be judged by water source, condition, and what is happening behind it. For the wider wall-assembly rebuild decision, see water damage wall repair.

When repair may be possible
Repair may still be on the table when the drywall was hit by cleaner water, the material was dried thoroughly, and the wall remains structurally solid. A firm wall with no crumbling, sagging, or persistent softness has a better chance than one that has started to break down.
Cosmetic damage alone also does not always mean full replacement. Stain sealing, texture repair, and repainting may be enough once professional drying confirms the structure is dry and sound.
When replacement is the safer call
Replacement becomes more likely when the drywall is soft, swollen, repeatedly wetted, contaminated, or tied to hidden cavity damage.
Wet insulation behind drywall is a common tipping point. Fiberglass and cellulose that stay damp in a closed cavity can keep moisture against the board and framing. In many cases, wet insulation needs to be removed so the cavity can be dried properly — do not assume “the paint feels dry” means the insulation is fine.
A practical comparison helps:
| Condition | More likely outcome |
|---|---|
| Surface staining but wall is dry and solid | Repair |
| Soft, bulging, crumbling drywall | Replace |
| Wet insulation behind wall | Open, remove wet insulation as needed, dry cavity, replace affected board |
| Contaminated water exposure | Often replace porous materials after assessment |
| Repeated wetting from an unresolved leak | Replace affected section after source correction |
What to document for insurance
Before any demolition or major tear-out, take clear photos of the damaged area, the source if visible, and nearby affected materials like trim or flooring. Notes about when the leak was found and what was done in the first hour can also help.
Coverage still depends on the policy and the facts of the loss. Documentation helps the claim process; it does not guarantee an outcome. Keep moisture reports, invoices, and contractor notes with your photos.
When you need to call a professional
Some drywall situations do not leave room for trial and error. Professional help is not just the better option — it is the safe one.
Call a professional right away when any of these are true:
- The water came from a drain, backup, overflow, floodwater, or sewage source
- The drywall feels soft, sags, or looks ready to break apart
- The wall has insulation behind it and that cavity may be wet
- The leak may have been active longer than a brief clean-water event
- A ceiling is stained, bowed, or dripping
- Electrical outlets, switches, or fixtures are in the wet area
- There is uncertainty about how far the water spread
Moisture testing is a major reason this call matters. Homeowners cannot see cavity readings with the naked eye. A careful assessment protects more than the wall. It helps prevent hidden mold, unnecessary demolition, and repairs that fail because the structure was never dry to begin with.
When the job is larger than a small isolated patch, PostDamage’s water damage restoration guide covers the broader professional recovery path.
If wet drywall has turned into a bigger question than a towel and fan can solve, PostDamage’s guided incident flow can help you describe the situation and find an appropriate local professional.