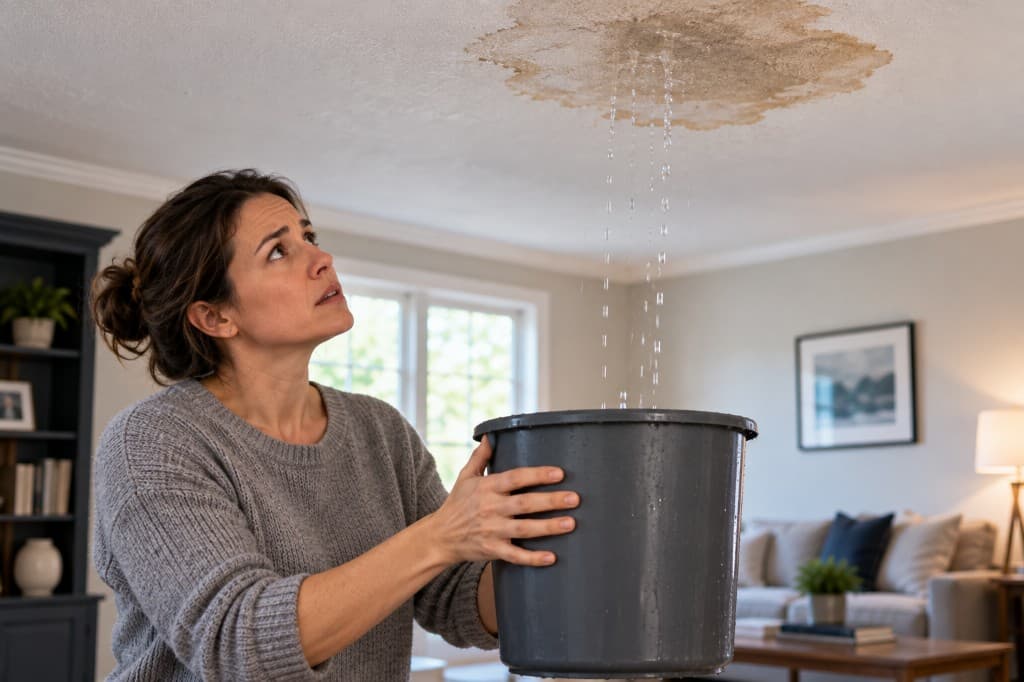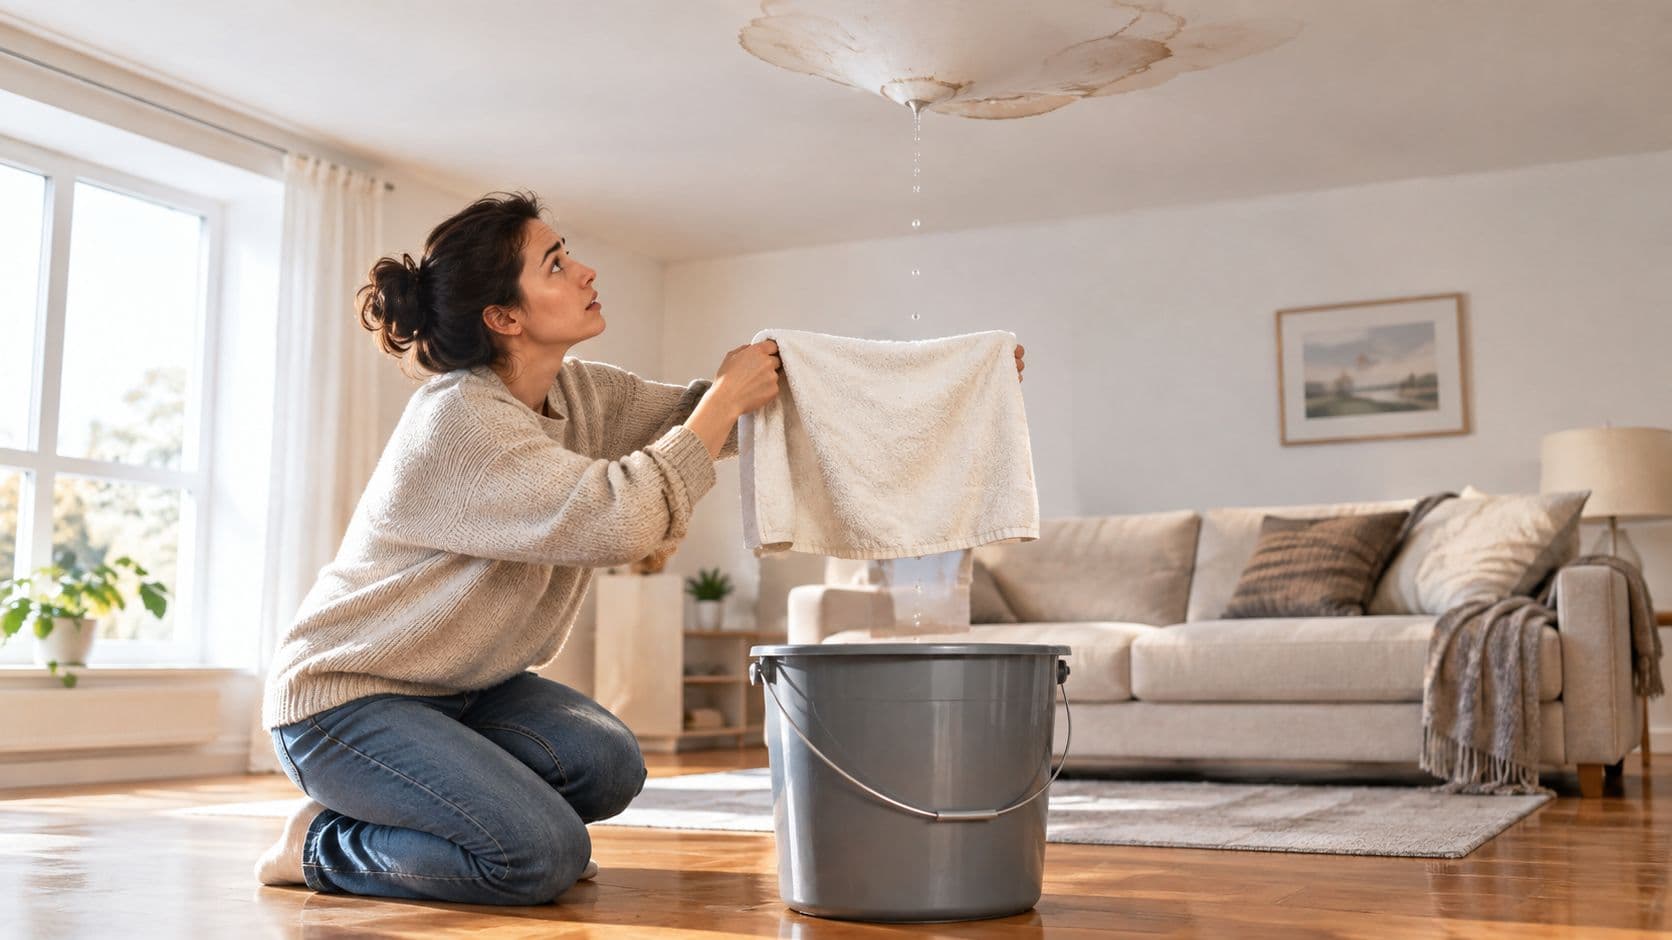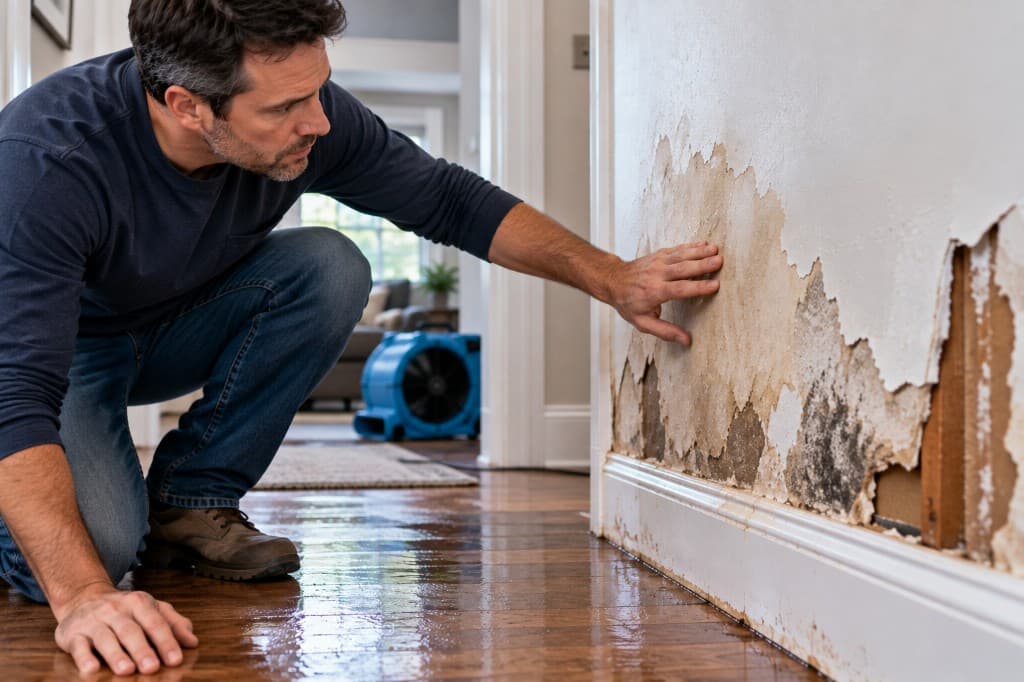
A wet wall usually shows up at the worst possible time. A brown stain spreads. Paint starts to bubble. The drywall feels soft near the baseboard. Stress kicks in fast because nobody knows, in that first moment, whether this is a small plumbing leak or the start of a much bigger repair.
The core question is practical: can this wall be dried and repaired, or does damaged material need to come out before anyone rebuilds? The right response is simple. Get the area safe, stop the water, and have the wall assessed before anyone closes it back up. That matters even more in older homes. Modern drywall and older plaster-and-lath walls do not dry the same way, and generic internet advice often treats them like they do.
Your first steps after finding water on a wall
The first job is not repair. The first job is control.
A wet wall is both a water problem and a potential electrical problem. Water near outlets, switches, fixtures, appliances, wiring, or the electrical panel can create a shock hazard. If the wet area looks unsafe to enter or touch, stay clear and get qualified emergency or electrical help before anyone starts inspection or cleanup near power.

Safety first, then water control
Do not treat “cut the power” as a casual DIY step when you are standing in or next to a water-damaged area.
- If water is near outlets, switches, fixtures, appliances, or wiring: treat the area as an electrical hazard. Avoid touching wet surfaces near power. Do not open outlet covers or remove fixtures to investigate.
- If you cannot safely isolate the affected circuit: do not go hunting through a wet area to reach a breaker panel. Call for qualified help.
- Stop the water when it is safe to do so: if the leak is from a sink supply line, toilet line, refrigerator line, or washing machine connection and you can reach a dry shutoff, close that local valve. If the source is not obvious and the main shutoff is accessible from a dry location, shut off the main water valve to stop the spread.
Practical rule: Do not start peeling paint, cutting drywall, or mopping against a wet wall until the water is stopped and the area is electrically safe to work in.
A simple checklist for the first few minutes
A calm homeowner can still do useful work in the first minutes without taking electrical risks:
- Keep people and pets out of unsafe wet zones.
- Stop the water at the nearest safe valve or main shutoff.
- Move rugs, baskets, and furniture away from the wall if footing is safe.
- Take clear photos of the stain, floor, trim, and nearby fixtures.
- Note whether the damage is growing, dripping, or spreading.
- Call for a professional inspection when the wall is soft, actively wet, near power, or the source is unclear.
If you still need to confirm whether moisture is hidden behind the finish, see PostDamage’s guide on how to detect water leaks in walls. For the first-hour safety and documentation sequence after significant water shows up, see the emergency water clean up guide.
What not to do
A stressed homeowner often reaches for a box fan and a towel. That is understandable, but it should not be the whole plan.
Do not paint over stains. Do not assume a small spot means a small leak. Do not restore power just because the surface looks dry. And do not let anyone close the wall until the inside has been checked and dried correctly.
How to assess the wall damage — and what you can't see
You walk past the wall, see a brown stain, and hope it is just a paint problem. It rarely is. By the time water shows on the surface, moisture has often already moved into the wall cavity, trim, insulation, or framing.

Start with the wall type before you judge the damage
This is the step homeowners miss.
A newer drywall wall and an older plaster-and-lath wall do not fail the same way, and they do not hide moisture the same way. Drywall softens, swells, and stains more readily. Plaster can look stable on the surface while holding moisture deeper in the finish coat, wood lath, and framing. That difference changes the inspection plan from the start.
Look at the visible signs, but read them correctly:
- Yellow or brown staining: Water has been present long enough to migrate through finishes.
- Bubbling paint or peeling wallpaper: Moisture is trapped behind the surface.
- Soft drywall: The gypsum core is losing strength.
- Cracked, sagging, or separated plaster: Keys may be breaking behind the wall, which can lead to sections loosening from the lath.
- Swollen baseboards or trim: Water may have traveled downward or sideways beyond the main stain.
- Musty odor: Damp materials inside the wall may already be supporting microbial growth.
Press lightly with your fingertips only if the area is electrically safe and the wall is not sagging. Do not poke hard or start opening the wall yourself if there is any chance the area contains wiring. If drywall feels spongy, or plaster sounds hollow and loose, stop there and get it inspected.
The stain is rarely the full footprint
Water travels. It follows studs, runs behind baseboards, soaks insulation, and can drop into the floor system before the painted face gives you a clue.
That matters even more in older homes. Plaster-and-lath walls are dense and layered. They often hide moisture longer than drywall, which leads homeowners to underestimate the spread. A wall that looks mildly stained can have wet wood lath, damp framing, and weakening plaster attachment behind it.
A proper water damage repair wall assessment needs more than a visual check. Restoration crews use moisture meters and targeted inspection to find wet materials, trace the migration path, and decide whether the wall can be dried in place or needs selective opening.
The painted surface shows where water announced itself. The real repair scope depends on what stayed wet behind it.
A sound assessment answers four direct questions: Where did the water start? How far did it travel? Which materials are still wet? Has the wall — especially older plaster and lath — lost strength that will not come back with drying alone? Without those answers, repairs get covered up too soon, and that is how hidden mold and structural failure start.
The critical drying process that DIY guides get wrong
You find a wall stain in the morning, set up a box fan, and by tonight the paint feels dry. That is the point where a lot of homeowners get trapped. Surface dryness is not the same as a dry wall assembly.
That mistake is worse in older homes. Drywall usually releases moisture more predictably. Plaster-and-lath walls do not. They are thicker, denser, and built in layers that can hold moisture deep inside the assembly long after the room feels normal again. If you follow generic DIY advice written for drywall, you can seal in wet lath, damp framing, and hidden mold.

Drywall and plaster are not the same job
Many online guides talk about drywall drying as if every wall follows the same short schedule. Older plaster-and-lath walls often need more time, more testing, and more caution. Closing those walls based on “it feels dry” is how hidden damage gets buried.
Plaster can create a false sense of progress. The painted face can look stable while the wood lath behind it is still damp and the keys holding the plaster in place are weakening. Once those keys break, the wall can loosen, crack, or pull away from the lath. Drying is not only about mold. It is also about whether the wall still has the strength to stay on the structure.
Mixed-material homes create another problem. A newer addition may dry on one schedule while the original hallway needs a different one. A contractor who treats both walls the same is guessing.
Be cautious with any advice that says to wait a couple of days and patch. For what professional stabilization and drying usually involve before rebuild, see what water mitigation is.
What proper drying requires
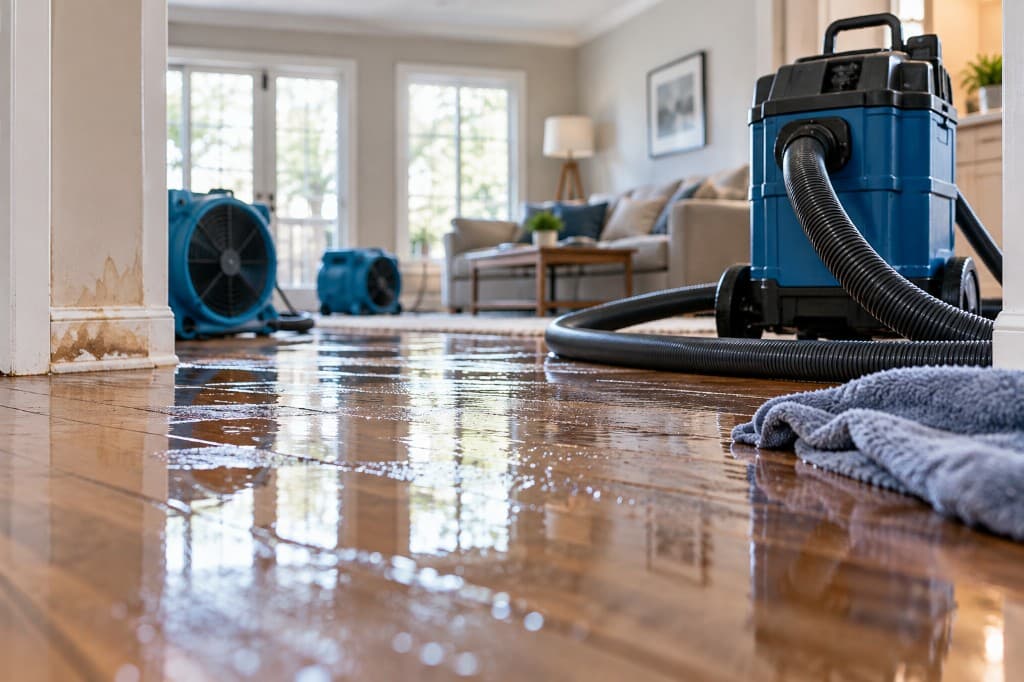
A real drying plan uses controlled airflow, dehumidification, selective opening when needed, and repeated moisture testing. Time alone is a poor method.
A sound drying approach usually includes:
- Opening what needs opening: Baseboards, trim, or sections of wall often need to come off so trapped moisture can escape instead of staying sealed inside.
- Mechanical drying: Air movers and dehumidifiers do different jobs. One moves air across wet materials. The other removes moisture from the air so materials can keep drying.
- Moisture tracking: Drying should be confirmed with meter readings in the wall materials and framing before insulation or finishes go back.
- Extra caution for older walls: Plaster-and-lath assemblies usually need more testing and patience than drywall.
- Selective removal when needed: If insulation is saturated or plaster has lost bond, drying alone is not enough. Wet or failed materials need to come out.
A wall that looks dry and a wall that tests dry are not the same thing.
In older plaster homes especially, calendar days matter less than readings. The right question is not how many days have passed. The right question is whether the wall, framing, and any remaining materials have been proven dry before repair begins.
What professional wall repair and reconstruction involves
Once the wall is confirmed dry, reconstruction can finally start. At this stage, a clean, disciplined crew stands out from a rushed one.
The process should look deliberate. No random holes. No vague “we’ll patch it and see.” Good wall repair follows the wet area, protects what can stay, and replaces what cannot.

How a pro decides what comes out
A careful contractor should explain the decision in plain language, based on moisture readings, contamination risk, and material condition — not a one-size-fits-all cut line.
Some remediation guidance discusses selective removal of lower wallboard when saturation is limited, versus broader replacement when water climbed higher or materials lost strength. Treat those ideas as starting points for a documented assessment, not universal rules. The contractor should show:
- Which materials tested wet
- What can likely dry in place
- What has already lost strength or bond
- Why a particular section needs removal
If drywall has swollen, sagged, or softened enough that it will not return to a stable plane, replacement is usually the honest path. If plaster has lost key attachment to the lath, drying alone will not restore a sound wall.
What clean reconstruction looks like
A professional wall repair usually moves in this order:
- Remove compromised wallboard and wet insulation.
- Inspect studs, plates, and cavity surfaces.
- Confirm moisture readings are acceptable for rebuild.
- Install replacement materials.
- Tape, float, sand, prime, and paint in sequence.
The finishing stage matters more than most homeowners realize. Joint compound, primer, and paint need proper cure time between coats. Rushing that step leads to flashing, stain bleed, and finish failure.
Good reconstruction does not just cover damage. It restores a stable, dry wall assembly that will not surprise the homeowner again in six months.
This is why serious water damage wall repair should not be treated like cosmetic patching. The visible surface is the final step, not the main event. When the job involves more than a small isolated patch, PostDamage’s water damage restoration guide covers the broader professional recovery path.
Costs, insurance, and documentation
A wet wall can turn into two very different invoices: one for prompt drying, selective demolition, and clean reconstruction — and another for hidden damage that sat inside the cavity, especially in older plaster-and-lath assemblies where moisture lingers longer and generic drywall advice fails.
Exact pricing varies too widely by market, wall type, contamination, and access for a single article to quote reliable per-square-foot numbers. What matters more is understanding what drives the bill and what records protect the claim.
What usually makes the price climb
The biggest cost drivers are straightforward:
- How far the water traveled: A stain on one side of a wall may mean wet insulation, base plates, flooring edges, or an adjacent room.
- What type of water was involved: Clean supply-line water is handled differently from appliance discharge, storm intrusion, or sewage backup.
- What the wall is made of: Drywall is usually faster to open, dry, and rebuild. Plaster-and-lath often takes more labor, more debris handling, and more finish work.
- How long the wall stayed wet: Delays raise the chance of odor, microbial growth, and deeper demolition.
- Whether the loss is isolated or part of a larger event: Wind-driven rain or a failed exterior opening can expand the scope beyond interior patching.
Insurance companies care about records. Good records help the homeowner show cause, scope, and response. Coverage still depends on the policy and the facts of the loss — documentation helps the claim process; it does not guarantee an outcome.
Photograph these items before cleanup changes the scene:
- The source: pipe, supply line, window, roof area, or appliance connection if visible
- The wall damage: staining, bubbling paint, cracked plaster, sagging drywall, swollen trim
- Nearby materials: flooring, cabinets, baseboards, furniture, and personal items
- The progression: photos from discovery, during drying, after opening the wall, and after repairs
Keep receipts, moisture reports, and contractor notes too. In older homes, that paper trail matters even more because carriers may ask whether cracking or loose plaster came from the current water event or from pre-existing age-related wear.
When you should call a professional
Some wall leaks are small enough to investigate without panic. Many are not.
A homeowner should stop trying to manage this alone when the situation involves hidden moisture, contamination, electrical uncertainty, older wall assemblies, or any sign that the damage extends beyond a simple surface stain. That is not overreaction. It is how a house avoids repeat repairs.
Red flags that change this from urgent to expert-only
A professional assessment is the right move when any of these are true:
- The wall feels soft or unstable: That points to material breakdown, not just a cosmetic stain.
- There is a musty smell: Hidden moisture and microbial growth may already be inside the cavity.
- The leak source is not obvious: Water often travels before it shows.
- The wall contains outlets or switches nearby: Electrical risk changes the job immediately.
- The home has plaster-and-lath walls: Drying and rebuilding are more complicated than standard drywall work.
- The water was contaminated: Category 2 and Category 3 water require stricter cleanup and replacement standards.
- The damage keeps returning: Repainting a recurring stain is not repair.
One more practical line matters. If the wall area is more than a very small isolated section, or if the damage reaches multiple rooms, the job is already beyond a casual DIY approach. Serious moisture migration is hard to judge by eye.
When a wall leak involves uncertainty, uncertainty is the reason to bring in a pro.
What a homeowner should do right now
Keep the next move simple. Stay out of unsafe wet electrical areas. Keep the wall open if a pro has already exposed it. Save photos, invoices, and notes about when the damage appeared. Then get a qualified restoration professional to inspect, moisture-map, and lay out the sequence before any rebuild starts.
If a water-damaged wall needs expert assessment before anyone closes it up, PostDamage’s guided incident flow can help you describe the situation and find an appropriate local professional.