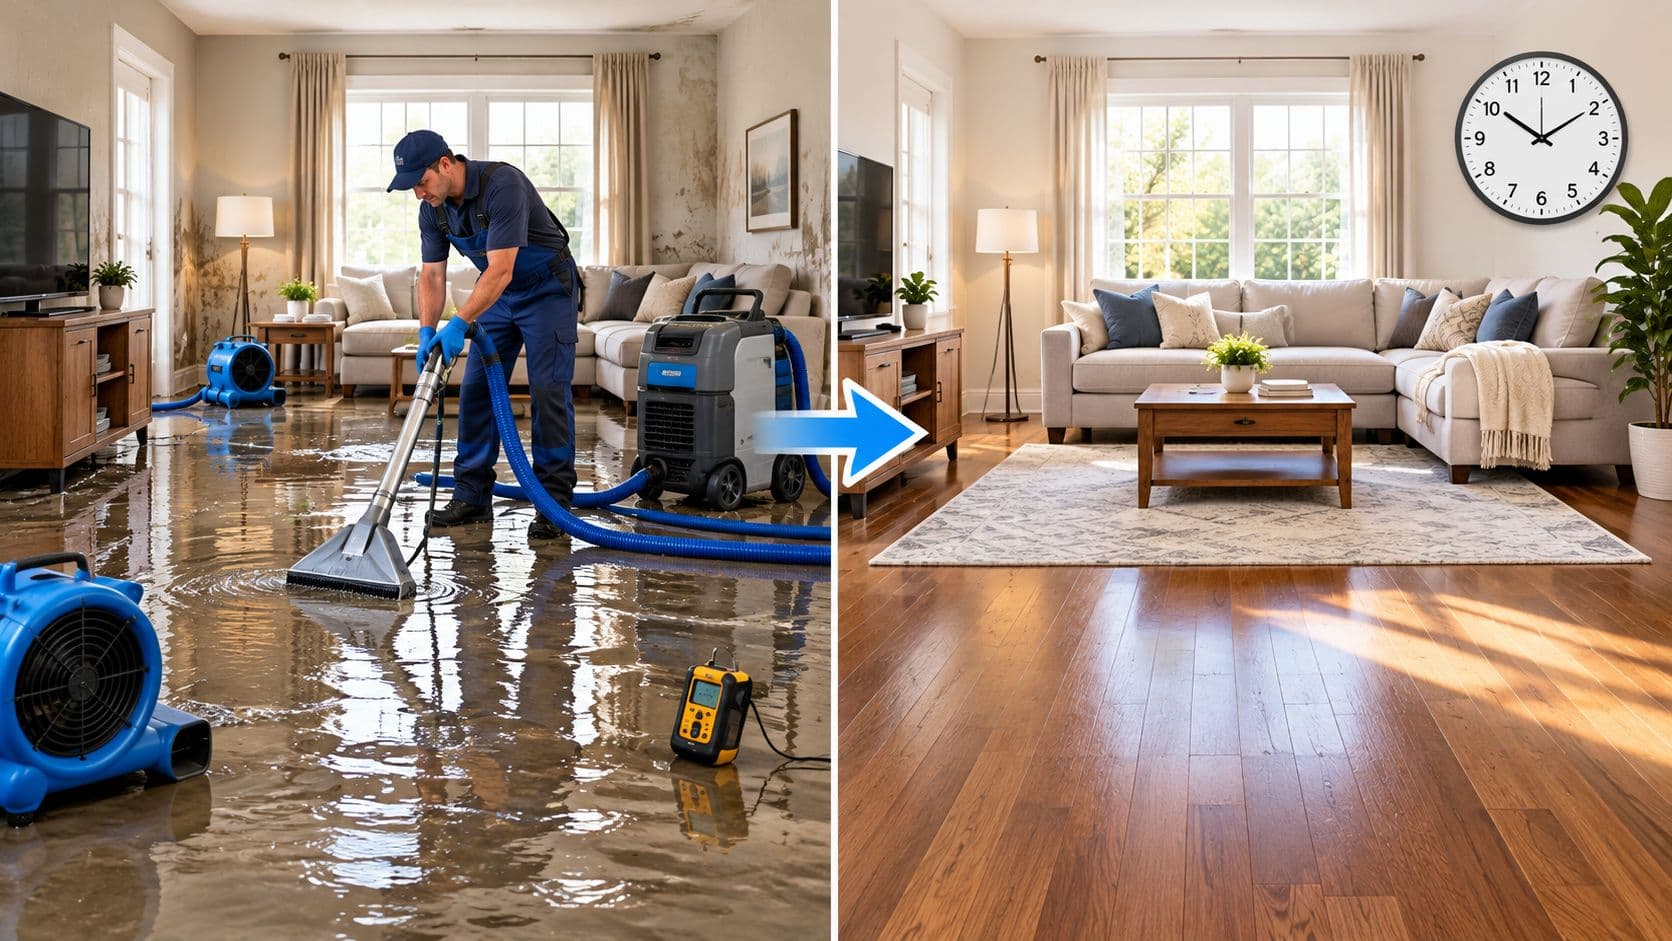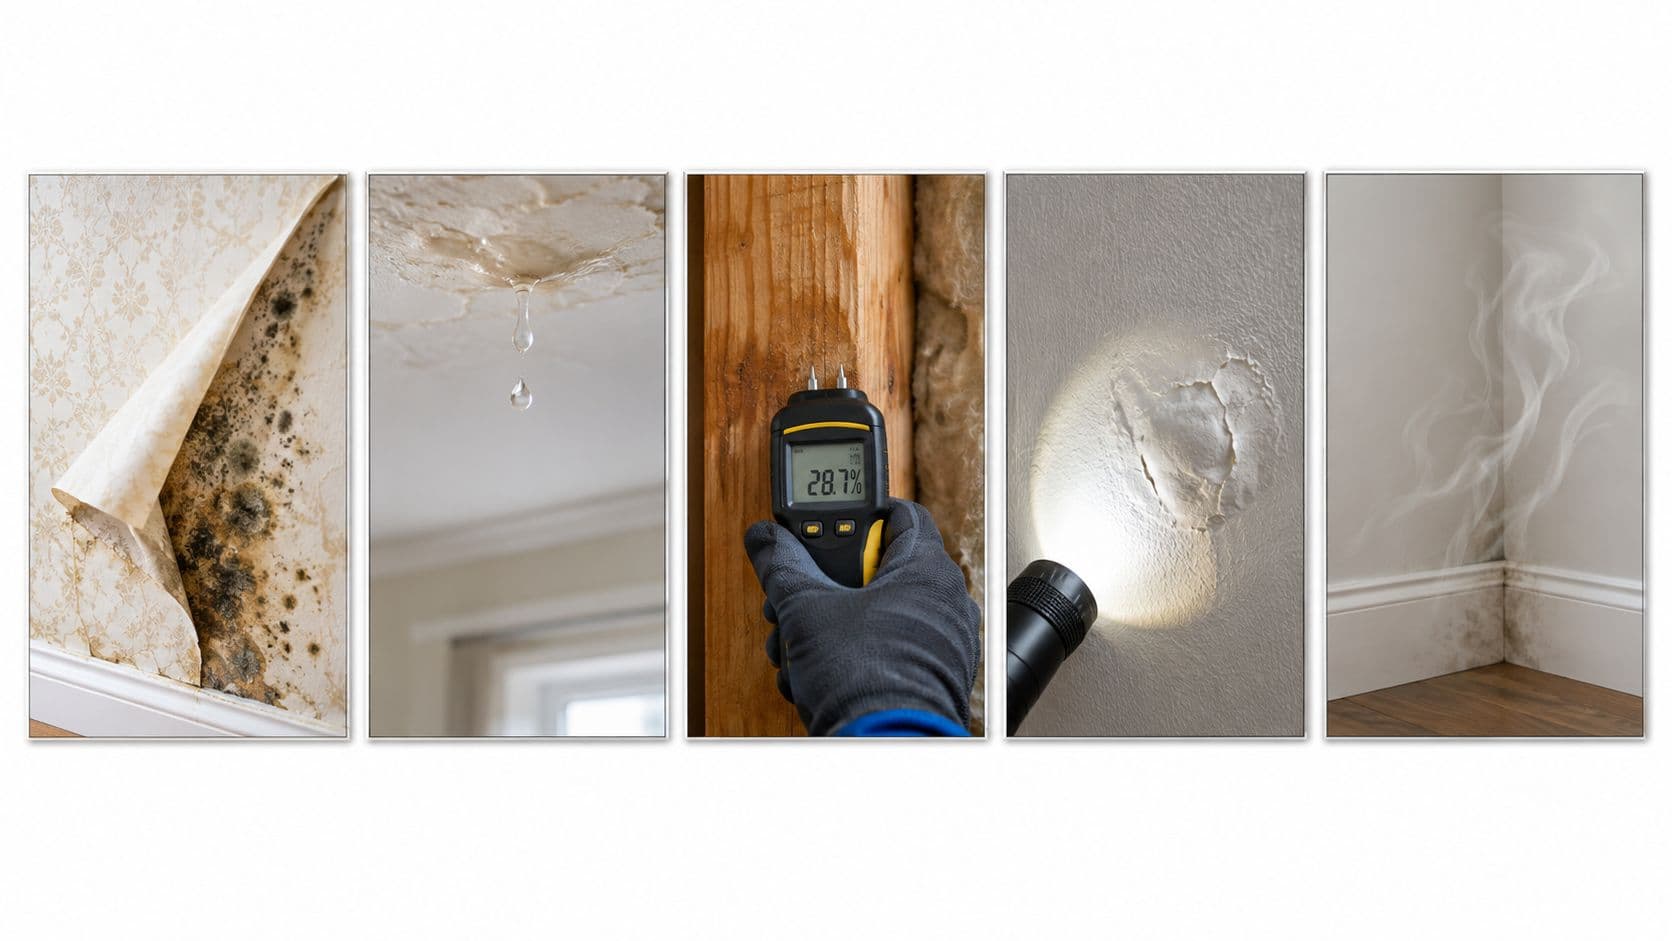
A faint brown mark has appeared on the bedroom wall. Or perhaps a soft patch sits near a bathroom, an earthy odor returns after rain, or paint has started bubbling for no obvious reason. The immediate question is whether the change is cosmetic or evidence of water moving through the wall.
No single symptom identifies the source by itself. A stain can point to a roof leak, window intrusion, plumbing failure, or condensation. A musty smell can come from moisture hidden behind drywall even when the surface looks normal. The most useful assessment combines visual, tactile, sensory, humidity, and structural clues.
Safety comes first. Stop or isolate the water source only when it's safe, keep away from outlets and electrical equipment near wet areas, and photograph conditions before moving or cleaning anything. A dated record can support an insurance claim and help a restoration professional trace the water path. For guidance on what to do next after a leak, overflow, burst pipe, or flood, PostDamage's water damage restoration resource can help property owners understand whether professional assistance may be appropriate.
1. Discoloration and Staining on Wall Surfaces
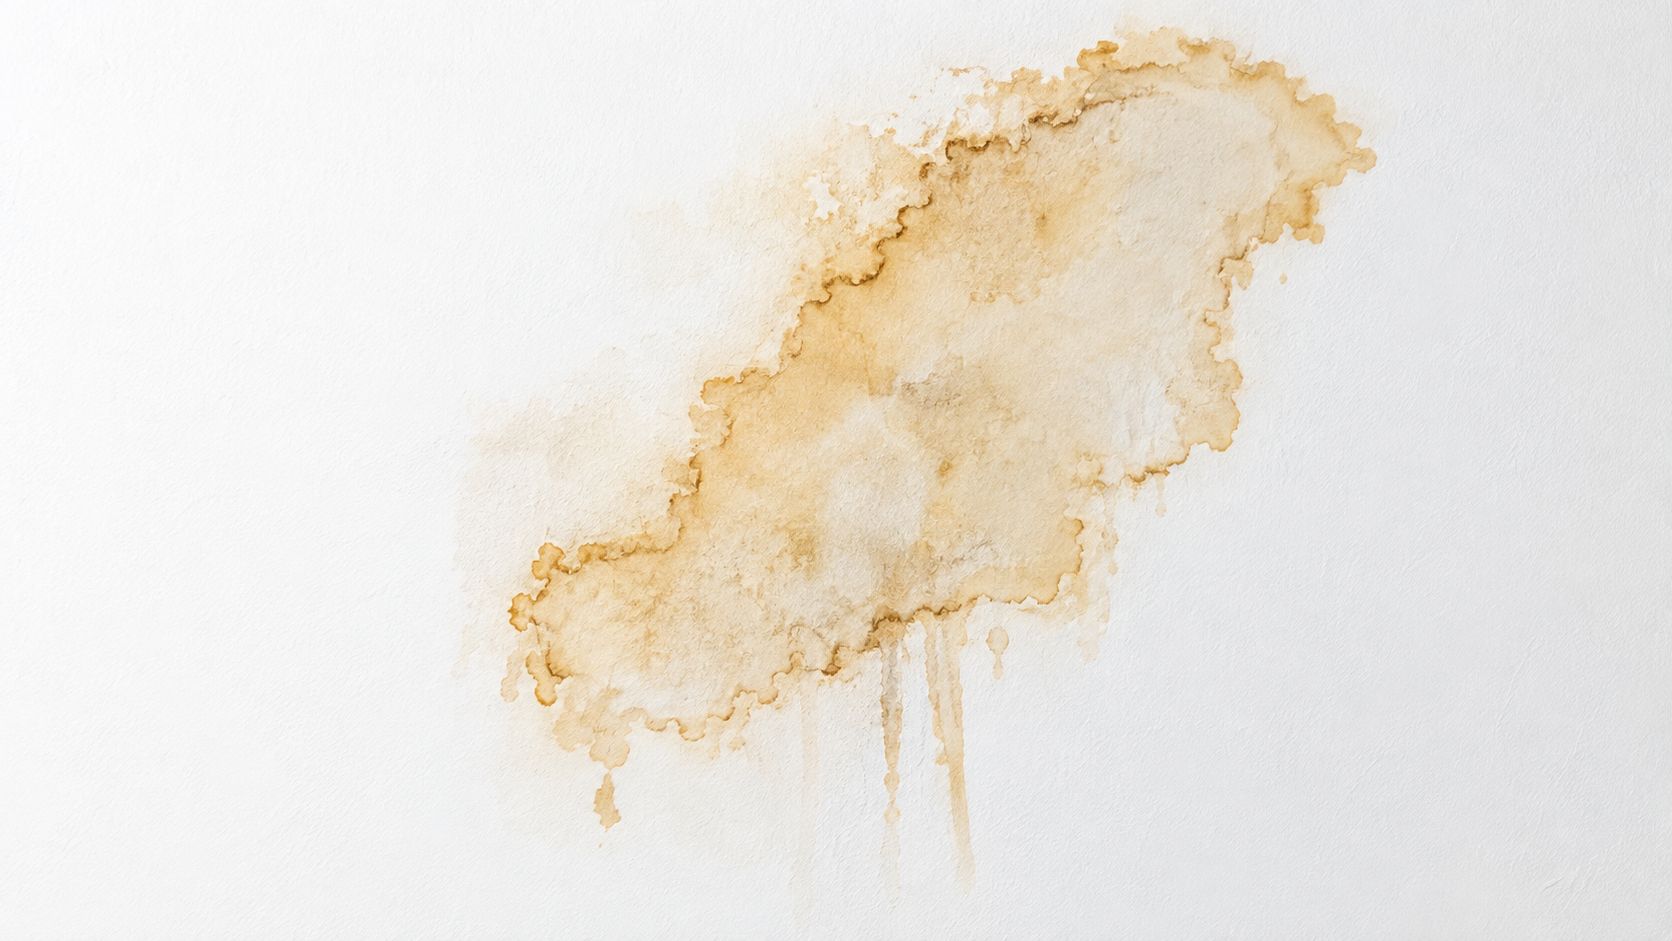
A yellow, brown, gray, or branching mark appears on the wall after rain, a plumbing problem, or no obvious event. Its shape can offer an early clue. A bedroom stain below an attic may relate to a roof leak, a ring around a window may indicate water entering from outside, and a vertical trail may follow water moving through a wall cavity after a pipe failure.
Minerals, dust, and other materials can travel with water through paint and drywall before the moisture evaporates. The remaining stain proves that water reached or passed through the wall at some point, but it does not prove that the wall is still wet. Treat the mark as evidence to investigate, not as a decorating issue.
Check the pattern, timing, and nearby materials
Start with a full-wall photograph. Include the ceiling, windows, trim, plumbing fixtures, and electrical outlets to preserve the stain's position. Add the date and record whether the mark grows after rain, bathing, or plumbing use. Note whether its edges change as the area dries.
If an unfinished basement, attic, or adjoining room exposes the reverse side, inspect it visually without cutting into the wall. Look for matching stains, damp materials, or a visible water path. Keep clear of wet outlets and electrical equipment.
A moisture meter can help compare the marked area with an unaffected section made of the same material. Readings from different materials are not directly interchangeable. Moisture assessment guidance, including EPA mold course Chapter 3, recommends sampling at least three locations in an investigated area, beginning near the wall base and taking readings at regular intervals of approximately 3 inches upward (Massachusetts guidance summarized by the EPA). This pattern maps changing moisture levels instead of relying on one reading.
Practical rule: A stain that expands, returns after repainting, or borders a soft area may indicate active moisture rather than an old cosmetic mark.
Stop the source when safe and dry accessible surfaces. Do not paint over the stain until the source and wall condition have been assessed. Arrange professional moisture detection if the mark spreads, returns, has no clear cause, or may extend behind drywall.
2. Soft, Spongy, or Deteriorating Drywall
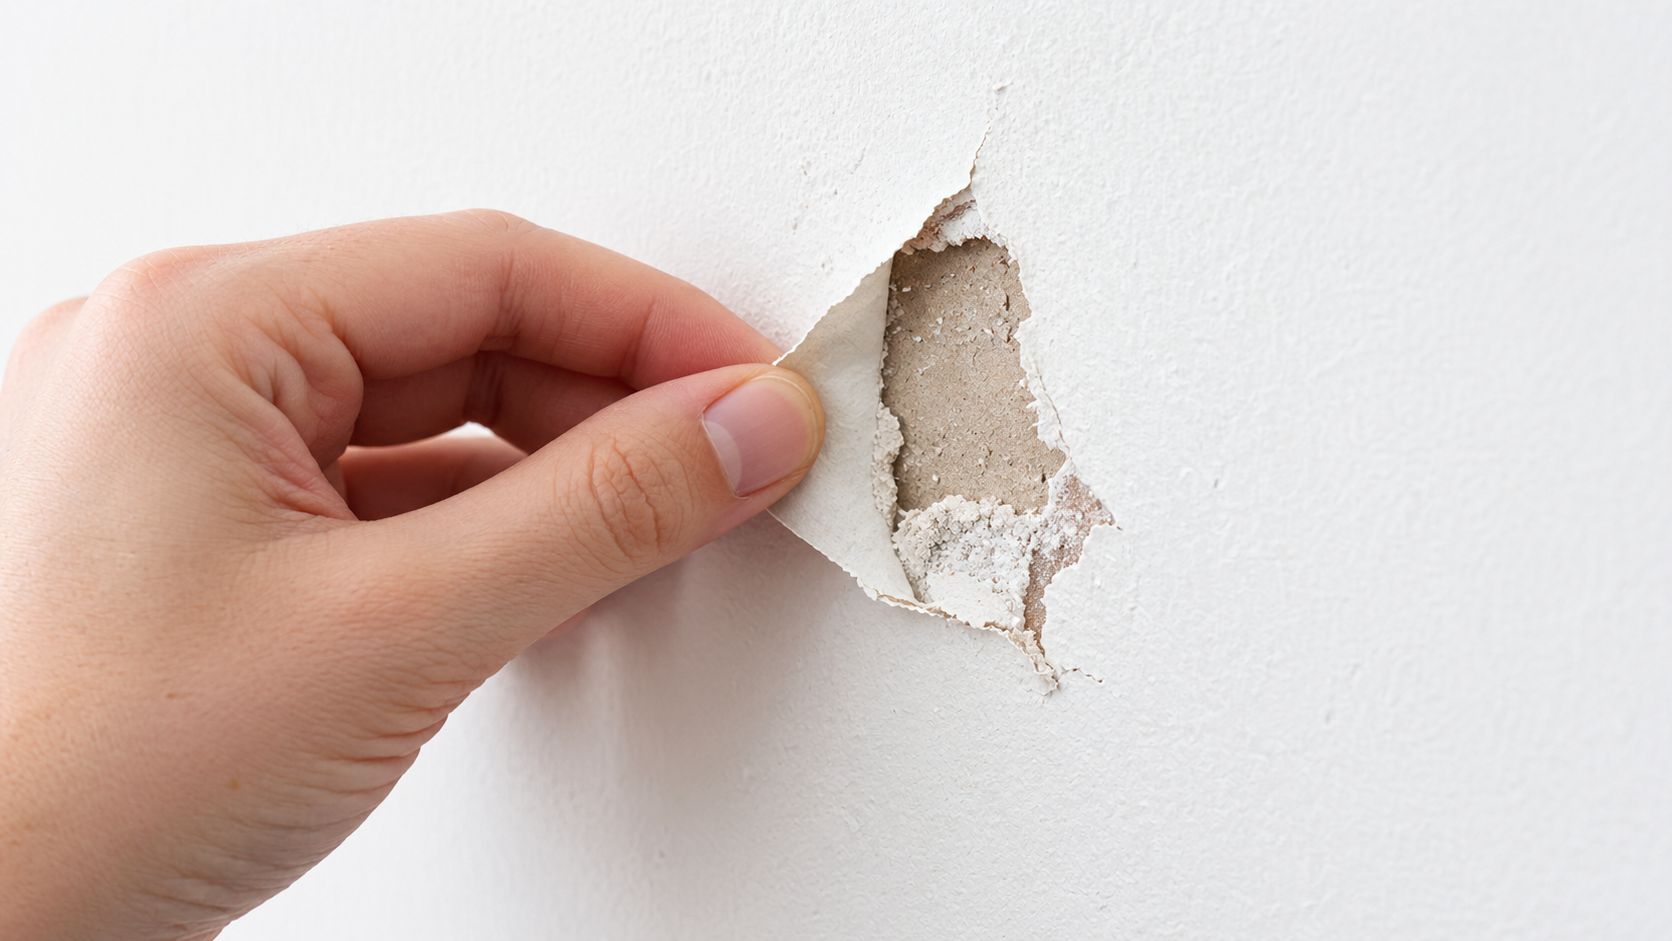
Pressing a wall near a shower, below a basement window, or above a flooded floor reveals more than a surface stain. Drywall can feel soft when moisture has weakened its paper facing and gypsum core. Crumbling edges, open seams, swollen trim, or a baseboard pulling away suggest that water has remained long enough to affect the wall assembly. Because water can travel vertically, the weakest point may sit above or below the original leak.
Check, document, and map the softness
Use your fingertips or the rounded handle of a screwdriver to press gently. Compare the suspect area with nearby firm drywall, without puncturing the surface. Check above, below, and beside the affected spot, then inspect any safely accessible adjoining surface. Keep away from wet outlets, switches, and electrical equipment.
Take photographs and mark the softest points on a simple wall sketch. A moisture meter can add useful comparisons, but readings depend on the material and meter calibration. Gypsum, wood, plaster, brick, and concrete readings are not interchangeable, so compare like with like and follow the device guidance for the material being tested.
- Check the base: Water from an overflow or floor-level flood often affects lower drywall first.
- Check the vertical route: A roof leak may move downward, while a plumbing failure can send moisture upward or sideways.
- Check nearby finishes: Loose seams, swollen trim, and bubbling paint can show that the affected area extends beyond the softest point.
A sound panel with intact seams may sometimes dry in place after the water source is stopped. Swelling, failed seams, crumbling gypsum, or persistent dampness may require removal and replacement. For the dry-and-replace decision, review guidance on drying wet drywall and document the wall's condition before disturbing it.
Stop the source when safe, ventilate accessible areas, and avoid painting over damaged drywall. Arrange professional moisture detection if the wall remains soft or wet, the affected area is spreading, the cause is unclear, deterioration is visible, or electrical components are nearby. These thresholds matter because concealed moisture can continue damaging framing and interior finishes after the surface appears dry.
3. Visible Mold or Mildew Growth on Walls
A dark, green, white, or irregular patch on a wall means the surface has supported biological growth. The patch may be visible while its moisture source remains hidden behind wallpaper, inside the wall cavity, near a leaking shower, or behind furniture that restricts airflow. Mold is therefore a clue, not a complete diagnosis. The next question is where the dampness began and whether the wall is still receiving moisture.
Dry wet materials promptly after a leak or spill. The EPA advises aiming to dry damp areas within 24 to 48 hours, while noting that this is only a general guide. Growth can begin sooner, or remain a concern when materials were not dried thoroughly within that period (EPA guidance on mold and moisture).
Check, document, and contain the area
Start with photographs from several angles. Record the patch's location, approximate spread, odor, and proximity to plumbing, windows, ceilings, and floors. Compare those notes with recent leaks, condensation, or flooding. A patch that grows after rain or water use points to an active source.
Avoid scraping, sanding, brushing, or opening the wall without a clear safety plan. Disturbing suspect material can spread contamination, while hidden moisture may require a trained inspection method (EPA guidance on concealed moisture). Keep people away when practical, especially if the surface is crumbling or the affected area is substantial. Do not paint over mold or water-damaged material. Coating the surface can hide the clue while moisture continues inside.
Arrange professional assessment when growth covers a substantial area, the cavity feels damp, insulation may be affected, sewage or floodwater was involved, or the source remains active. Professional mold remediation guidance can help explain the remediation process, but the immediate priorities are to stop the water when safe, document the condition, and prevent further exposure. A damp wall, recurring growth, or unexplained odor is a clear threshold for moisture detection rather than surface cleaning alone.
4. Warping, Buckling, or Bulging of Wall Surfaces
A wall that bows outward, ripples, or pulls away from its normal plane has changed shape. Moisture may have swollen the drywall unevenly, or wet framing, insulation, and fasteners may be shifting behind it. The visible curve is like a raised area on a map: it marks where conditions inside the wall may differ from the surface around it.
The location and timing help narrow the source. A bulge on an upper-floor wall after a roof leak may involve the top plate or nearby framing. Buckled drywall in a basement after flooding can show the water's reach. A slow-growing warped area near a bathroom or kitchen may follow a plumbing leak, even when the fixture itself looks dry.
Check the shape without stressing the wall
Photograph the area straight on, then from the side so the curve is clear. Place a level or straightedge nearby, without pressing it against the surface, and record the deformation's approximate height and width. Mark the date and compare later photographs. Growth after rain or water use indicates that moisture may still be entering.
Do not push the bulge, lean furniture against it, or probe far in with a screwdriver. A weakened surface can break, and the cavity may contain wiring or plumbing. Check nearby features from a safe distance:
- Soft trim: Swollen or loose baseboards suggest moisture at the lower wall.
- Failed seams: Open joints can show movement or deterioration.
- Changing shape: New sagging, spreading, or cracking raises the risk of hidden damage.
Keep people and heavy objects away from any unstable area. Ventilate or dry the space only after the water source has stopped and the area is safe. Arrange professional assessment for any bulge, major buckle, sagging finish, soft framing, or rapidly changing shape. A qualified restoration professional can examine the wall and its underlying structure instead of treating the surface alone.
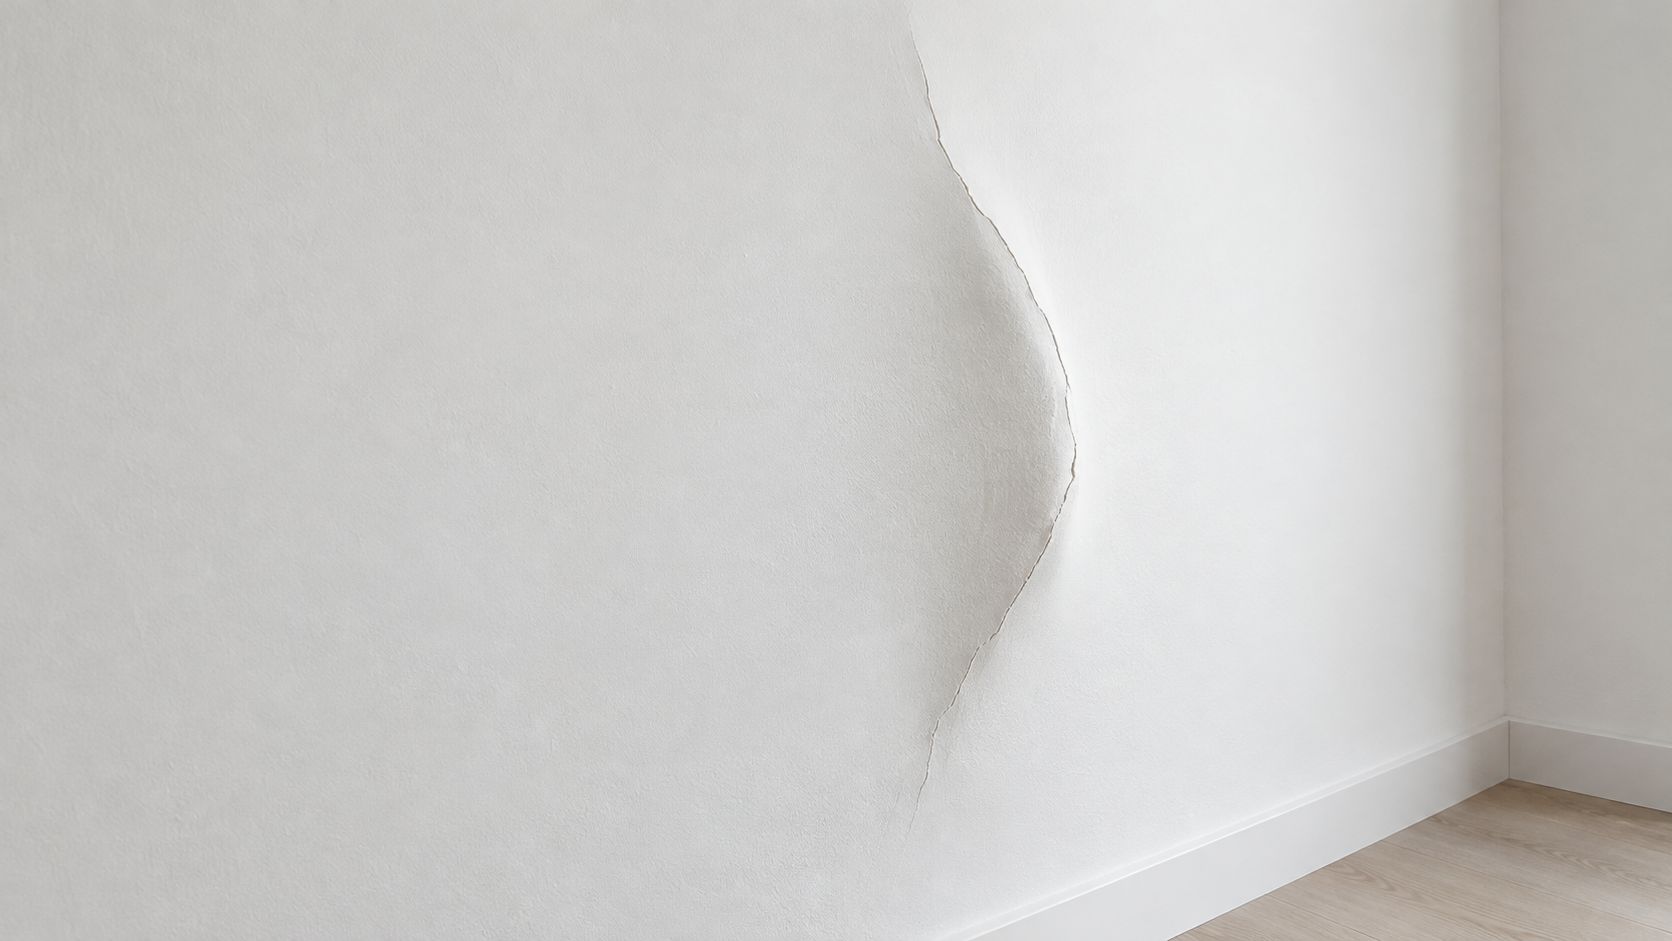
5. Peeling Paint or Wallpaper on Walls
A newly painted wall above a sink begins to bubble, while wallpaper beside a shower lifts at the seams. These changes show that moisture may be weakening the bond between the finish and the wall beneath it. Similar peeling can appear around a window or on an exterior-facing wall where rain enters intermittently.
The location helps narrow the source. Bubbling above a kitchen sink may point to water reaching behind the backsplash. Wallpaper separating in a bathroom can indicate a leak rather than ordinary humidity from bathing. Peeling beside a window may follow rain entering through the frame or nearby construction.
Check, document, and contain the problem
Start with the first lifted edge. Follow the wall toward nearby plumbing, windows, the ceiling, and the floor. Look for a related stain, soft area, musty smell, or swollen trim. A moisture meter can compare the peeling section with a dry-looking area made from the same material, but a dry surface does not prove that the wall cavity is dry.
Photograph the whole wall and close details before scraping or removing loose finish. Record the location, date, and whether the area changes after rain or water use. Check accessible pipes, fixtures, window edges, ceiling lines, and the opposite side of the wall without opening the surface or disturbing electrical components.
Peeling that remains after a leak stops may reflect earlier saturation. It may also conceal moisture that is still entering. Repainting before the substrate is dry traps moisture beneath the new finish, so the peeling can return. Stop the source, allow safe drying, and repair the underlying wall before applying a new finish.
Arrange professional assessment when peeling returns, the substrate feels soft, the area expands, an odor persists, or the source cannot be identified. Seek prompt help if the wall is near electrical equipment or shows bulging, sagging, or other instability. Surface repair should follow source correction and drying, not replace them.
6. Musty or Earthy Odors in or Around Walls
A persistent musty or earthy smell can reveal moisture before a wall shows an obvious mark. The odor may come from damp drywall, insulation, framing, or organic material inside a cavity. In a basement, it may be strongest near a wall exposed to seepage. In an upstairs bedroom, it may point toward moisture entering from an attic or roof leak above.
Odor patterns matter. A smell that becomes stronger after rain, in the morning, or during humid weather may indicate that the wall is responding to a recurring moisture source. An earthy odor after a burst pipe can also signal saturated materials that haven't dried fully.
Locate the strongest point without opening the wall
Walk through nearby rooms and compare the smell at corners, baseboards, ceilings, windows, plumbing penetrations, and adjoining closets. A second person's observation can help confirm that the odor is present, especially when occupants have become accustomed to it. Record when the smell appears and what conditions make it stronger.
A moisture meter can help test locations where the odor is concentrated. Compare several readings with a dry area made from the same material, then repeat the check after drying efforts. NIOSH emphasizes that thorough visual inspection and musty odors are more reliable indicators of building moisture problems than routine short-term air sampling (NIOSH guidance on mold testing and remediation).
Ventilation can reduce odor temporarily, but it doesn't prove the wall is dry. If the smell persists after safe ventilation and humidity control, or if it is paired with staining, soft drywall, condensation, or recurring paint damage, professional moisture detection is the right threshold. Don't drill or cut into the wall to search for a source. Hidden-wall investigation can disturb suspect material and spread contamination.
7. Increased Humidity or Visible Condensation on Walls
A bedroom wall feels clammy after a dry day, or beads of water appear along a basement wall and nearby window. These clues show that moisture is present, but they do not identify its path. Warm indoor air can condense on a cool surface, while a plumbing leak, overflow, or water intrusion can release moisture from inside the wall.
Start with a simple comparison. Record the room's humidity with a hygrometer, then inspect the wall, trim, and nearby surfaces at the same time. Indoor humidity is generally kept around 30% to 50%; readings above 60% raise concern for moisture-related problems. Treat these levels as context, not proof of a concealed leak.
Check whether the pattern changes after using an exhaust fan, improving safe ventilation, or running a dehumidifier. Note the time, weather, room activity, and locations where condensation returns. A wall that dries as room air improves may mainly have surface condensation. A wall that stays damp while the air becomes drier may be holding water within its materials.
Look for a connected clue trail: staining, swollen trim, peeling finishes, soft drywall, or a musty odor. Compare the damp area with a nearby wall made from similar materials, and photograph both conditions before drying or cleaning.
For a practical method to detect water leaks in walls, follow the moisture pattern from visible surfaces toward plumbing, windows, ceilings, and adjoining rooms. Do not open the wall or handle suspect material without appropriate precautions.
Escalation threshold: Arrange professional moisture detection when humidity remains high despite reasonable control, condensation repeatedly returns in one location, the wall stays damp, insulation may be saturated, or the water followed a flood or sewage event. Keep records of readings and changes so the assessor can distinguish surface condensation from hidden intrusion.
8. Cracks, Separations, or Gaps Opening in Walls or Joints
New cracks or widening gaps can show that wall materials have moved after absorbing water. Drywall and framing may swell unevenly, joints can separate, and saturated wood may change shape. A vertical crack along a stud after a pipe burst, a corner gap after water entered from outside, or a horizontal crack near the base of a flooded basement wall all deserve documentation.
Not every crack comes from water. Normal movement, settlement, impact, and installation defects can create similar patterns. The strongest concern comes from a crack that appeared after a known water event, widens quickly, follows a framing line, or appears alongside stains, softness, warping, odor, or dampness.
Track movement instead of patching it
Photograph the full crack and a close view of its widest point. Record when it appeared and whether its length or width changes. A level or straightedge can help show whether the crack follows a stud, header, corner, or other structural line, but probing the wall can create unnecessary damage and expose hidden utilities.
Escalation threshold: A rapidly widening crack, a new separation at a corner, or several changes appearing after water intrusion deserves professional structural and moisture assessment before patching.
Avoid caulking, filling, or repainting until the underlying cause is understood. A patch can hide movement without stopping water or correcting damaged framing. Keep furniture and weight away from a visibly deformed area, and don't disturb unstable material.
A professional should assess cracks that widen, recur, coincide with bulging or soft drywall, or appear after flooding or a prolonged leak. The assessment should consider the wall finish, framing, adjacent ceiling and floor, and the path by which water may have moved.
8-Point Wall Water Damage Comparison
| Sign | Detection/Implementation Complexity | Resource Requirements | Expected Outcome / Severity | Ideal Use Case / Response | Key Advantage |
|---|---|---|---|---|---|
| Discoloration and Staining on Wall Surfaces | Low, visually apparent during routine inspection | Camera for documentation; moisture meter optional | Early warning of moisture; may indicate hidden intrusion | Routine visual checks; document for insurance; follow up with moisture checks | Visible, easy to document and localize general source |
| Soft, Spongy, or Deteriorating Drywall | Low–Medium, simple tactile test but careful probing required | Hand test tool or screwdriver; moisture meter; professional assessment likely | High severity, material failure; removal and replacement usually required | When drywall yields to pressure or crumbles; call restoration pros | Unambiguous indicator that significant water damage occurred |
| Visible Mold or Mildew Growth on Walls | Low, visually and olfactorily obvious once present | PPE, photographic documentation, mold testing and professional remediation | High severity, active microbial growth; health risk; remediation + moisture fix | Immediate professional remediation and containment | Forces prompt action due to visible health and contamination risks |
| Warping, Buckling, or Bulging of Wall Surfaces | Low, obvious deformation, but cause needs assessment | Structural evaluation, moisture meters, possible framing inspection/repair | Very high severity, indicates structural or framing moisture; urgent repair | When surfaces deform or creak; stop water source and get structural assessment | Clearly signals structural involvement beyond cosmetic damage |
| Peeling Paint or Wallpaper on Walls | Low, easy to spot but ambiguous in cause | Moisture meter, inspection behind finishes, documentation | Low–Medium severity, often early-stage, but may mask deeper moisture | Investigate source before cosmetic repair; use moisture checks | Early visual indicator that can prompt further investigation |
| Musty or Earthy Odors in or Around Walls | Low to detect; Moderate to localize | Sense of smell, systematic sniff check, hygrometer, moisture meter, professional detection | Medium–High severity, suggests hidden moisture and possible microbial growth | Use odor to narrow search; deploy moisture testing and professional assessment if persistent | Highly sensitive early warning of hidden moisture before visual signs |
| Increased Humidity or Visible Condensation on Walls | Medium, measurable and seasonally variable | Hygrometer, dehumidifier, ventilation improvements, moisture meter | Low–Medium severity, may be reversible but can indicate active moisture release | Monitor and correct ventilation/humidity; investigate if persistent despite fixes | Quantifiable and actionable indicator (hygrometer readings) |
| Cracks, Separations, or Gaps Opening in Walls or Joints | Medium, visible but cause requires interpretation | Photos, straightedge/level, documentation, structural evaluation | Medium–High severity, indicates material movement; may signal moisture-driven expansion | Document appearance and growth; seek professional structural/moisture assessment | Clearly documents physical movement and supports need for professional evaluation |
Turn Wall Clues Into the Right Next Step
The signs of water damage in walls become more useful when they're treated as evidence in a sequence rather than isolated defects. A stain establishes that water may have reached the finish. Peeling paint shows that moisture is affecting the bond at the surface. A soft wall suggests deeper saturation, while bulging, separation, and recurring dampness raise concern about the wall assembly and framing.
Start with documentation. Photograph every sign from close range and from farther back, then add the date, room, weather conditions, recent plumbing use, and any change in size or texture. Photograph connected areas too, including ceilings, floors, trim, windows, fixtures, and the opposite side of the wall when accessible. This record can help a professional trace migration and can preserve evidence for an insurance claim.
Next, stop additional water only when doing so is safe. A shutoff may be appropriate for a plumbing leak, but wet areas near outlets, switches, appliances, or electrical panels require caution. Standing water, sewage, unstable drywall, and damaged ceilings should not be handled casually. Avoid cutting, drilling, scraping, or pulling apart suspect walls before the area and material have been assessed.
Dry accessible surfaces and control indoor humidity when conditions allow. EPA guidance recommends drying wet or damp areas within 24 to 48 hours after a leak or spill because prompt drying prevents mold growth in most cases, but the EPA also explains that this is not a guarantee and that hidden moisture can remain (EPA guidance on drying and moisture). A wall that looks dry may still contain moisture behind its surface.
Professional moisture detection and restoration assessment are appropriate when a wall is:
- Soft or deteriorating: The drywall may no longer be salvageable.
- Bulging or rapidly changing: Framing or attached materials may be affected.
- Persistently damp: Continued water movement may be active inside the wall.
- Odor-producing: Moisture may be concealed even without visible growth.
- Connected to sewage or flooding: Porous materials and hidden cavities need careful evaluation.
- Difficult to trace: The visible symptom may be far from the source.
Keep receipts, photographs, contractor communications, moisture readings, and notes about emergency actions. Insurance coverage depends on the policy and the cause of the loss, so property owners should contact the insurer promptly and preserve documentation before extensive cleanup or replacement.
PostDamage provides water-damage guidance and can help consumers describe what happened and determine an appropriate next step. Its single-request model, “One request. Not five sales calls,” is designed to help homeowners, landlords, property managers, and small businesses seek relevant assistance without implying that PostDamage itself performs restoration work.
When a wall shows a combination of surface damage, sensory clues, and structural change, waiting for a more dramatic symptom can allow the problem to spread. Photograph the evidence, make the area safe, stop the source when possible, and seek qualified assessment when moisture is hidden or the material is failing.
PostDamage offers situation-specific guidance for suspected wall leaks, wet drywall, flooding, and related water-damage decisions, including help understanding when professional moisture detection may be needed. Property owners can describe the incident and explore an appropriate next step through PostDamage using its single-request model.