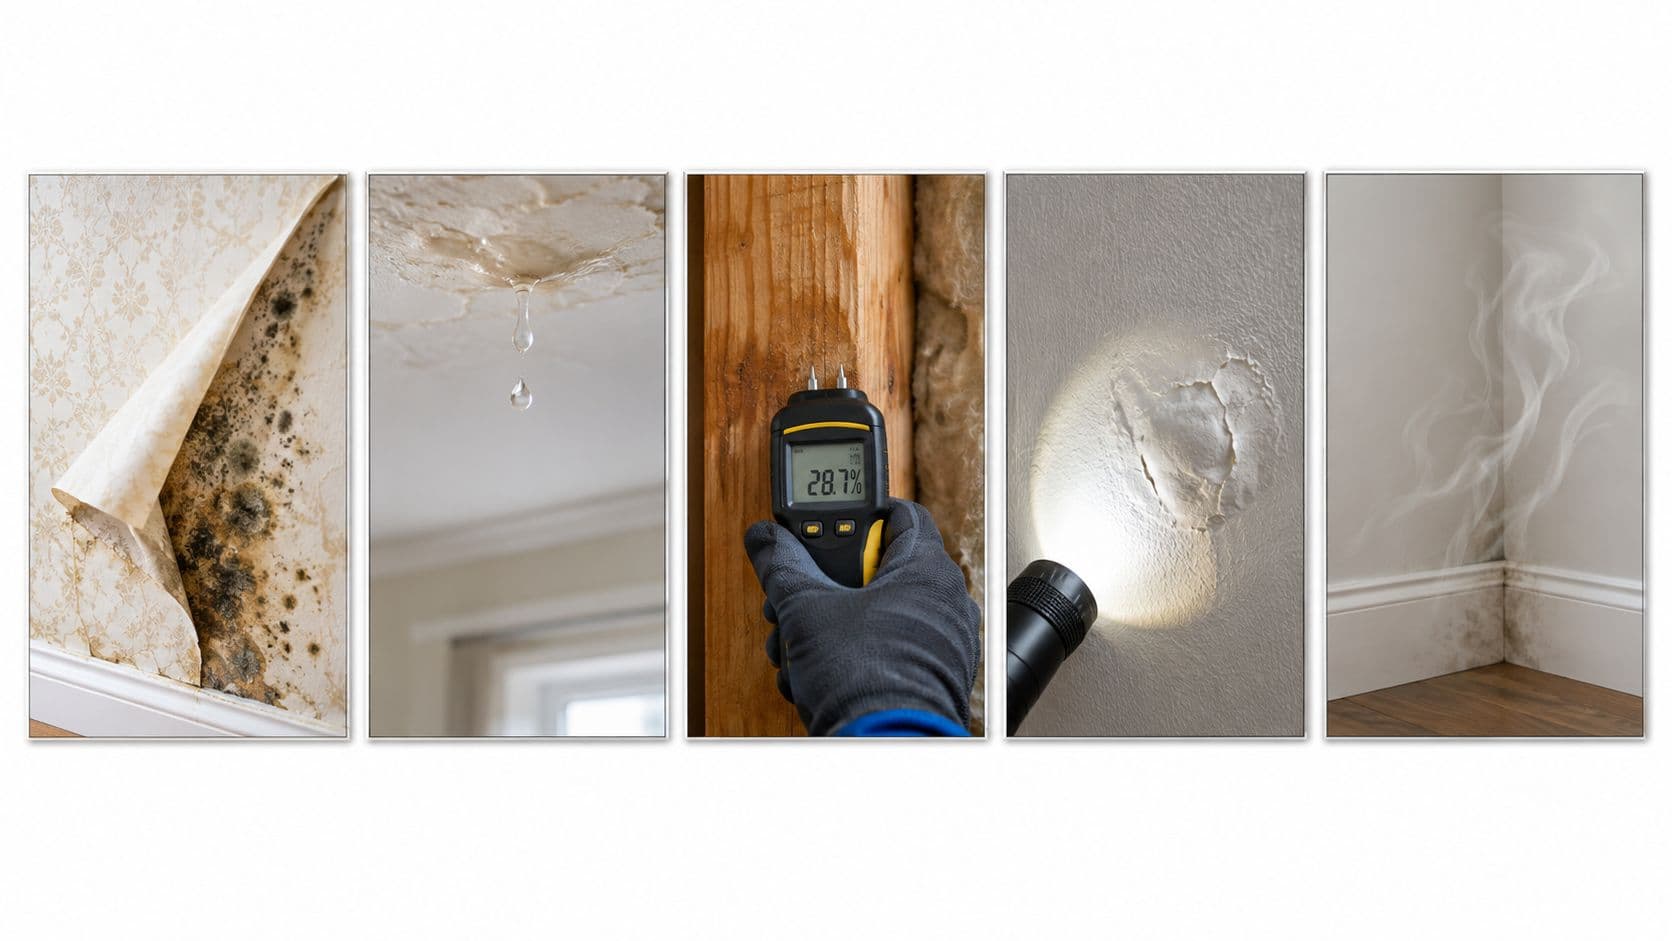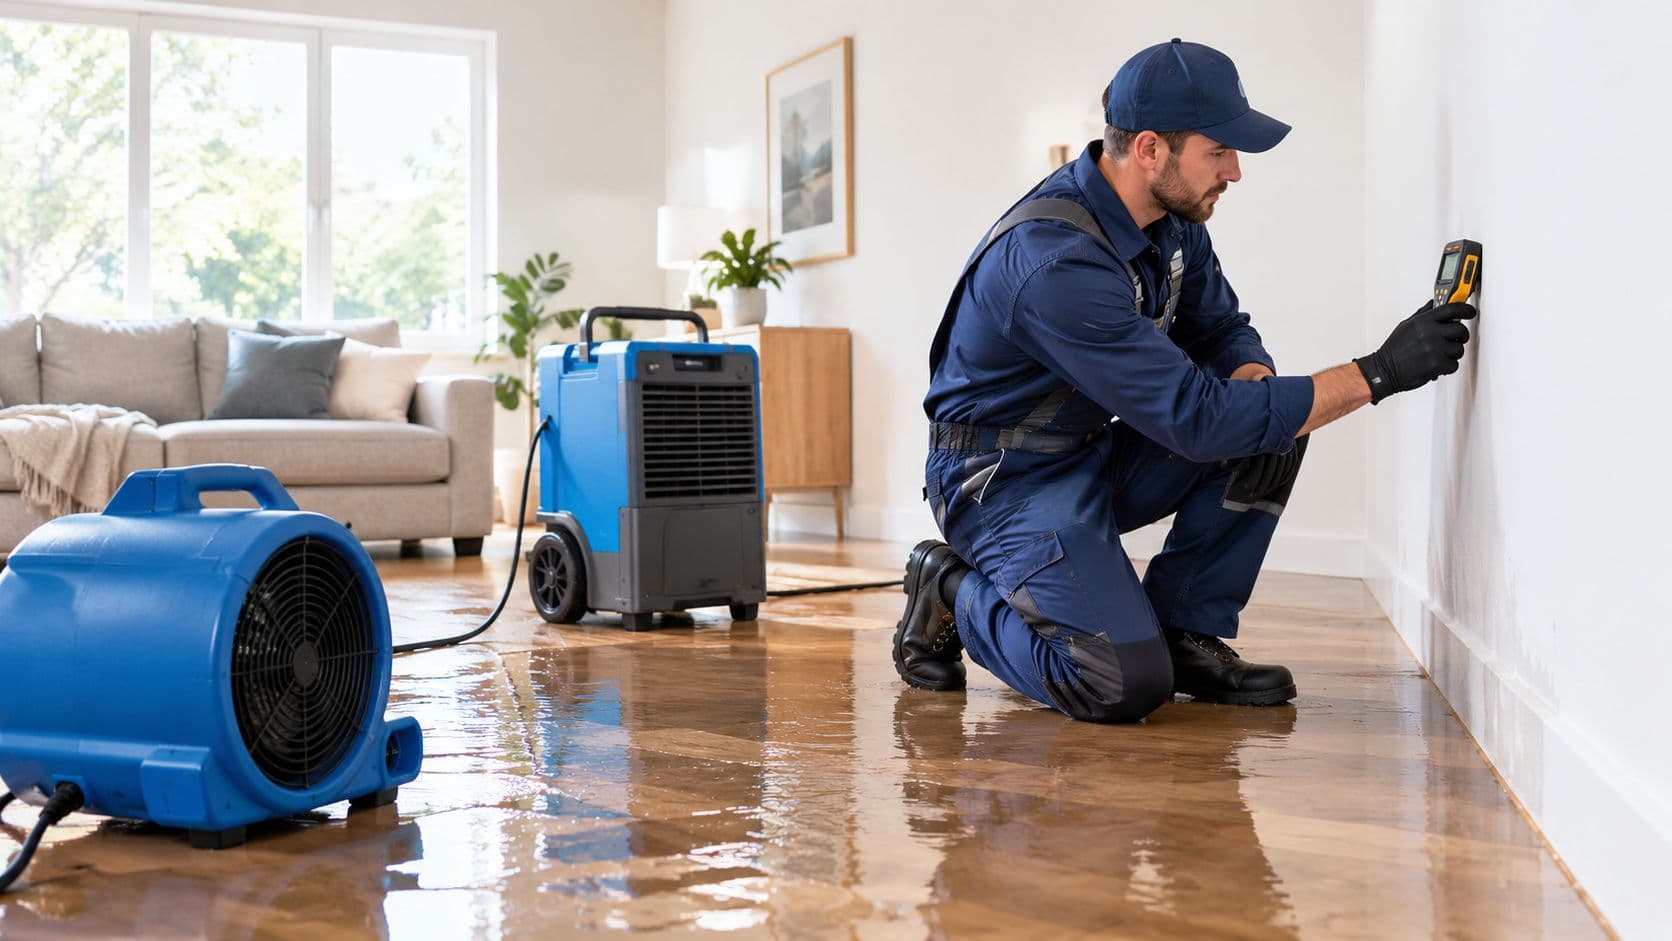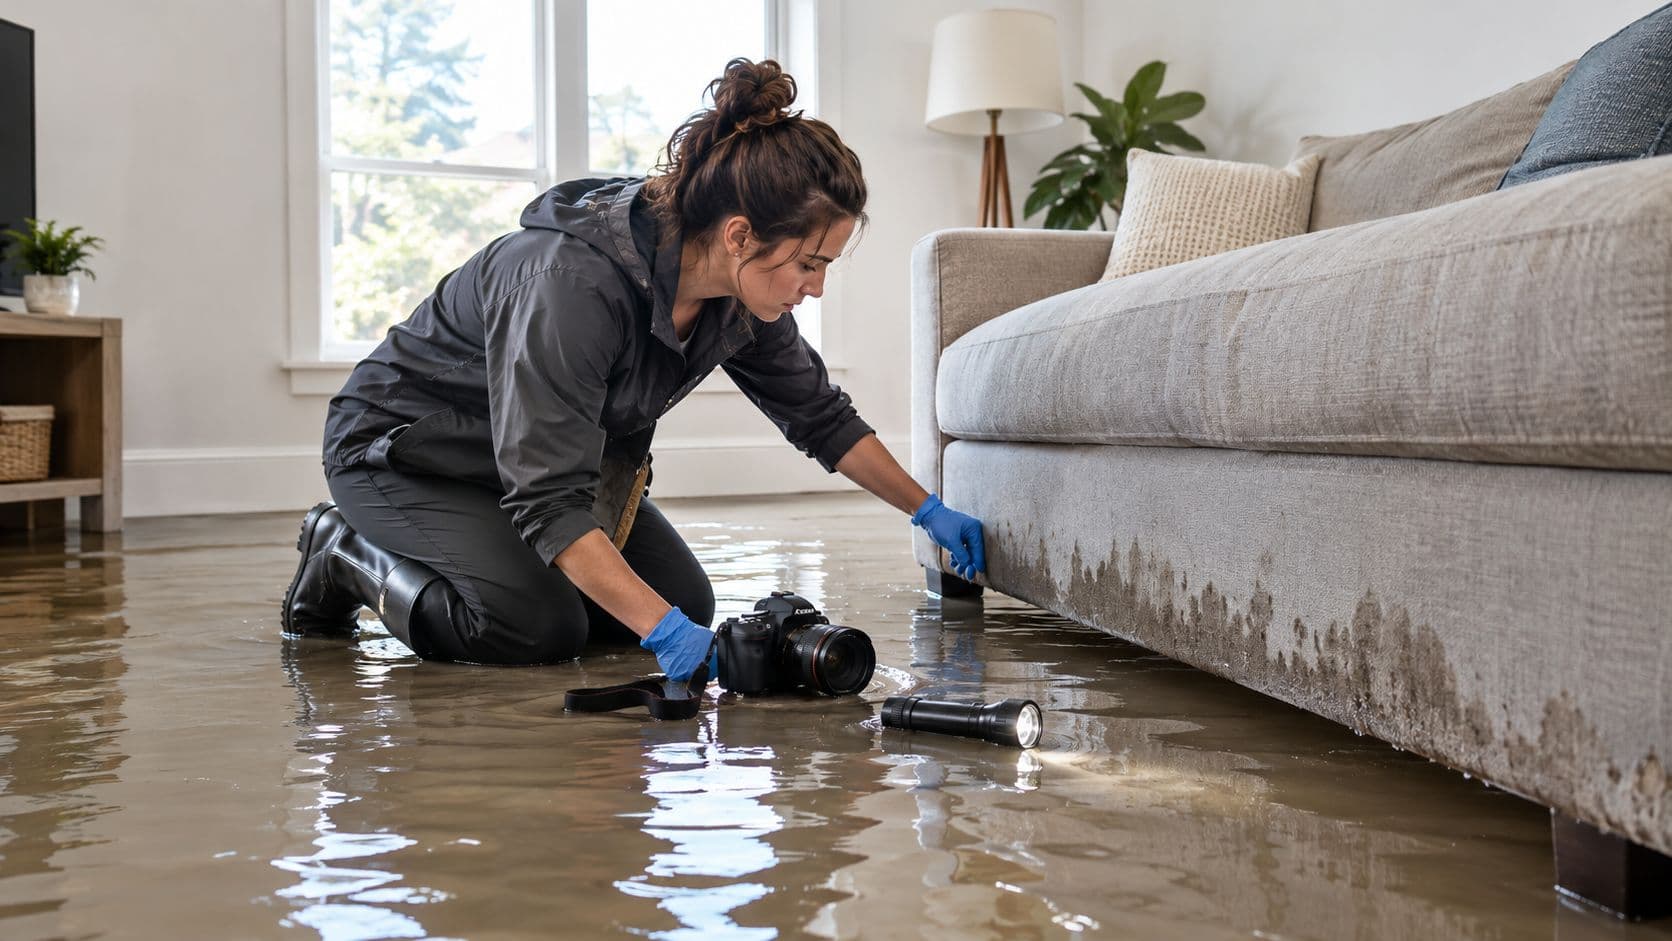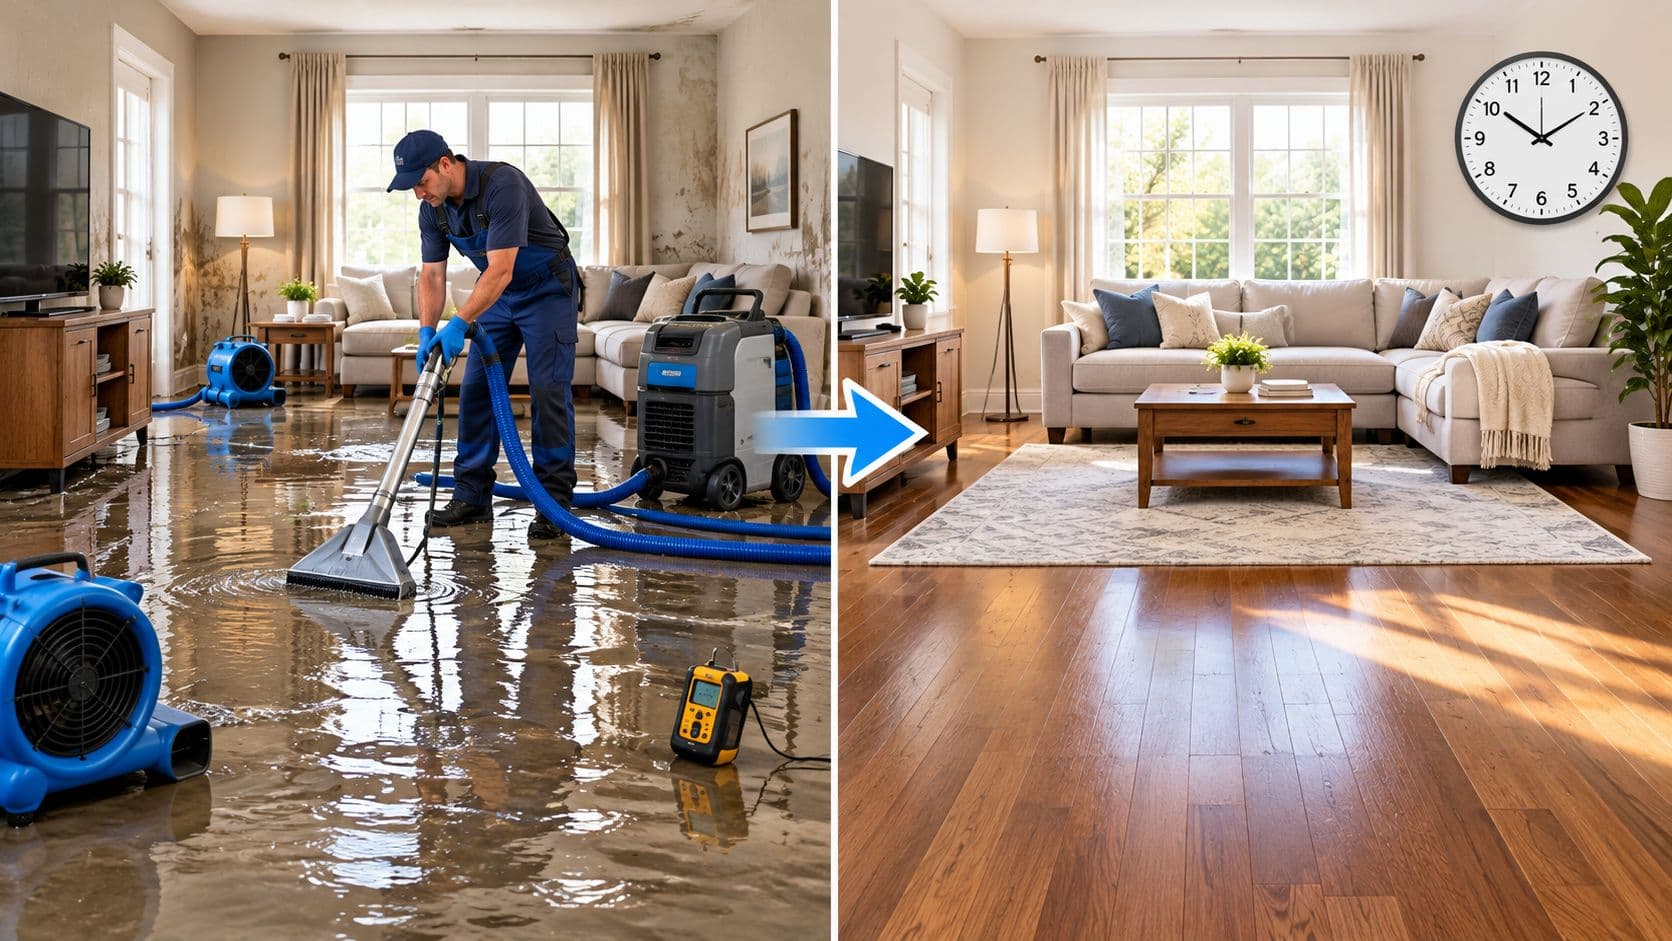
A small clean-water loss can often be stabilized and dried in a few days, while major flood restoration involving structural materials can take weeks. The first 24–48 hours matter most because prompt extraction and drying can limit how far water travels into the building.
A wet living room creates an uncomfortable kind of uncertainty. The visible water may be gone, yet flooring, drywall, insulation, cabinets, or framing can still hold moisture underneath the surface. The question isn't only when the floor will look normal again. It's when the structure is dry enough for repairs to begin safely.
The Honest Answer to How Long Restoration Takes
A minor clean-water leak affecting limited flooring may be stabilized and dried in a few days. A major flood that saturates walls, insulation, flooring systems, or structural materials may take weeks, including removal, cleaning, drying, inspections, and reconstruction. The timeline depends on the water source, the materials affected, how far the water traveled, and how quickly extraction began.
Restoration also isn't one event. It works more like a chain of connected phases:
- Emergency mitigation, which controls the water source and addresses immediate safety concerns.
- Extraction, which removes standing water and as much accessible moisture as possible.
- Structural drying, which pulls moisture from materials and concealed spaces.
- Cleaning and repairs, which restore surfaces and replace materials that couldn't be saved.
The first 24–48 hours are the most important early window. The U.S. Environmental Protection Agency's drying guidance recommends drying wet areas and contents within this period because prompt drying can prevent mold growth in most cases. Carpet and carpet backing are among the materials the agency specifically identifies for drying within that window, using extraction, dehumidifiers, and fans where appropriate.
That window doesn't guarantee a fully restored home within two days. Water may have moved beneath flooring, into wall cavities, or through insulation. Temperature, humidity, ventilation, material thickness, and the volume of water all affect the schedule.
Practical rule: A surface that feels dry is a sign to investigate further, not proof that restoration is finished.
The sections below help homeowners, renters, landlords, property managers, and small business owners match an incident to a realistic timeline. The most useful question is not just, “How long does water damage restoration take?” It's, “Which phase is this project in, and what still has to be measured or repaired?”
The Four Phases of Water Damage Restoration
Restoration resembles a relay race. Each phase passes a property to the next one, but the next runner shouldn't start until the previous phase has done its job. Repairs started before structural drying is verified can cover wet materials and make later problems harder to locate.
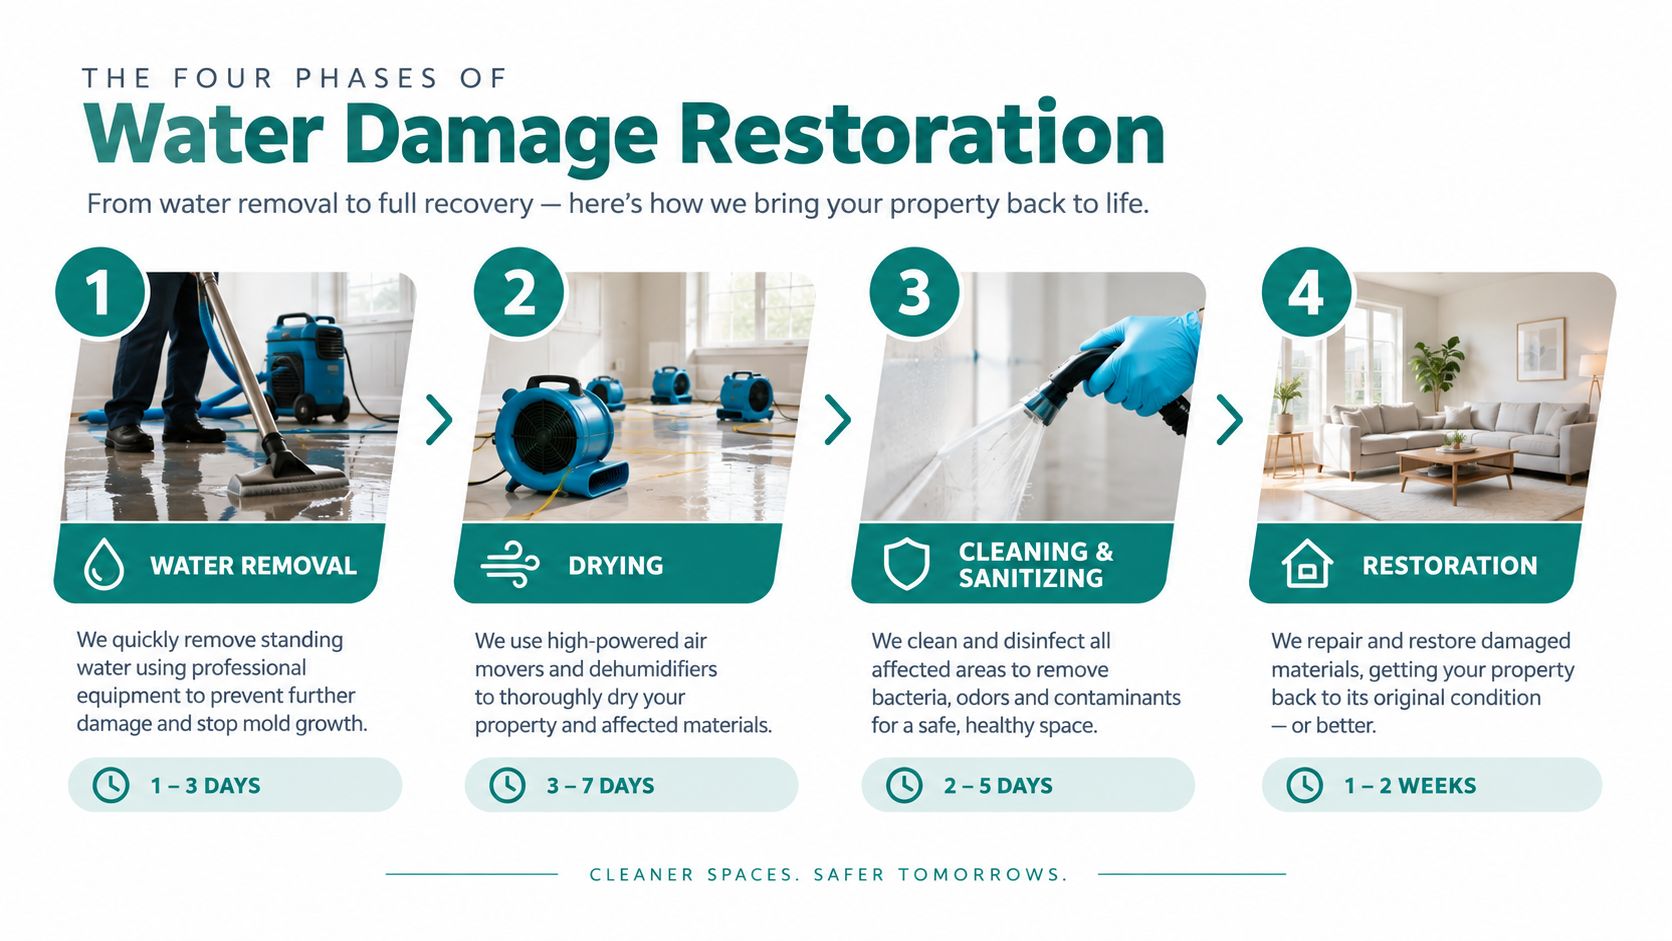
Phase one controls the incident
The first task is to stop additional water from entering. That may mean closing a shutoff valve, turning off an appliance, or arranging emergency work for an active leak. Anyone facing water near outlets, panels, wiring, or electrical equipment should avoid unsafe contact and wait for appropriate clearance before entering the affected area.
The initial assessment identifies the source, the apparent spread, the water condition, and materials that may contain hidden moisture. Photographs and notes taken at this point also help document the starting condition.
Phase two removes standing water
Extraction removes pooled water from floors and other accessible surfaces. Mopping can help with a small, isolated clean-water spill, but saturated carpet, padding, subfloors, and wall materials often need stronger extraction equipment.
The purpose isn't just to make the room look cleaner. Removing water quickly limits continued absorption and gives the drying equipment a better chance to move moisture out of the structure.
Phase three dries the structure
Structural drying is often the phase that determines whether the project stays small or expands. Air movers increase evaporation, dehumidifiers remove moisture from the air, and controlled airflow helps reach exposed cavities and layered materials.
A plain-language explanation of water mitigation can help property owners distinguish immediate actions that limit further damage from later repairs that restore the building.
Moisture meters provide the evidence that touch and appearance can't provide. FEMA uses 15% moisture content or less as a presumption that wetted salvageable building materials are dry, with moisture rechecked before rebuilding begins, as described in its flooded-building cleanup guidance. The correct target can vary by material and building conditions, so readings should be compared with unaffected areas.
Phase four rebuilds the affected areas
Once drying and inspections are complete, repair work can begin. That may include replacing drywall, insulation, baseboards, flooring, cabinets, or sections of ceiling. Reconstruction is separate from drying, so a room can be structurally dry while still waiting for finish work.
Typical Timelines by Damage Severity and Scenario
A useful estimate starts with the incident, not the square footage alone. A burst supply line that releases clean water across a small area may dry faster than a smaller toilet overflow that reaches a subfloor, because contamination and concealed layers change the work required.
The planning ranges below reflect the verified principle that a limited clean-water loss may stabilize in a few days, while substantial flood damage involving structural materials can require weeks for removal, drying, cleaning, inspection, and rebuilding. The EPA's material-specific cleanup table also explains why carpet, backing, underflooring, and hardwood can't be judged from the visible surface alone.
| Scenario | Typical Mitigation and Drying | Typical Full Restoration |
|---|---|---|
| Burst supply line under a sink | Extraction and drying may take a few days when the water is clean and the affected area is limited | A few days when flooring and cabinetry remain salvageable, longer if the wall or subfloor is wet |
| Appliance or water-heater leak affecting one room | A few days for extraction and measured drying in a contained clean-water loss | From a few days to longer if flooring, cabinets, drywall, or insulation must be replaced |
| Ceiling leak soaking insulation and drywall | Drying continues until the ceiling assembly and nearby cavities are verified, often longer than the visible surface cleanup | May extend into weeks when insulation, drywall, electrical components, or framing need removal and repair |
| Toilet overflow reaching the subfloor | The schedule depends on the water condition, the depth of saturation, and whether flooring layers can be cleaned or must be removed | Often longer than a simple clean-water spill because sanitation, removal, and inspection may precede rebuilding |
| Multi-room flood or sewage backup | Safety clearance, extraction, containment, material removal, cleaning, and structural drying can extend the project into weeks | Weeks are possible when several rooms, wall assemblies, flooring systems, or structural materials are involved |
These aren't guarantees or promises of completion. They are planning categories. A one-room incident can fall between rows if water traveled under flooring or behind cabinets, while a larger visible spill may remain manageable when extraction starts quickly and hidden materials stay dry.
The phase that controls the finish date
The full restoration date is usually governed by the slowest affected material. Carpet may release water more readily than a thick wood assembly. Drywall may look dry on the face while its edges or the cavity behind it remain damp. A repair contractor can also need to wait for moisture documentation, material availability, inspections, and authorization before reconstruction.
Measured readings define the endpoint. A property owner should ask which materials remain wet, where readings were taken, what benchmark applies to each material, and whether rebuilding is being recommended because the structure is dry or merely because the surface looks acceptable.
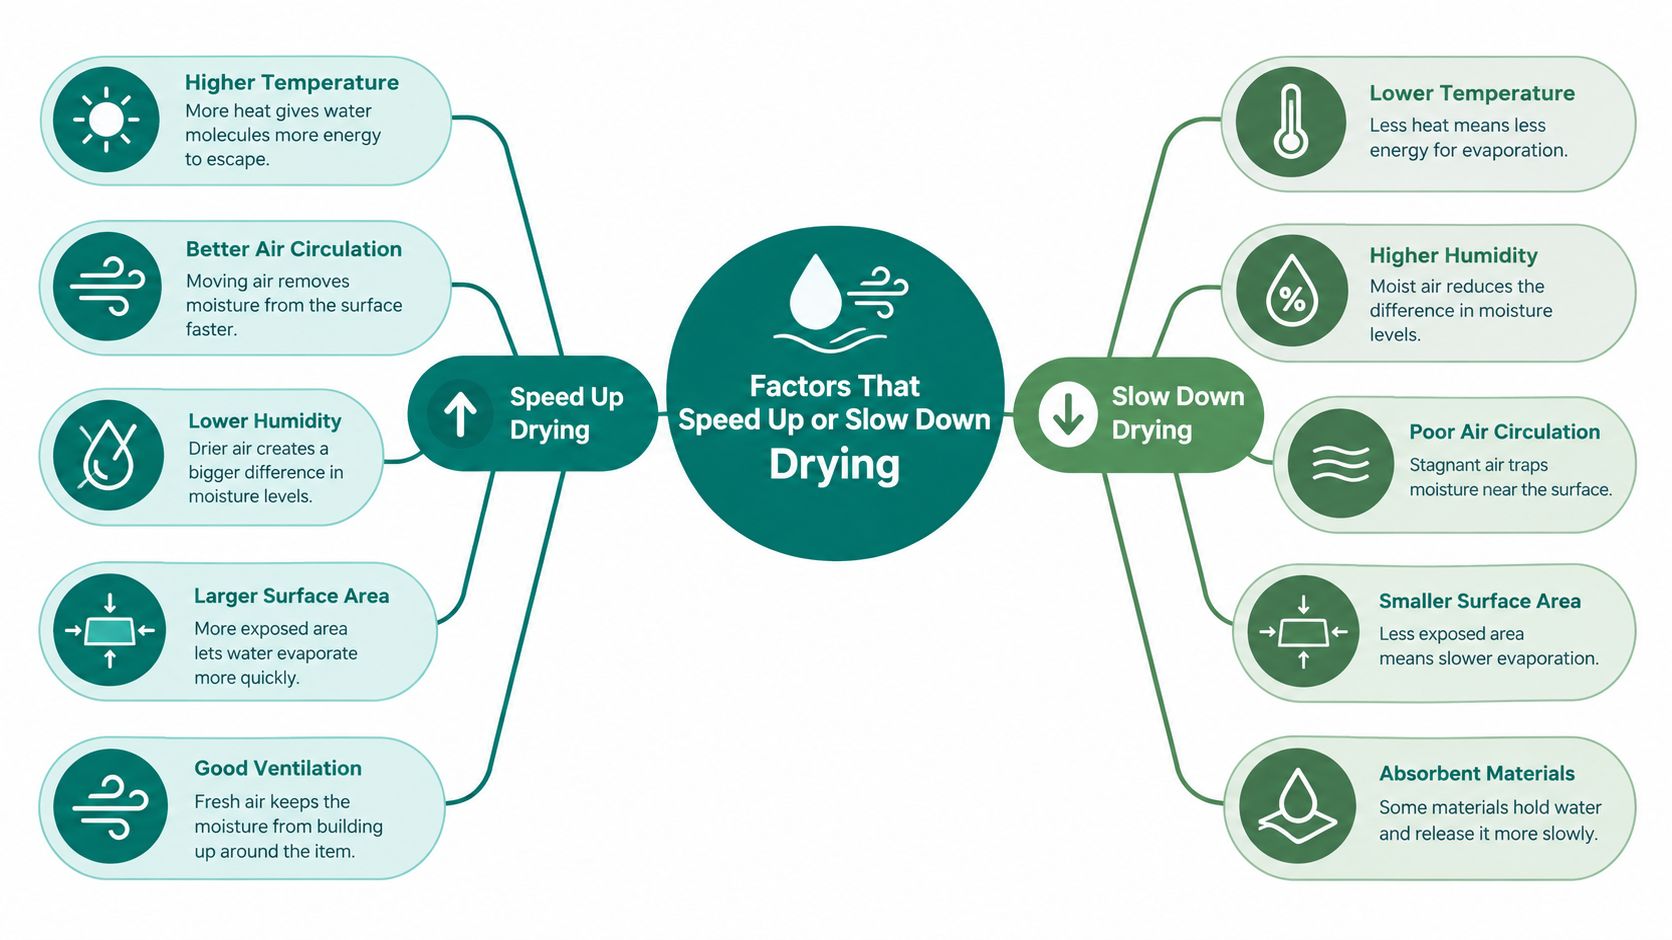
Factors That Speed Up or Slow Down Drying
Drying a damp towel differs from drying a soaked sponge. A towel may release moisture quickly when air reaches both sides. A thick sponge holds water inside, even when the outside feels nearly dry. Building materials behave in much the same way, especially when layers block airflow.
Water volume and material thickness
More water usually means more moisture has entered the structure. Thick flooring, hardwood, subfloors, plaster, insulation, and framing can hold that moisture longer than a thin surface finish.
The material also determines the technique. The EPA advises immediate moisture removal for hardwood, followed by dehumidifiers, fans, and gentle heat, while warning that excessive heat can damage wood. Carpet and backing need extraction and reduced humidity, but the underflooring beneath them must also be checked.
Temperature, humidity, and ventilation
Warm, controlled conditions generally support evaporation, while high humidity slows the rate at which wet materials can release water. Ventilation matters because moving moisture away from the material helps the drying system continue working.
Without mechanical drying, FEMA technical guidance reports that an exterior room with excellent ventilation may need approximately 2–4 weeks to dry, while an interior room with minimal ventilation may need 4–6 weeks or more. Fans, dehumidifiers, air conditioning, and controlled auxiliary heat can shorten the drying stage, but they can't eliminate the need to check the materials.
Hidden spaces set the pace
Water trapped beneath laminate, under hardwood, behind baseboards, inside a wall cavity, or within insulation can't dry efficiently just because a fan crosses the room. Technicians may need to remove trim or damaged sections to create airflow access. They may also reposition equipment as readings change.
The clock follows the wettest concealed material, not the cleanest visible surface.
A project can therefore slow down after extraction appears complete. That isn't necessarily a sign that equipment is ineffective. It may mean the drying process has reached the moisture that was absorbed deeper in the assembly, where evaporation naturally takes longer.
Why Contaminated Water Changes Everything
Water from a clean supply line is different from water released by a toilet overflow, sewage backup, or flood. Two rooms can contain a similar visible amount of water, yet the contaminated incident may take longer because workers must address safety, containment, removal, sanitation, and inspection before reconstruction.
The EPA's guidance distinguishes clean water from situations involving suspected sewage or chemical or biological contamination. Its contaminated-water recommendations state that protective equipment and containment are needed when contamination is suspected.
Source determines the work
A clean supply-line leak may proceed from source control to extraction and drying. An appliance overflow or other water source with some contamination can require more careful handling and cleaning. Sewage, floodwater, and other heavily contaminated sources can require removal of porous materials that can't be reliably cleaned, followed by sanitation and inspection.
The same distinction applies to water near electrical systems. Clearance may be necessary before workers can safely operate equipment or begin removal. Flooded buildings can also involve damaged mechanical systems and older building materials that need additional assessment.
Hidden layers still matter
Contamination doesn't replace the need for moisture testing. It adds another decision layer. Carpet and carpet backing may need prompt drying in a clean-water event, while the underflooring still requires inspection. Hardwood may need immediate water removal and controlled drying because excessive heat can damage it.
A room can look dry while water remains below the flooring or inside the wall. If the source was sewage or floodwater, those concealed materials may require removal rather than ordinary drying. The correct timeline therefore depends on both what the water touched and where the water traveled.
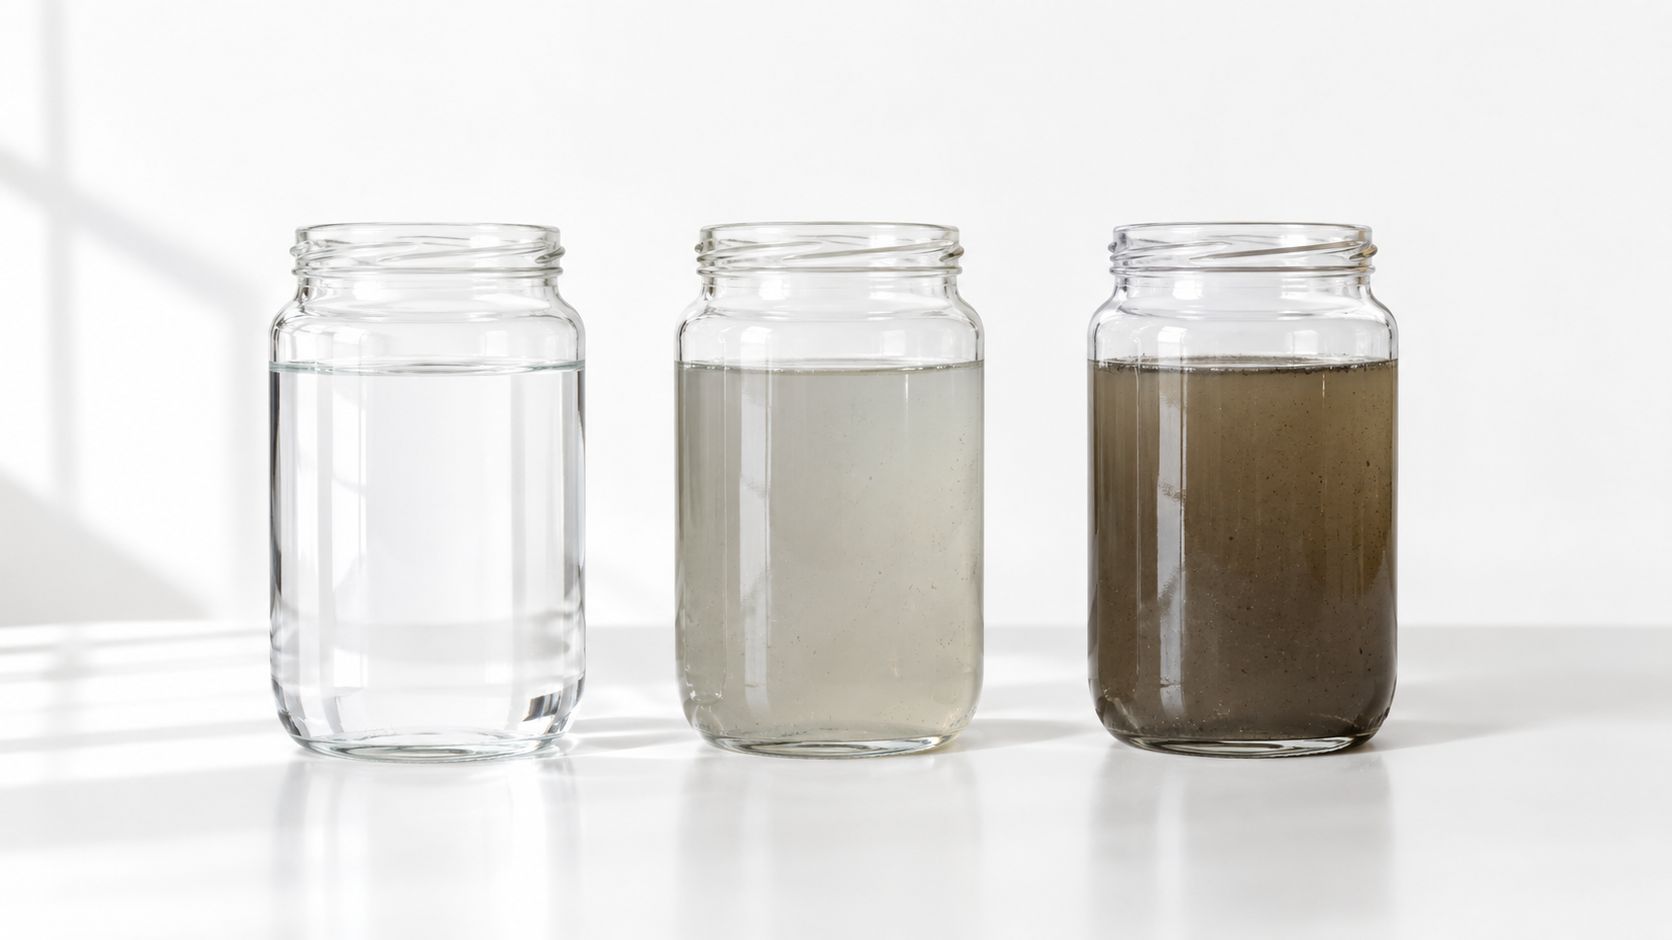
A clean-water incident may be suitable for limited homeowner cleanup when the area is small and fully accessible. Contaminated water, water inside walls, or water affecting electrical systems calls for professional assessment because the work involves more than pumping out visible water.
What You Can Handle Yourself and What Needs a Pro
Homeowners can often take useful first steps without attempting a full restoration. The safe boundary is straightforward: handle source control, documentation, and limited cleanup when the water is clean and the affected materials are accessible. Stop when the work involves hidden moisture, contamination, electrical risk, or materials that remain saturated.
Reasonable first actions
- Stop the source: Close an accessible water shutoff when doing so is safe, and contact the appropriate property professional for an active leak.
- Move belongings: Relocate undamaged furniture, boxes, and other contents away from wet areas.
- Remove a small spill: Mop or absorb a limited clean-water spill when it hasn't entered flooring layers or walls.
- Improve airflow: Run fans and a dehumidifier in a safe, controlled area, without directing equipment toward exposed electrical hazards.
- Document the condition: Photograph standing water, affected surfaces, damaged belongings, and the source before disposal or major cleanup.
A homeowner can also read how to dry wet drywall before deciding whether a small, accessible area is suitable for careful handling. Drywall that has absorbed water from a wall cavity, ceiling, or contaminated source is a different situation from a minor surface splash.
The point where professional equipment matters
Professional help is warranted when water has entered walls or ceilings, saturated carpet and padding, reached the subfloor, or come from sewage, floodwater, or another contaminated source. Water near electrical systems also deserves a safety assessment before cleanup continues.
Professionals bring commercial extraction equipment, air movers, dehumidifiers, and moisture meters. Those tools change the timeline because they remove more water and verify concealed conditions instead of relying on touch. A homeowner who sees wet flooring but can't determine whether the subfloor is affected has already reached the limit of visual inspection.
Damage that has remained wet for more than 48 hours also deserves professional assessment, especially when materials are porous or hidden. The EPA treats the 48-hour point as a guideline, not a guarantee, so the decision should be based on the source, materials, visible conditions, and moisture readings rather than a deadline alone.
Insurance Claims and Documentation Along the Way
Insurance paperwork should follow the restoration work from the first wet-room photographs to the final moisture readings. Documenting the starting condition, contacting the insurer promptly, and recording drying activity gives the claim file a clear timeline while the property is being stabilized.
Record the loss before disposal
Photograph the water source, standing water, each affected room, damaged materials, and belongings before disposal or major cleanup. Keep samples of damaged carpet, flooring, curtains, or other items when removal is necessary. Save receipts and written records for reasonable emergency work.
For flood-related claims under the National Flood Insurance Program, the NFIP recovery guidance advises policyholders to document damage before disposal and take reasonable steps to limit further damage. Standard NFIP policies generally do not cover mold damage. Covered cleanup activities can include pumping out trapped floodwater, extracting spent cleaning solutions, treating mold and mildew, and structurally drying salvageable interior foundation elements.
Keep the drying record organized
A clear file can include:
- A dated photo log: Describe what each image shows and record when it was taken.
- A contents list: Note damaged belongings, their condition, and whether each item was moved, cleaned, retained, or discarded.
- A moisture log: Record readings by room, material, and date when meters are used.
- A work record: Save invoices, estimates, equipment notes, and messages with the insurer.
- A decision record: Explain why a material was removed, cleaned, dried, or replaced.
A professional moisture assessment can also support the claim file. The guide to a water damage inspection explains what an inspection documents and when one is typically performed. Moisture readings help connect the drying schedule to a measurable result, rather than relying only on whether a surface feels dry.
Notify the insurer promptly, but do not automatically delay needed mitigation while waiting for an adjuster. Ask how photographs, samples, estimates, and moisture records should be submitted, then coordinate any inspection with the drying schedule.
Missing records can pause a claim even when the structure is ready for its next step. Organized documentation separates emergency mitigation from reconstruction and explains why restoration may have several completion dates instead of one.
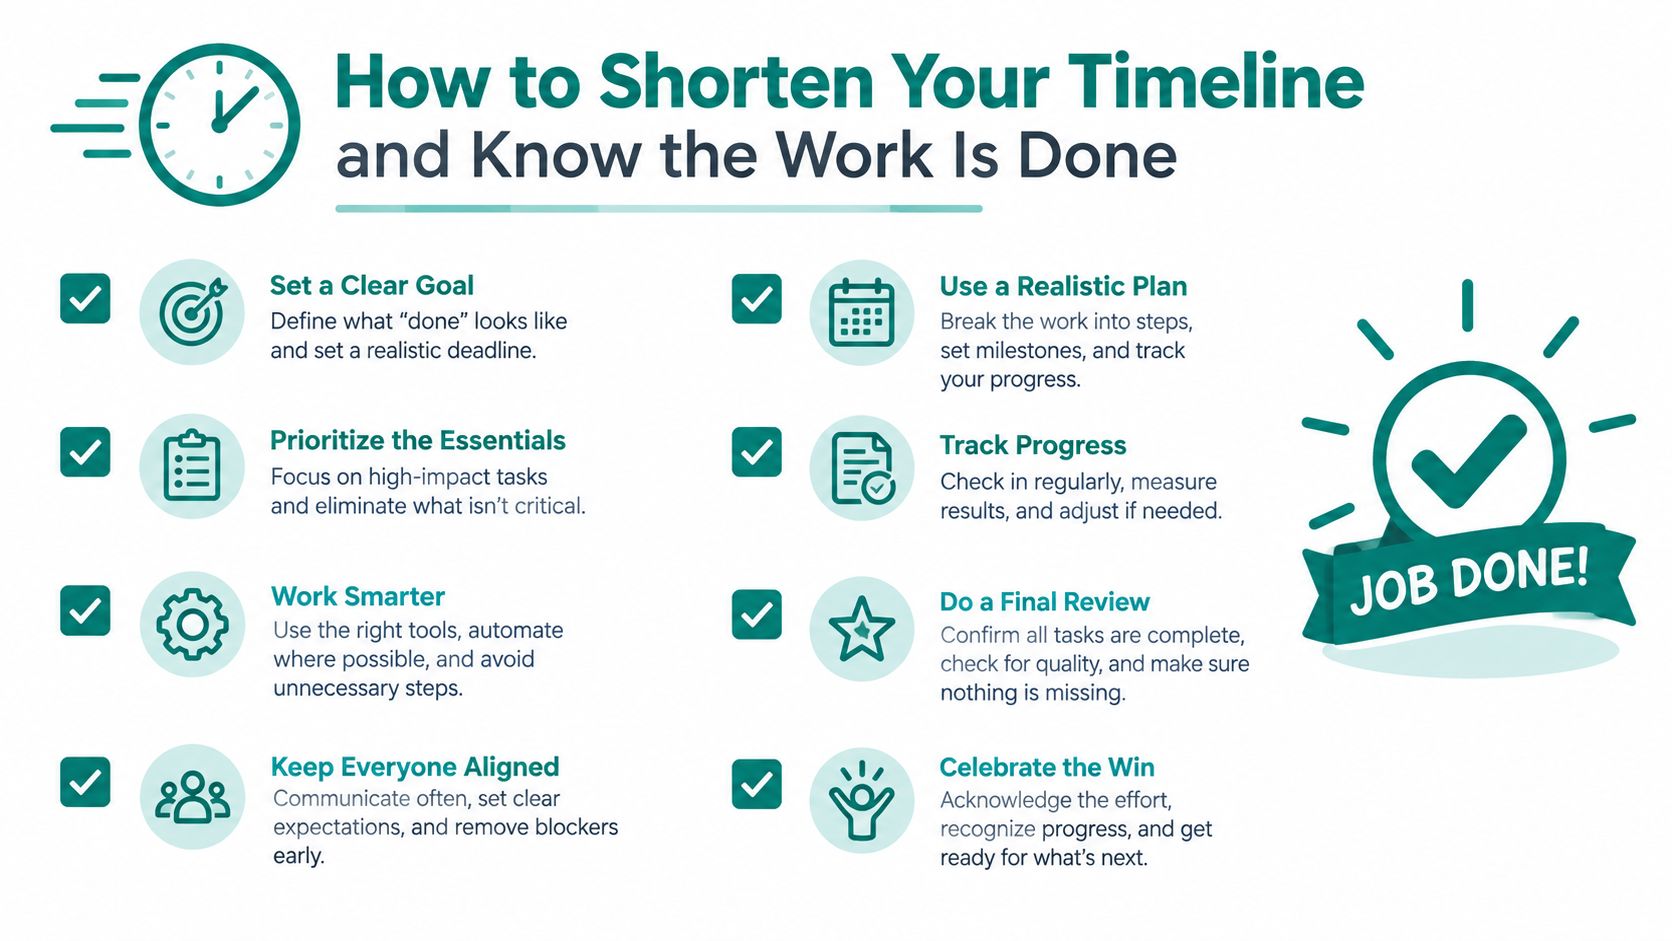
How to Shorten Your Timeline and Know the Work Is Done
A wet room rarely dries on its own just because the visible water is gone. The quickest safe route is to stop the source, remove standing water, expose hidden moisture when appropriate, and continue controlled drying until measurements support the next step.
A practical timeline checklist
- Act within the first 24–48 hours: Contact appropriate help and begin safe source control and extraction.
- Stop additional water: Drying cannot keep pace with an active leak feeding the structure.
- Remove standing water: Use safe methods for a small clean-water spill, or arrange professional extraction for saturated areas.
- Expose hidden moisture: Baseboards, flooring edges, cavities, and insulation can block airflow and require assessment.
- Keep equipment operating: Dehumidifiers and air movers work best while the affected area remains controlled.
- Protect documentation: Photograph conditions before moving or discarding damaged materials.
- Coordinate with the insurer: Share loss details and records without delaying necessary mitigation.
- Verify before rebuilding: Check framing, subfloors, and other affected materials with a moisture meter before covering or refinishing them.
What completion should look like
Drying is complete when the records support it, not when the surface feels dry. Framing and subfloors should reach the applicable target level and be compared with unaffected materials in the same building. FEMA identifies a presumption of dryness for wetted salvageable building materials, while targets still vary by material, climate, and comparison conditions.
Keep the moisture log after equipment is removed and through the handoff to reconstruction. Record the final readings, locations, dates, and any areas that could not be tested. This creates a clear record if a hidden wet layer, later odor, or insurance question appears.
Stable humidity, no continuing musty odor, and consistent readings across affected areas support the conclusion. They do not replace material-specific measurements. A dry-feeling surface can still conceal moisture underneath.
A small, clean, accessible spill may be manageable for a property owner. Leaks inside walls, contaminated water, saturated flooring systems, or moisture near electrical components need a fuller assessment. PostDamage helps homeowners, landlords, property managers, and small businesses explain the incident and connect with local help through one request. Visit PostDamage to identify a practical next step for extraction, drying, documentation, or repair.