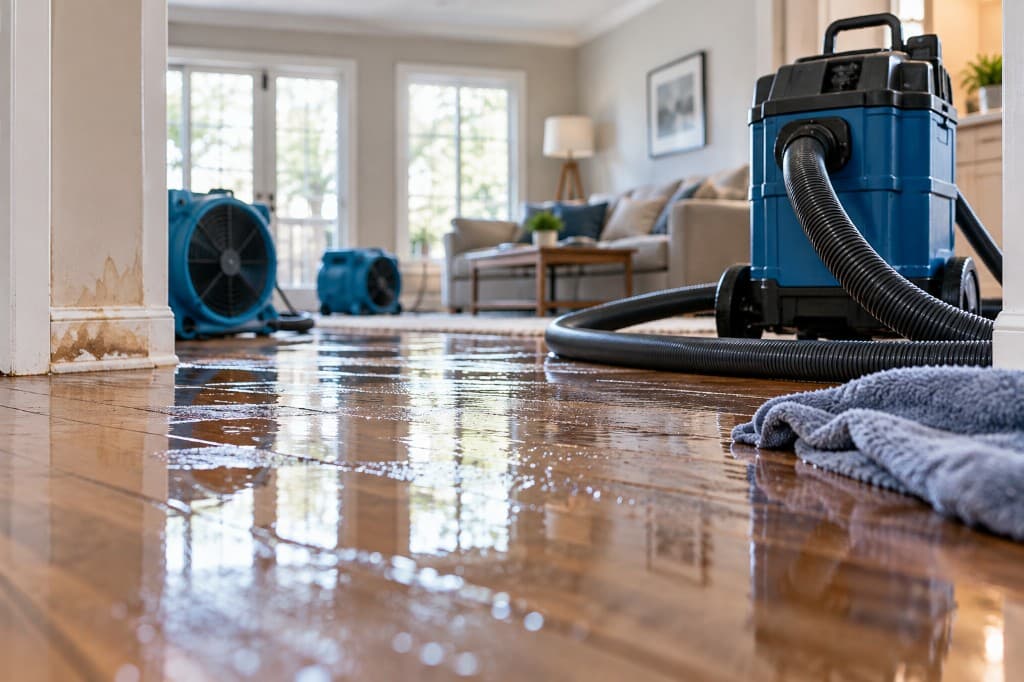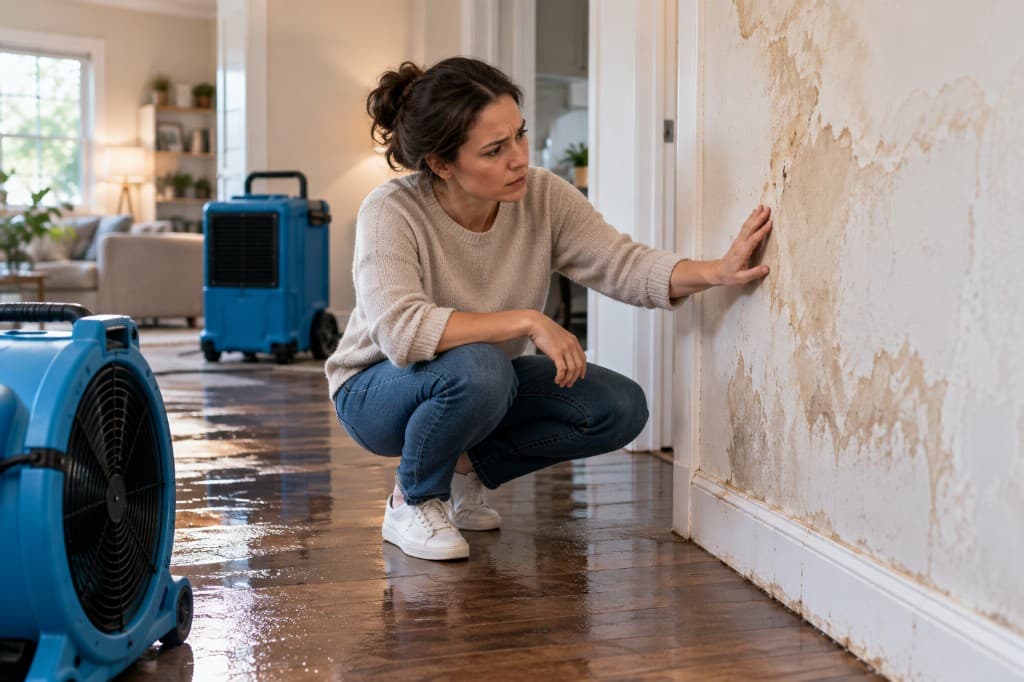
Water on the floor can make a house feel unfamiliar in seconds. A ceiling stain, a burst supply line, a leaking appliance, or floodwater at the baseboards can leave a homeowner staring at the damage and wondering what has to happen first.
A professional water damage inspection is often that first step. It brings order to a messy situation. It helps identify where the water came from, how far it traveled, what materials are affected, and what needs to be documented before cleanup and repairs begin. That matters for the house itself, and it can matter for the insurance claim that often follows.
PostDamage helps homeowners understand next steps and connect with appropriate local professionals. PostDamage does not perform inspections, moisture testing, drying, or restoration work.
That sinking feeling — and your first step forward
A common scene goes like this. Someone wakes up, steps onto a damp floor, and notices water spreading from under a vanity or laundry wall. Another homeowner gets home from work and finds a bubbled ceiling under an upstairs bathroom. In that moment, they do not need construction jargon. They need a calm next step.
That next step is a proper inspection by a qualified restoration or mitigation professional.
A water loss does not just affect what is easy to see. It can move under flooring, into drywall, behind cabinets, and along framing. It can also create confusion later if the source, timing, and extent of the damage are not documented clearly from the start. A good inspection helps protect the property and creates a clearer record for anyone reviewing the claim.
Practical rule: Panic makes people want fast answers. A careful inspection gets better answers.
Experienced restoration teams do not treat the inspection as paperwork or a formality. They treat it like the foundation of the recovery. If the inspection is incomplete, the drying plan may miss wet materials. If the documentation is weak, the carrier may question the scope. If the source is not identified correctly, the same problem can return after repairs.
A homeowner does not need to know every technical detail on day one. But it helps to know this much: water damage inspections are designed to replace guesswork with evidence. That shift alone can make the next decisions feel more manageable.
If you are still trying to confirm whether a wall leak is active before anyone arrives, see how to detect water leaks in walls.
What a water damage inspection really is
A water damage inspection is a diagnostic process for the building. Its job is to replace guesses with evidence so you can make sound repair decisions and understand what should happen next.

More than a quick look
What you can see is only the starting point.
A stain, warped floorboard, or musty smell gives the inspector a place to begin, but not the full story. Water often follows gravity, seams, gaps, and hidden framing paths. The visible damage may be the end of the trail, not the beginning. That is why a careful inspection focuses on cause, spread, and what the building needs now — before anyone starts tearing out materials or closing up walls.
In practical terms, the inspection usually answers three questions:
Where did the water come from?
The source needs to be identified as clearly as possible. That affects the drying plan, the repair plan, and how the loss is described for insurance.How far did it spread?
Wet materials rarely line up in a clean square. Moisture can move into nearby drywall, insulation, subfloors, trim, and framing, even when the surface damage looks minor.What should happen next?
Some materials can be dried and saved. Others may need removal, cleaning, containment, or added evaluation if microbial growth is a concern.
This process blends observation, measurement, and building knowledge. A good inspector is not just checking what is wet today. They are also figuring out what is likely to worsen, what can still be preserved, and what needs to be documented before conditions change.
Why the report matters
The written report is more than paperwork. It creates a dated record of the source (when known), affected areas, materials involved, and recommended action. That record can help if questions come up later about scope, timing, or whether the damage appears sudden or part of an older problem.
Clear documentation supports better repair decisions because hidden moisture and incomplete drying can leave behind staining, odor, swelling, and longer-term material damage. It also gives you something solid to share with your carrier or adjuster. Photos, moisture readings, room-by-room notes, and cause findings are stronger than trying to describe the damage from memory later.
Documentation helps the claim process. It does not guarantee coverage or a particular insurance outcome. Coverage depends on the policy, the cause of loss, and the circumstances.
The inspector's toolkit explained
The tools can look intimidating at first, but the basics are straightforward. An inspector uses them for the same reason a clinician uses more than eyesight: looking helps; measuring helps more.

What the tools actually do
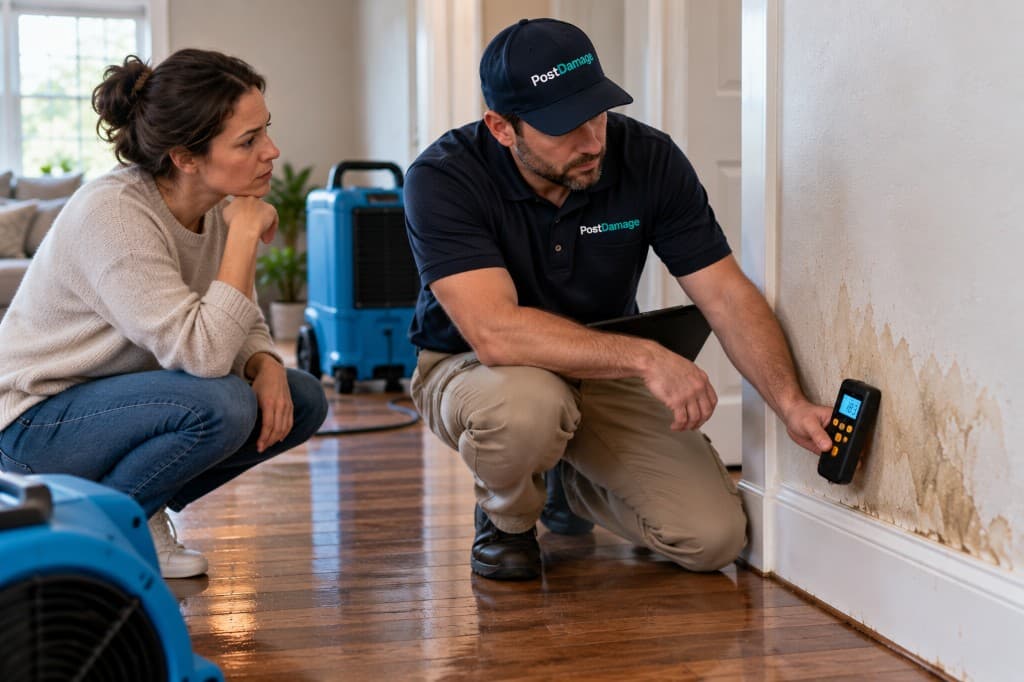
The most common tool is the moisture meter. It checks whether drywall, wood, carpet, trim, or other materials are holding more moisture than comparable dry areas in the home.
Inspectors may use more than one type:
- Pin meters press small probes into a material to check moisture within it.
- Non-invasive meters scan across surfaces without making holes, which is useful when screening larger areas.
- Thermal imaging cameras show temperature differences that may suggest hidden moisture patterns behind walls or under floors.
A thermal camera is sometimes compared to an X-ray for walls, but that comparison needs one caution. It does not directly see water. It shows cooler or different temperature areas that may line up with moisture, air leaks, missing insulation, or other conditions. That is why a professional confirms suspicious areas with direct moisture readings instead of relying on the camera alone.
Why dry-looking does not always mean dry
Water damage inspections matter because houses trap moisture in places people cannot easily reach. Drywall can feel normal at the painted surface while the lower section stays damp inside. Flooring can look fine from above while underlayment or subflooring remains wet. Cabinets and wall cavities can hold moisture long after standing water is gone.
Tools do not replace judgment. They support it. A trustworthy inspector explains what each reading means in plain language.
Sometimes inspection also includes limited opening of materials. That can mean removing a small baseboard section, drilling a controlled access point, or checking behind an affected panel when surface readings suggest hidden damage. Homeowners often worry that this means unnecessary demolition. In a proper inspection, it means confirming conditions before bigger repair decisions are made.
A step-by-step walkthrough of the inspection
Most homeowners feel calmer when they know what is about to happen. Water damage inspections usually follow a logical sequence, even if the details vary from one property to another.

What usually happens first
The first part is often a conversation. The inspector asks what happened, when the issue was first noticed, what has already been shut off or cleaned up, and whether there have been earlier leaks in the same area. Then comes the site walk.
A typical sequence looks like this:
Source identification
The inspector starts by looking for the origin of the water. That may involve plumbing fixtures, supply lines, drains, appliances, roofing details, windows, exterior grading, or another entry point.Safety and condition review
If water contacted electrical areas, contaminated spaces, or unstable materials, the inspection takes those concerns into account before anyone proceeds further.Extent survey
The inspector checks the visibly affected area, then expands outward into nearby materials and rooms because water often migrates farther than expected.
How moisture mapping works
The most technical part is often the easiest to understand once someone explains it. Inspectors typically establish a dry reference by measuring unaffected materials first, then compare those readings with suspect areas to map where moisture is still present and where conditions look closer to normal again.
Exact “normal” readings vary by material, meter type, and conditions. There is no single moisture percentage that applies to every building material in every home. What matters is the comparison pattern and how readings change as drying progresses.
That matters because the eye can miss the true edge of the damage. A wall stain may stop at one stud bay while meter readings show increased moisture farther along the assembly. A flooring transition may hide migration into the next room. Moisture mapping turns a vague concern into a measurable boundary.
Moisture mapping is the house version of checking vital signs. It shows where the problem is active and where conditions appear closer to normal.
What the homeowner should receive
At the end of the inspection, the homeowner should have a clearer picture of the next decisions. That often includes:
- Documented findings with photographs, notes, and moisture readings
- Affected material list showing what appears wet, damaged, or at risk
- Recommendations for drying, removal, further evaluation, or repair
- Records that help explain the scope and sequence of the loss
If anything feels unclear, that is the right moment to ask simple questions: Which materials are still wet? Which rooms need monitoring? Whether any adjacent spaces should be opened or tested? A good inspector will not hide behind jargon.
For what usually happens after assessment — extraction, drying, and stabilization — see what water mitigation is. If the wall assembly itself may need selective removal or rebuild after drying, see water damage wall repair.
Timelines, cost drivers, and insurance documentation
A lot of homeowners ask, “How long will this take, and what will insurance cover?” Under that question is a simpler concern: How hard will this hit my home, my routine, and my wallet?
The inspection is often the first place those answers start to come into focus — not as promises, but as a clearer picture of scope.
A good inspection report works like a chart for the property. It does not just say something is wrong. It records what was found, where it was found, how far it appears to have spread, and what still needs confirmation. That helps the restoration plan fit the actual damage, and it gives the insurance carrier a clearer record of what happened before cleanup changes the scene.
Useful records to keep include:
- Photographs of affected areas
- Notes on the observed source or cause when known
- Moisture readings and findings
- Dates and a simple timeline
- Written reports
- Receipts and invoices
A careful report can help:
- Show the likely scope of damage so the drying and repair plan matches what is affected
- Support the timeline of loss if the carrier asks whether the damage appears recent or developed over time
- Explain hidden damage in wall cavities, under flooring, or behind cabinets when the surface alone does not tell the full story
- Preserve conditions early with photos, notes, and readings taken before demolition or repairs change the evidence
Cost is usually less predictable at the inspection stage, and that can feel frustrating. The inspection tells you the size of the problem. The final price depends on what that problem turns out to include — wet insulation, damaged subflooring, trapped moisture behind cabinetry, or materials that can be dried versus materials that need removal.
Useful questions to ask include:
What is the likely drying and repair scope?
This helps you understand whether the issue appears contained or likely extends into connected materials and nearby rooms.What documentation will I receive?
Ask whether you will get written findings, photos, moisture readings, and notes that can be saved for the claim file.What still needs confirmation?
Some areas may require monitoring, limited opening, or specialist review before final repair decisions are made.What should I keep for insurance?
Save your own photos, invoices, receipts, emails, claim notes, and any records tied to the event or mitigation work.
Insurance decisions are built on documented facts, policy language, and the circumstances of the loss — not on visible staining alone or on a homeowner’s understandable concern. A strong inspection gives you something solid to stand on. It does not guarantee a particular claim result.
Your checklist for a trustworthy inspection
A stressed homeowner is vulnerable to fast talk. Some companies respond with a real inspection. Others show up with a sales script and try to move straight to demolition or a contract signature.
It helps to know the difference.
Green flags that build confidence
A trustworthy inspector usually behaves in ways that are easy to recognize:
- They explain the process clearly in plain language about source tracing, moisture readings, affected materials, and next steps.
- They use actual diagnostic tools beyond touching drywall with a hand or glancing at a ceiling stain.
- They document what they find with photos, notes, and readings that support the conclusions.
- They welcome questions instead of becoming defensive when asked why a wall should be opened or why an area is included.
- They separate findings from pressure — the inspection should feel like an evaluation, not a rush toward signing paperwork on the spot.
Inspector green flags vs. red flags
| Green flags (what to look for) | Red flags (what to avoid) |
|---|---|
| Uses moisture meters and other diagnostic tools | Relies only on a visual glance |
| Provides written findings or a clear documented scope | Gives only a verbal estimate |
| Explains why materials are affected | Uses jargon to avoid answering questions |
| Checks nearby and connected areas | Looks only at the obvious stain or puddle |
| Discusses documentation for the claim | Pushes immediate contract signing before explaining findings |
| Talks through source, spread, and next steps | Focuses on selling repairs before assessing the loss |
Why hidden damage deserves extra attention
One of the most common homeowner questions is whether a dry-looking room is safe to close up and forget. Sometimes it is. Sometimes it is not.
Hidden moisture can persist even after visible water is gone. A thorough inspection looks for clues such as musty odors, staining patterns, soft materials, and adjacent-room migration — not just the original puddle. Water can wick sideways into base plates, travel under flooring, or linger behind trim and cabinetry. The homeowner may only see a stain. The inspection should determine whether surrounding materials also need attention.
If an inspector never checks beyond the obvious wet area, the inspection may be too shallow to protect the property well.
A careful homeowner does not need to challenge every recommendation. They do need enough confidence to tell the difference between evidence and pressure.
From inspection to action
A significant water problem is not a good candidate for guesswork. Hidden moisture, damaged materials, and claim documentation all need professional attention. Waiting too long or relying on a surface-level review can make the repair path harder.
The safest move is to get a professional assessment and let that inspection guide what happens next — including the drying plan, any necessary removal of damaged materials, and the records needed for the claim file. For the broader recovery path after assessment, see PostDamage’s water damage restoration guide.
If you need help figuring out next steps after water damage, PostDamage’s guided incident flow can help you describe the situation and find an appropriate local professional.