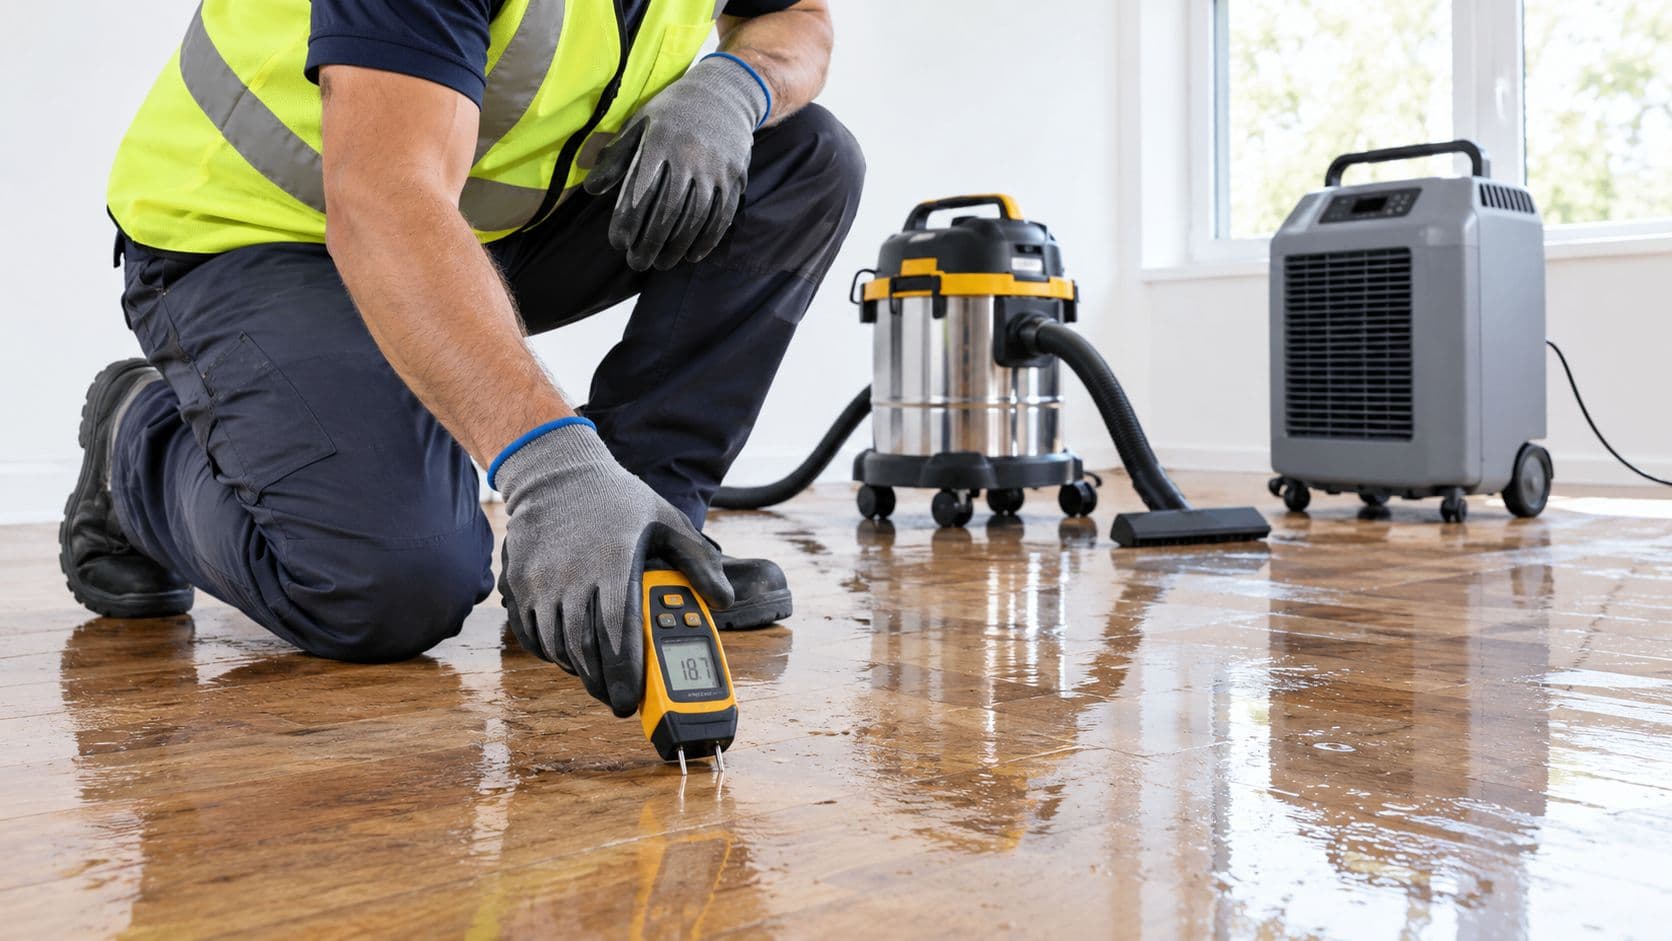
A pipe bursts behind the kitchen wall overnight. By morning, the floor feels soft, the baseboards are swollen, and water has reached the room below. The visible puddle is only the beginning. Moisture can remain inside drywall, insulation, cabinets, flooring, and ceiling cavities long after the surface looks dry, turning a manageable leak into a much larger repair.
Water damage cleanup works best when it follows a controlled sequence: make the property safe, stop the source, remove standing water, dry the structure, document the loss, and verify that hidden moisture is gone before repairs begin. Speed matters, but rushed work without measurements can leave a property vulnerable to secondary damage and insurance disputes.
Securing the Property and Stopping the Water Source
Standing water creates immediate hazards beyond damaged finishes. Electrical wiring, outlets, appliances, and extension cords may be energized beneath or beside the water. A soaked ceiling can weaken, sag, or release sections of drywall, while saturated flooring can become slippery and unstable.
Protect people before property
The safest first move is to keep residents, tenants, employees, and pets away from the affected area. Nobody should walk through standing water to reach an outlet, appliance, electrical panel, or light switch. If the electrical panel can be reached without entering the wet area, power should be shut off to the affected zone. If reaching it requires stepping into water, the property owner should wait for emergency assistance from a qualified professional.
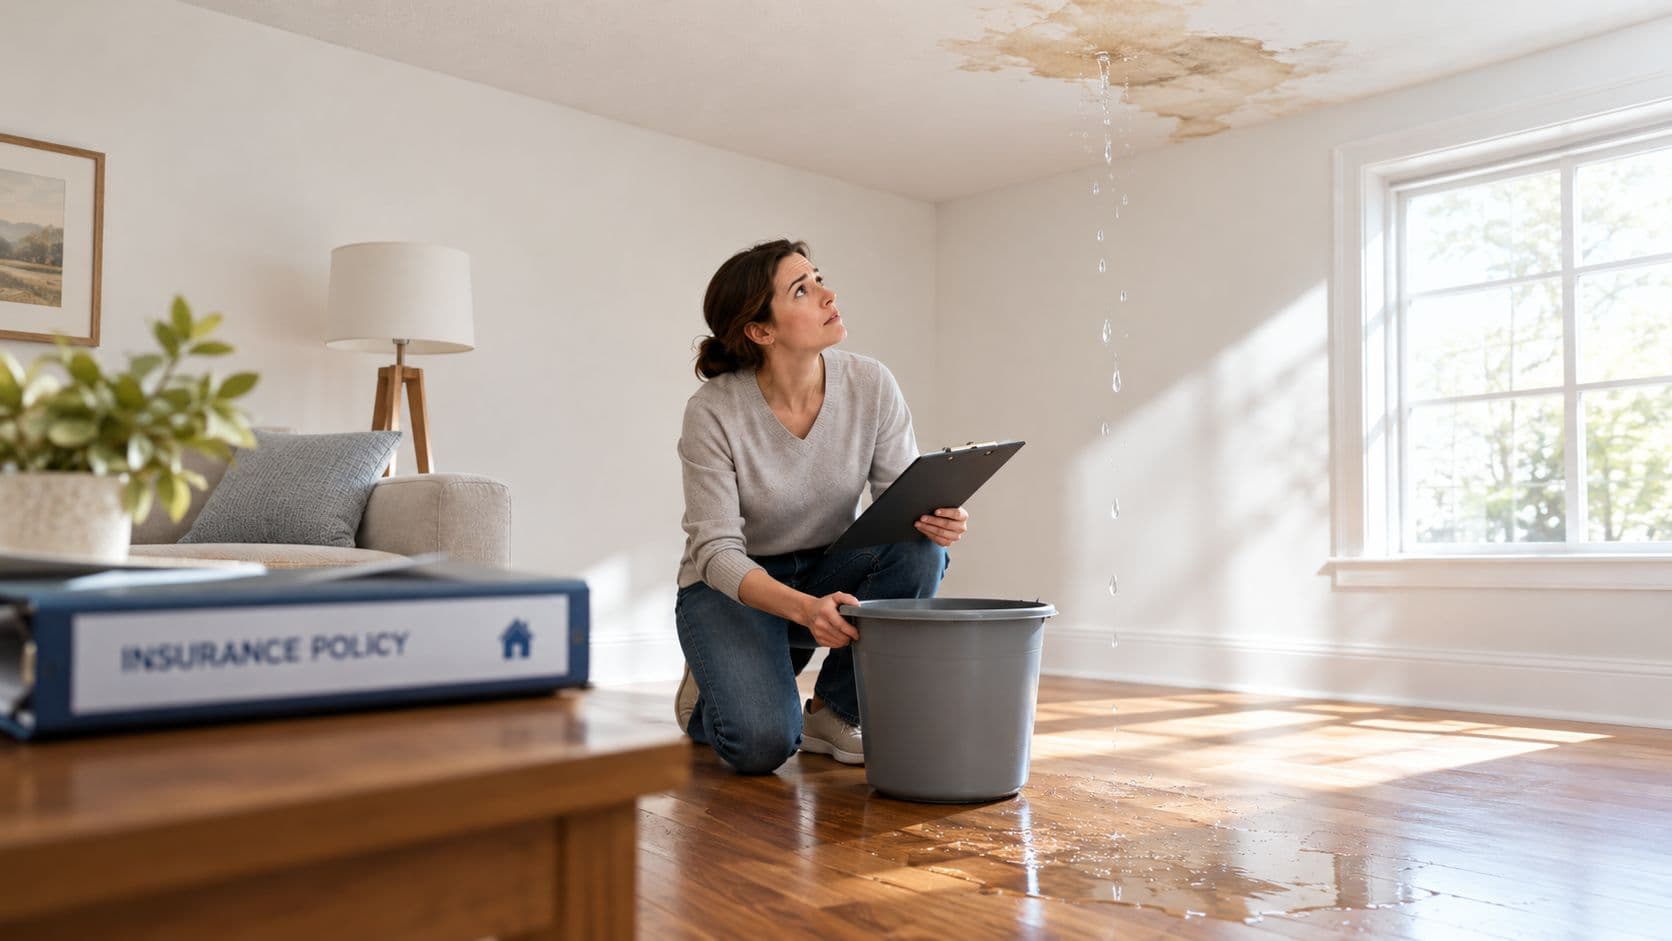
If wet wiring, a burning smell, sparks, or damaged electrical equipment is present, the area needs professional assessment before anyone attempts extraction. A wet ceiling also deserves caution. Water coming through a light fixture is especially dangerous, and guidance on water leaking through a ceiling should never replace an on-site safety decision.
The main water supply should be closed if the source is an active plumbing leak. A property owner may be able to shut the main valve without entering the flooded path, but the valve should not be forced if access is unsafe. For a toilet, appliance, or fixture leak, the local shutoff may stop the flow while a plumber or restoration professional addresses the cause.
Identify the water before handling it
The water category determines the safe cleanup method.
- Clean water may come from a broken supply line or another source without significant contamination. It still damages building materials, but limited, recent losses can sometimes be handled with suitable equipment and careful monitoring.
- Category 2 water is significantly contaminated. An overflowing appliance, toilet with some contamination, or used household water may require controlled removal and protective measures.
- Category 3 water is grossly contaminated and may contain pathogenic or toxigenic agents. Sewage, floodwater, and heavily contaminated standing water aren't appropriate for casual cleanup.
Category 2 and Category 3 intrusions require remediation before restorative drying begins, along with contamination controls and appropriate personal protective equipment, according to an IICRC-based position statement on contaminated water. A homeowner shouldn't use a household fan to spread contaminated water or airborne particles through the property.
Limit migration while help is arranged
Once people are safe and the source is controlled, the next objective is containment.
- Move small valuables, documents, electronics, and portable furniture to a dry area. Heavy items should be moved only if lifting them won't expose anyone to electrical or structural hazards.
- Place plastic sheeting or absorbent barriers at room transitions when doing so doesn't trap water against walls or flooring.
- Keep interior doors open when safe, but isolate the affected room if airflow would carry contamination into clean areas.
- Photograph the scene before moving damaged belongings or removing materials.
- Call a qualified restoration company when water has entered walls, ceilings, insulation, flooring assemblies, or electrical areas.
Water damage is a major homeowners insurance claim category. Industry data summarized by The Hanover and Triple-I through Chubb's water-damage guidance identifies water damage or freezing as the second most frequent homeowners claim, representing about 22.6% of home insurance claims and affecting roughly 1 in 67 insured homeowners each year. The same source reports an average claim of about $15,400 from 2019 through 2023, while annual homeowners water claims above $1 million had tripled since 2015. Those figures reinforce the practical point: a small-looking leak can become a reconstruction project if the property isn't stabilized quickly.
Executing Water Extraction and Structural Drying
Mopping removes what can be seen. It doesn't remove water held in carpet backing, subfloors, insulation, drywall cores, cabinet bases, or wall cavities. A property may feel dry underfoot while moisture remains trapped behind the finish, where it can distort materials and create conditions that support microbial growth.
Remove bulk water first
Extraction should begin with the deepest or largest accumulation, not with a broom pushing water from one room into another. A submersible pump can remove substantial standing water where the depth and electrical conditions permit safe operation. A wet/dry vacuum can collect smaller amounts and pull water from flooring edges, seams, and accessible surfaces.
A broom or household mop has a limited role after bulk extraction. Pushing water across a floor increases the affected area, drives moisture into joints and porous edges, and makes it harder to document where the water originally traveled. Restoration crews typically combine extraction with controlled removal of materials that can't be dried in place.
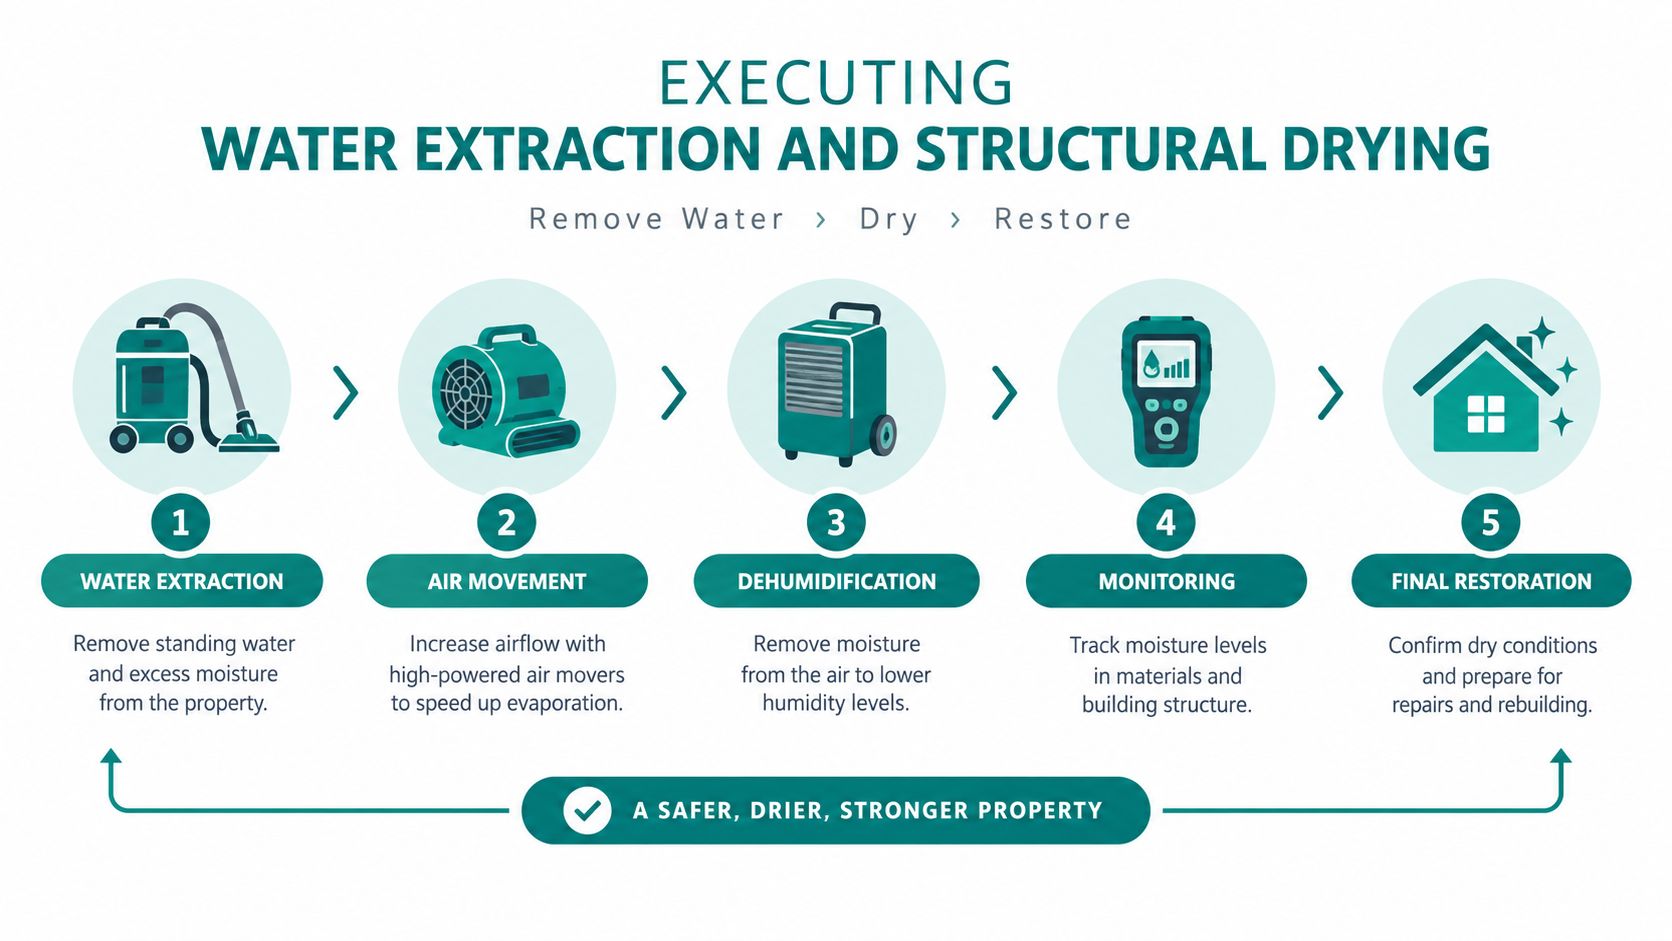
The sequence matters:
- Extract standing water from floors, low points, carpet, and accessible cavities.
- Remove unsalvageable wet materials when they block airflow or retain contamination.
- Create air movement across wet surfaces and inside opened cavities.
- Control humidity so evaporated water does not settle elsewhere.
- Measure repeatedly until the structure reaches a defensible drying goal.
Understand what drying equipment actually does
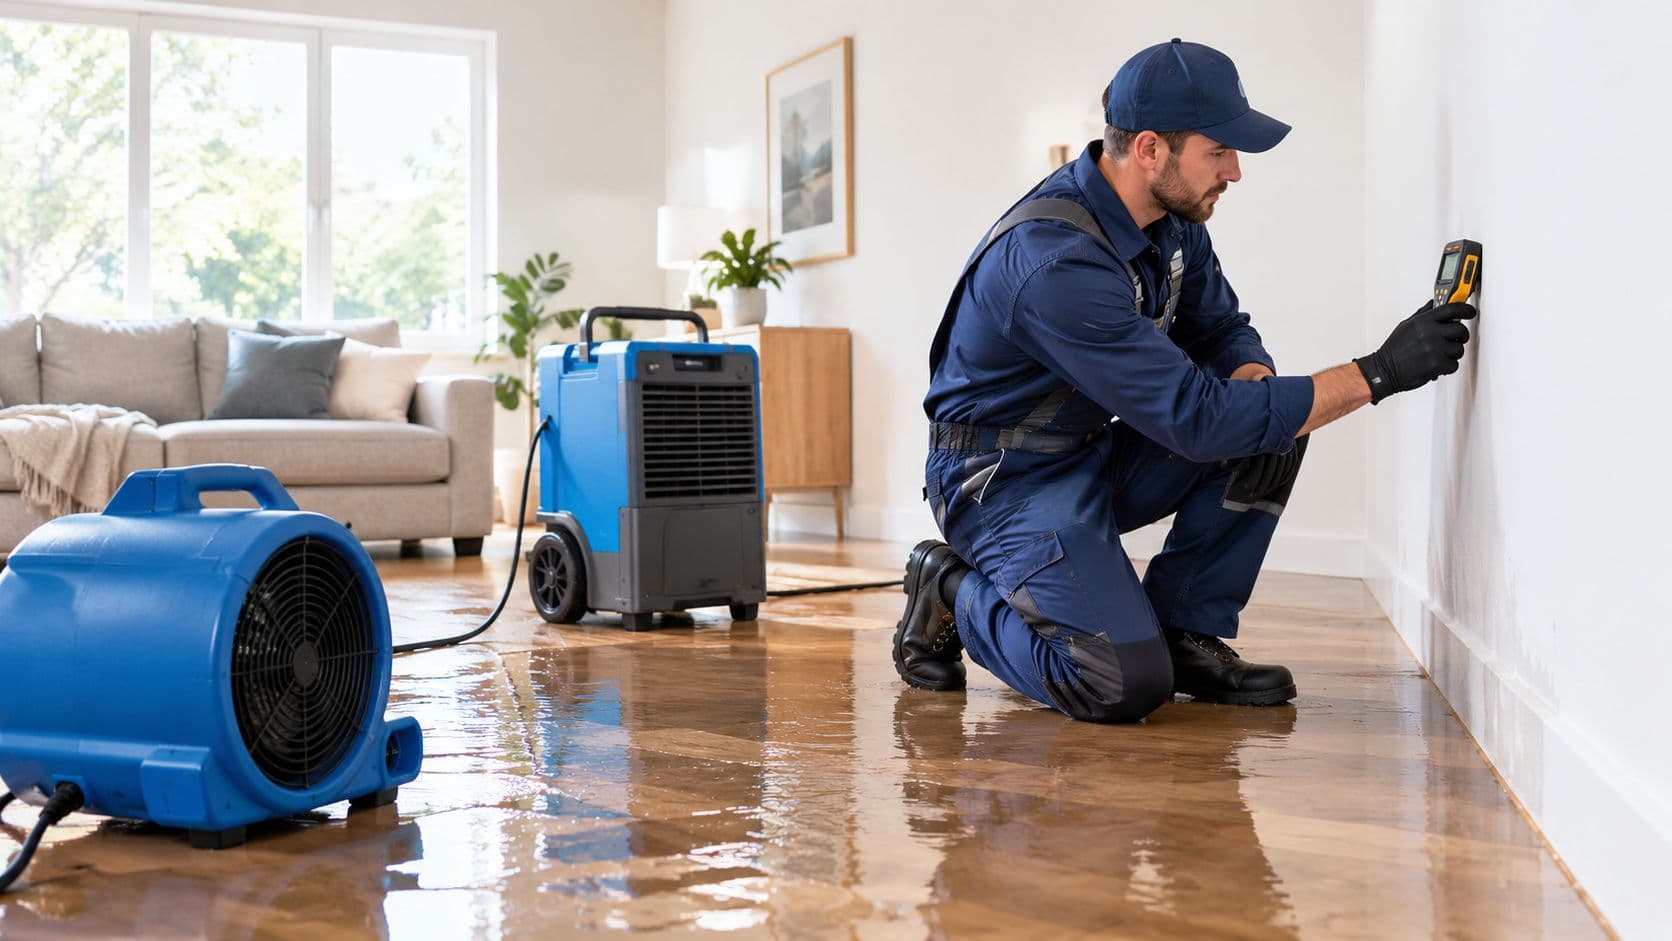
Air movers accelerate evaporation at the surface. They don't magically pull all moisture from a wall. Dehumidifiers remove water vapor from the air, allowing more moisture to leave wet materials. The two systems work together. Air movement without humidity control can spread moisture through the building, while dehumidification without sufficient air circulation can leave wet pockets untouched.
Drywall illustrates the problem. Its paper face may feel dry before the gypsum core has released its moisture. Insulation can remain wet behind a wall opening, and a subfloor can hold moisture below carpet or finished flooring. Flooring seams and cabinet toe kicks also create narrow spaces that ordinary fans can't dry effectively.
Property owners can find more detail on how to dry wet drywall, but the central rule is straightforward: surface feel isn't a drying standard.
Verify the structure, not just the room
Professionals establish a dry standard by comparing affected materials with an undamaged control area made from the same or similar material. They take non-invasive readings across the affected space first, then use material-specific or penetrating measurements where the initial readings indicate moisture may remain.
A water-damage drying guideline from Northern Arizona University describes sufficient drying as conditions at or better than normal room conditions, with materials unable to support mold growth and able to continue equilibrating without causing further damage. The guidance also notes that a reading within 4 points of the drying goal may fall within the margin of error. That is why a single reading at the center of a room doesn't prove that a wall edge, floor cavity, or ceiling void is dry.
Practical rule: Fans are evidence of an attempt to dry a structure. Moisture logs are evidence that the structure actually dried.
A competent drying record should identify the rooms, materials, equipment locations, readings, and dates of each inspection. If readings stop improving, the crew should investigate airflow, trapped water, wet insulation, concealed cavities, or a continuing source. Reconstruction should wait until the measurements support closure, not until the equipment has run for an arbitrary number of days.
Evaluating Materials and Belongings for Salvage
Salvage decisions should be based on porosity, contamination, saturation, and access, not sentimental value alone. A solid wood table may respond well to controlled drying, while a wet carpet pad can retain water beneath a carpet even after extraction. Keeping the wrong material in place can delay the entire project.
Sort building materials by how they hold water
Nonporous materials such as glazed tile, metal, and some finished plastics are often easier to clean and dry when their surfaces and backing remain intact. They still need inspection at seams, joints, fasteners, and concealed edges. Water can travel beneath tile, behind cabinets, and under trim.
Wood requires a more careful decision. Hardwood flooring may be salvageable when it has limited swelling and the subfloor can be dried, but prolonged saturation can cause cupping, crowning, buckling, or adhesive failure. Laminate flooring often has a decorative surface over a moisture-sensitive core, so swelling at joints may make replacement more practical than prolonged drying.
Drywall can sometimes dry in place after a clean-water event when it remains structurally sound and has sufficient air access. If the paper facing has delaminated, the board has lost its shape, or insulation behind it is wet and inaccessible, controlled removal may be necessary. Baseboards can trap water at the wall-floor junction and often need removal to expose the lower edge of drywall.
Carpet and padding should be assessed separately. Carpet may be cleanable and dryable in a limited, recent clean-water loss, but the pad is highly absorbent and can keep the subfloor wet. The EPA's carpet and backing guidance says water-damaged carpet and backing should be dried within 24 to 48 hours using extraction, dehumidifiers, fans, and sometimes heaters. If mold growth has occurred or the materials have been wet for more than 48 hours, the EPA directs readers to its mold-damage guidance instead.
Use the time window to make hard decisions
The clock doesn't determine every salvage outcome, but it changes the risk. A recent clean-water incident with fast extraction offers more recovery options than contaminated water that has soaked porous materials. FEMA advises assuming mold growth when a home or its contents weren't dried within 24 to 48 hours after flooding or water intrusion. Items that can't be properly cleaned and dried in that window may need removal and disposal, including some structural materials and personal property, as described in FEMA's homeowner and renter mold guide.
The practical triage is:
- Keep and clean: Nonporous belongings with limited surface exposure and no hidden wet components.
- Professionally restore: Hardwood furniture, valuable documents, upholstered pieces, and electronics when their value justifies controlled handling.
- Discard promptly: Saturated carpet pad, visibly deteriorated drywall, contaminated porous materials, and items that can't be dried completely.
Handle belongings as separate projects
Furniture should be lifted off wet flooring, separated from walls, and dried with airflow that doesn't damage veneers or finishes. Upholstered furniture needs inspection inside cushions and frames, not just surface wiping. Documents should be separated carefully, air-dried where practical, and handled by a specialist when the material is valuable or irreplaceable.
Electronics shouldn't be energized while wet. They need isolation, documentation, and evaluation by a qualified technician. Clothing and washable textiles should be separated from clean items and processed according to the water category. If mold is already visible, fans can spread spores, and FEMA's mold brochure advises against using fans after growth has started. That safety point matters during triage, even though the immediate project remains water removal and structural drying.
Documenting the Loss for Insurance Reimbursement
Insurance documentation should start before damaged materials disappear. A cleanup crew may need to remove swollen drywall, wet insulation, carpet pad, or ruined contents to prevent further damage. Without photographs, measurements, and an inventory, the claim file can show only an empty room instead of the condition that required the work.
Photograph the full path of the water
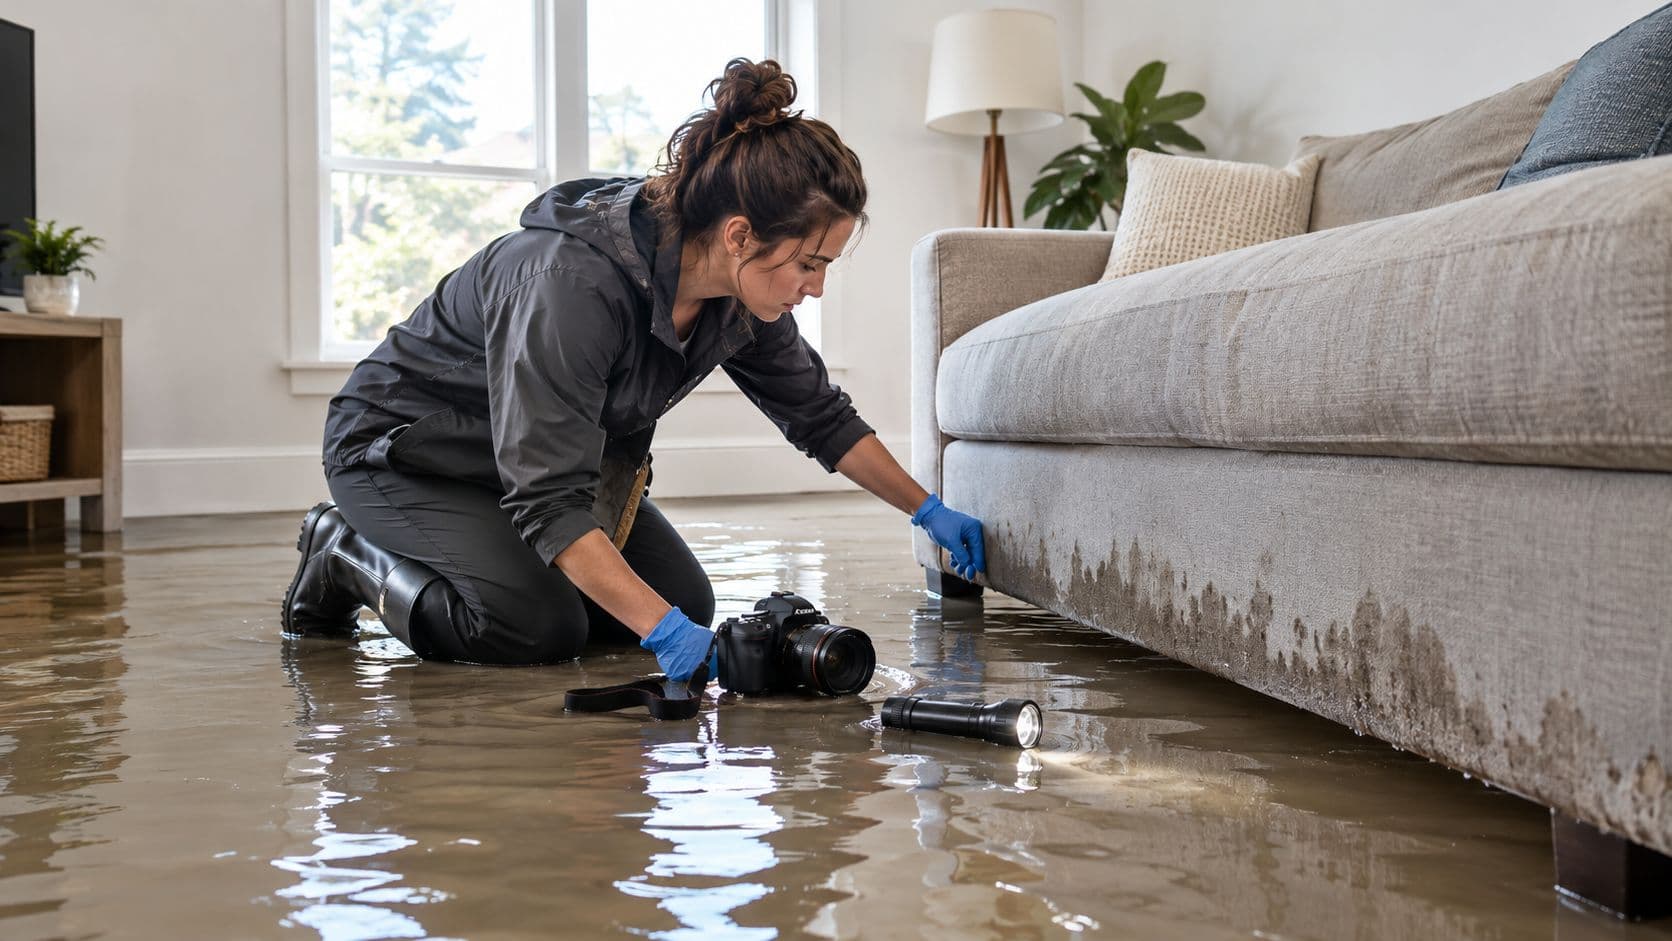
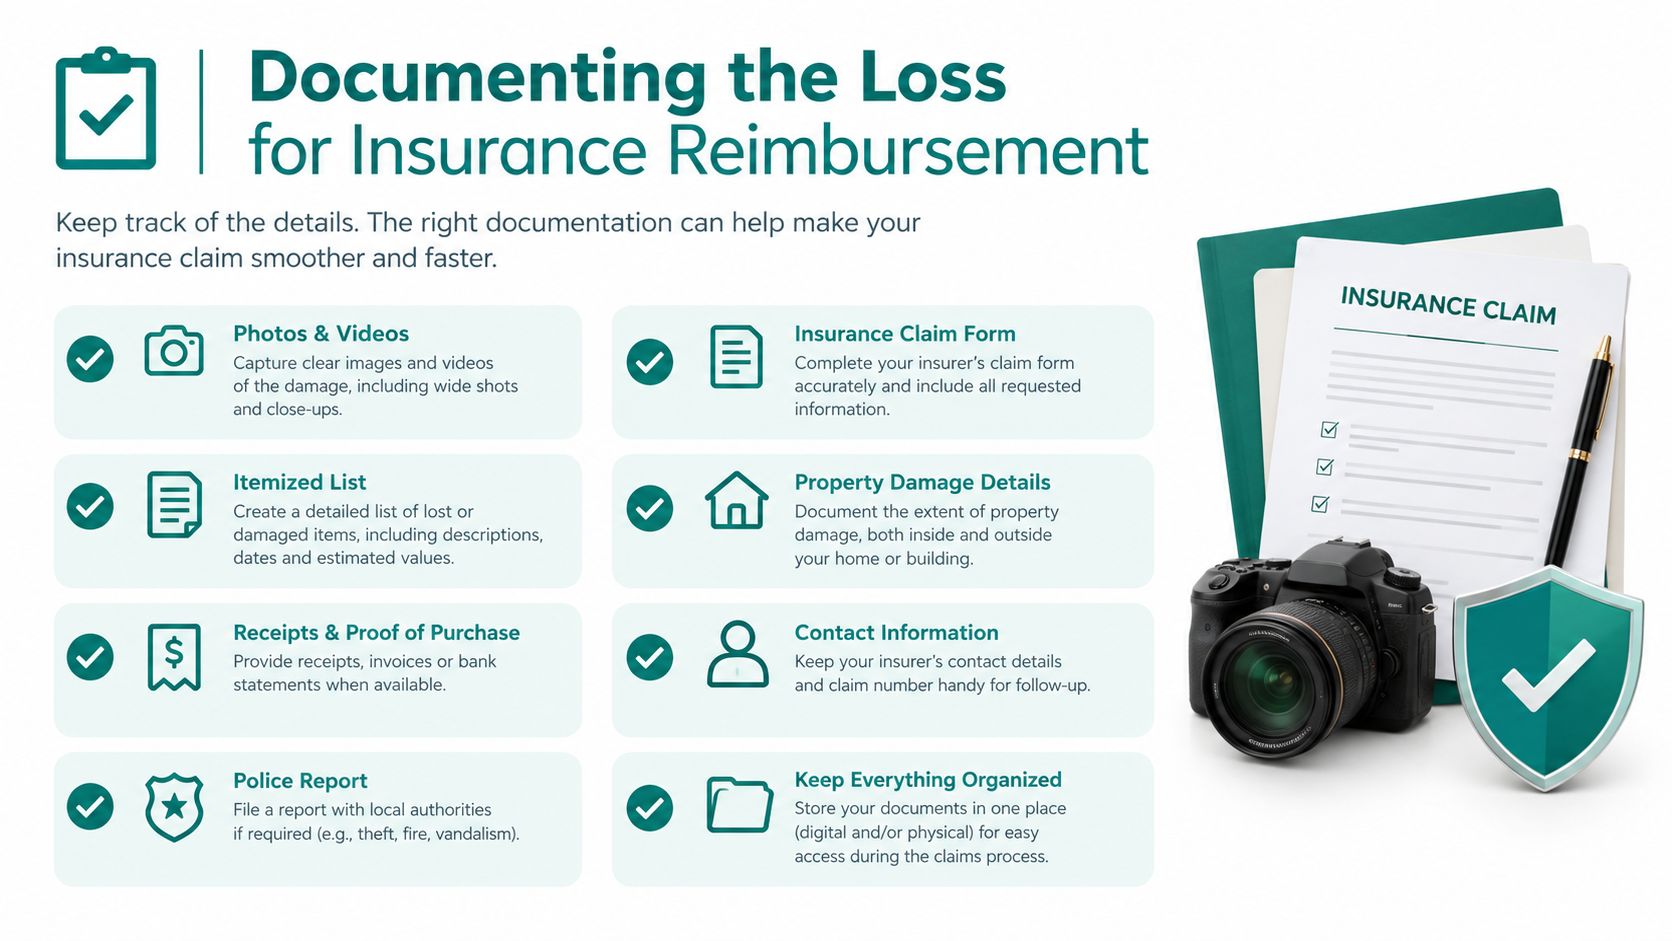
The strongest record combines wide views, room-level images, and close details. The property owner should photograph the source if it can be reached safely, the water line on walls or furniture, each affected room, damaged finishes, equipment, and contents before removal.
A useful sequence includes:
- Wide room views: Show how water traveled from the source into adjacent areas.
- Close material views: Capture swelling, staining, delamination, buckling, saturation, and damaged seams.
- Reference shots: Include doors, corners, outlets, furniture, or a measuring object to establish scale.
- Contents evidence: Photograph each damaged item, its label, serial number, and condition.
- Progress images: Record extraction, controlled demolition, equipment placement, and final drying checks.
Video can add context, especially for active leaks and water movement. Files should be stored in more than one secure location, with dates preserved. The property owner shouldn't edit images in a way that removes original file information.
Build an itemized loss file
A room-by-room inventory is more useful than a single list labeled “water damage.” Each entry should identify the item or material, location, condition, approximate age, purchase information when available, and whether it was cleaned, moved, stored, restored, or discarded.
Receipts, photographs from before the incident, warranties, serial numbers, and comparable product information can help establish what was damaged. Discarded materials should be photographed in place and again during removal when practical. The record should explain why each material was removed, such as contamination, structural deterioration, trapped moisture, or inability to dry it safely.
Claim discipline: No damaged material should leave the property without a photograph, a description, and a reason for removal.
Preserve the mitigation record
The claim file should include the date and time of discovery, the suspected source, shutoff actions, emergency calls, equipment rentals, invoices, temporary repairs, hotel or storage costs when applicable, and communications with the insurer. A restoration company should provide room-specific moisture readings and equipment logs, not just a final invoice.
The water-damage insurance documentation checklist reinforces the value of organized evidence. Policy language controls coverage, so the property owner should notify the insurer promptly, ask what emergency work is authorized, and keep mitigation moving when delay would increase damage. Documentation supports the claim, but it doesn't guarantee payment for every item.
Navigating Cleanup Costs and Drying Timelines
A clean-water supply-line burst on a hard floor may need extraction and controlled drying. Contaminated water beneath finished flooring and inside wall cavities requires removal, containment, and reconstruction planning. The cost depends on water category, affected square footage, access, material type, contamination, extraction difficulty, equipment, labor, and the repairs that follow.
Use cost ranges as planning information
Consumer-facing industry summaries place typical restoration pricing around $3 to $7.50 per square foot, with clean-water cleanup at the lower end and black-water cleanup at the higher end. Residential projects commonly fall around $1,300 to $6,000, while severe losses can exceed $15,000, according to ConsumerAffairs' water-damage insurance claims summary.
| Water Category | Cost Per Square Foot | Typical Materials or Equipment |
|---|---|---|
| Clean water | About $3 at the lower end | Supply-line bursts on hard flooring, often dryable in place with extraction and air movement |
| Significantly contaminated water | Within the broader $3 to $7.50 range, depending on scope | Porous flooring, cabinets, or other materials requiring controlled removal and protective equipment |
| Grossly contaminated or black water | Up to about $7.50 at the high end | Sewage-affected assemblies, contaminated contents, containment, and specialized removal procedures |
Use these figures to set expectations, not to approve a quote. A contractor must inspect the property, classify the water, identify materials that can be dried or must be removed, and calculate equipment and labor. The same source estimates that about 14,000 people in the United States experience a water-damage emergency every day and that annual home-flooding costs may reach $34.3 billion. Demand, access, and project scope explain why local pricing varies.
Treat timelines as measurement questions
A promised finish date of three days is poor project management if no one verifies the assemblies. Drying commonly takes about 3 to 5 days for a contained clean-water loss and 7 days or longer when insulation or wall cavities are wet. These ranges are discussed in recent restoration guidance on drying verification, but they are planning estimates, not completion criteria.
Water trapped in insulation, dense flooring, wall cavities, or inaccessible framing extends the schedule. Indoor humidity, weather, airflow, material porosity, and the ability to open affected assemblies also affect drying. When readings plateau, the crew should reposition or add equipment, improve airflow, or open materials where appropriate. Extending the rental period without changing the drying strategy wastes money.
Close the project with proof
Before reconstruction begins, request the final moisture map, readings from affected materials, comparison readings from control areas, equipment records, and photographs of opened cavities. The repair phase should start only after documented readings meet the agreed drying goal and no unexplained moisture remains in the affected assemblies.
The completion date is the date the readings support closure, not the date the fans are removed.
Require a scope that separates emergency mitigation from repair and replacement. It should identify extraction and drying costs, demolition costs, and later reconstruction costs. That separation makes the invoice easier to review and exposes gaps before hidden moisture creates secondary damage.
Choosing Between DIY Mitigation and Professional Help
DIY water damage cleanup is appropriate only for a small, recent, clearly clean incident involving materials you can safely access and monitor. A minor spill on a hard, nonporous surface may be manageable with prompt extraction and drying. Once water may have reached the structure, arrange a professional assessment, even if the visible area looks limited.
Call a professional when the structure is involved
Professional help is the right choice when water has entered drywall, insulation, subfloors, ceilings, cabinets, or wall cavities. Call one when the source is unknown, several rooms are affected, electrical components are wet, or structural materials are sagging or shifting.
You also need professional help when you cannot establish a dry standard or record repeat moisture readings. Fans can make a room feel dry while moisture remains inside insulation, flooring, framing, or other concealed assemblies. A restoration professional can locate hidden wet areas, establish control-area comparisons, manage equipment, and document the work for the claim file. Our overview of what water mitigation involves explains how that scope is typically defined.
Never treat contaminated water as a casual project
Category 2 and Category 3 water require more than gloves and a household vacuum. Contaminated water can affect materials that appear clean, spread into porous assemblies, and require controlled removal before drying begins. The IICRC-based guidance cited earlier calls for remediation, contamination controls, and appropriate protective equipment before restorative drying.
Electrical exposure sets another firm boundary. Wet wiring, outlets, panels, appliances, or light fixtures rule out casual DIY work in the affected zone. The same applies to a compromised ceiling, unstable flooring, sewage contamination, or water that has remained inside concealed assemblies.
Document the incident before removing materials. Photograph the source, affected rooms, visible damage, discarded items, equipment placement, and any opened cavities. Keep moisture readings, work authorizations, and invoices together, and require mitigation to remain separate from reconstruction. This record helps show what happened, what was removed, and why the work was necessary.
Choose professional help when hidden moisture, contamination, electrical risk, or insurance documentation is involved. If you are unsure who to call, PostDamage's single-request referral path lets you describe the incident once and connect with an appropriate local professional without fielding multiple sales calls. Property owners can describe the leak, flooding, or intrusion and visit PostDamage to determine the next practical step.