At 2 a.m., a homeowner may step into a living room and find water spreading from a burst supply line, a ceiling leak, or an overflowing appliance. The carpet feels soaked, baseboards are dark, and water may already be moving beneath the flooring. The first reaction is usually to grab towels, but the more important task is to protect the structure, the people inside it, and the insurance record.
Water damage is one of the most frequent property-loss categories in U.S. homeowners insurance. Water damage and freezing represented about 22.6% of home insurance claims from 2019 to 2023, with an average claim size of roughly $15,400, according to industry water-damage statistics based on Insurance Information Institute and related claims data. Effective water damage mitigation begins before repairs. It stops the source, removes standing water, dries hidden materials, and records what happened well enough for another person to understand the loss.
What Water Damage Mitigation Really Means
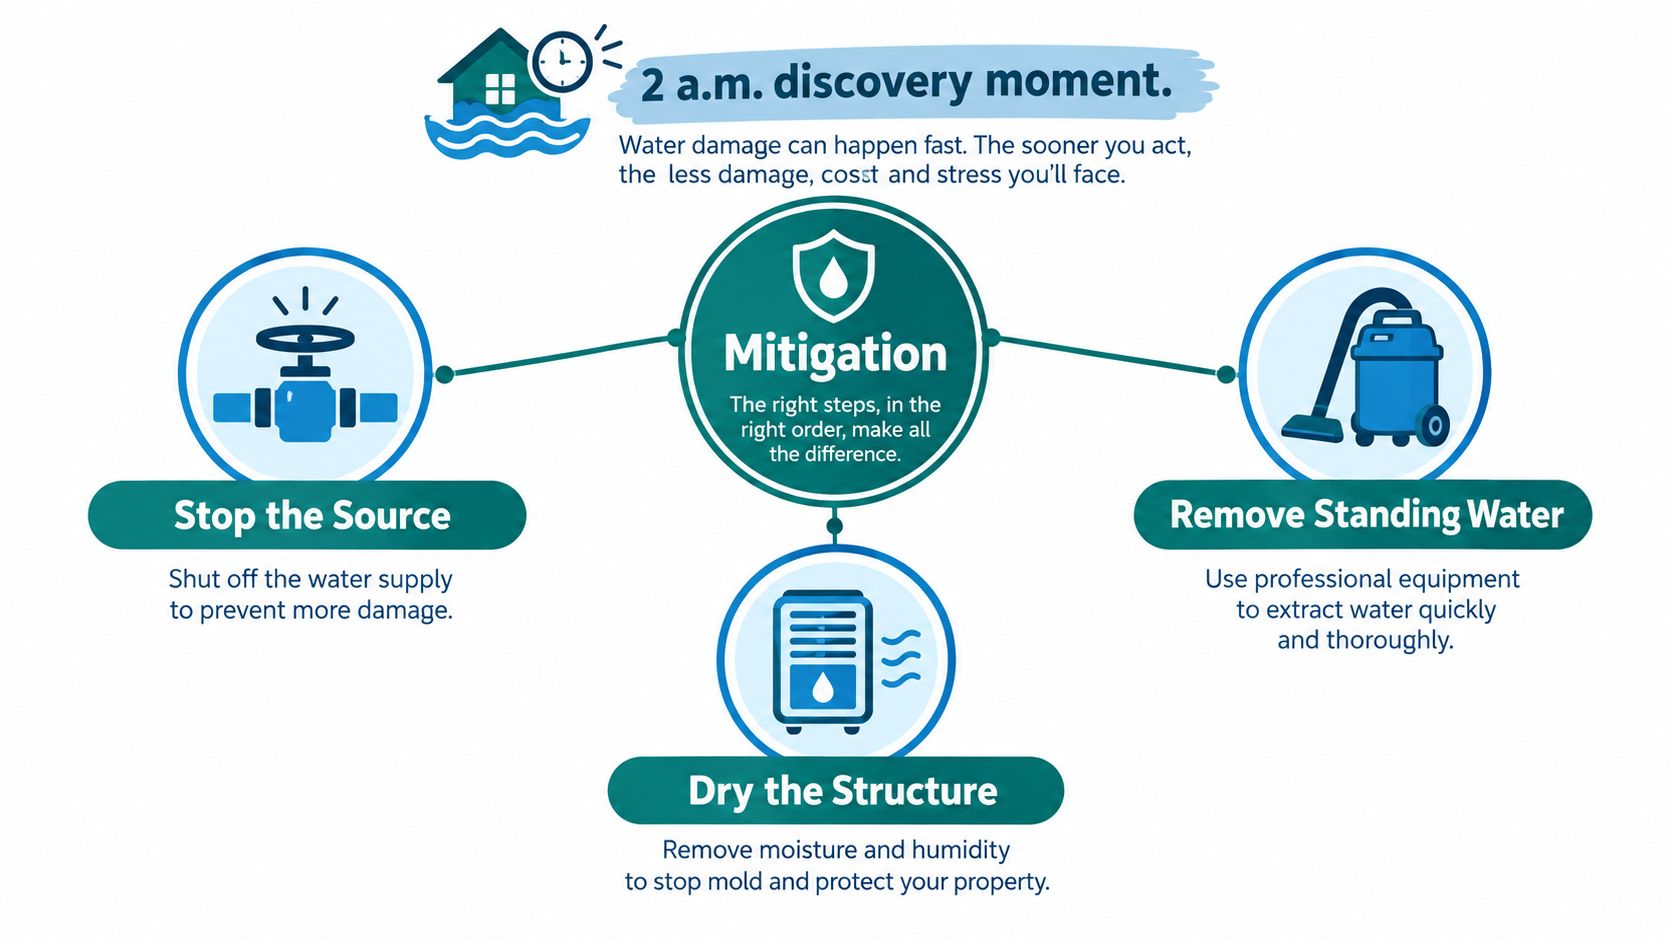
Mitigation is the emergency work between discovering water and beginning repairs. It limits additional damage, removes collected water, controls indoor humidity, protects unaffected rooms, and measures materials until they reach an appropriate dry condition. Cleaning a visible floor helps, but it does not complete the job.
A restoration technician might lift carpet, remove saturated padding, detach baseboards, or make small access holes through trim. These steps create airflow and expose moisture behind walls or beneath flooring. Like checking beneath a rug after a spill, the visible surface can seem fine while drywall, subfloors, and framing remain wet.
Practical rule: A room is dry only when affected materials compare appropriately with an unaffected reference area made of the same material.
Moisture, time, and temperature determine how quickly materials deteriorate and how difficult drying becomes. The Environmental Protection Agency's drying guidance states that carpet and backing should dry within 24 to 48 hours. Materials left wet long enough may support mold growth even when their surfaces look acceptable.
Mitigation and restoration are different phases
Mitigation stabilizes the property. Restoration returns it to its previous condition. Water extraction, dehumidification, moisture mapping, and controlled removal belong to mitigation. Replacing drywall, refinishing floors, repainting, and rebuilding cabinets generally belong to restoration.
The order protects both the building and the insurance record. Repairs placed over damp materials can hide the problem and require later removal. A sound project follows source control, extraction, structural drying, verification, and documented repair planning, with photos, readings, and decisions recorded throughout.
The First 24 Hours After You Discover Water
Safety comes before speed. Anyone entering the affected area should look for energized outlets, appliances, extension cords, damaged ceilings, unstable flooring, and slipping hazards. If water has reached electrical equipment, the breaker panel, or wiring, power should only be shut off from a safe location. If that can't be done safely, occupants should leave the area and contact qualified help.
Next, stop the source if the shutoff is accessible and dry. A fixture valve may isolate a sink or toilet, while a main valve may be necessary for a hidden pipe or leak inside a wall. A plumber or utility provider is the right choice when the source can't be identified or controlled without opening building materials.
Preserve what hasn't been damaged
Move furniture, boxes, and loose belongings away from wet areas when they can be lifted safely. Place foil, plastic, or a simple barrier under furniture legs that can't be moved, and keep clean items away from contaminated water. Wet objects shouldn't be stacked tightly because contact surfaces dry slowly.
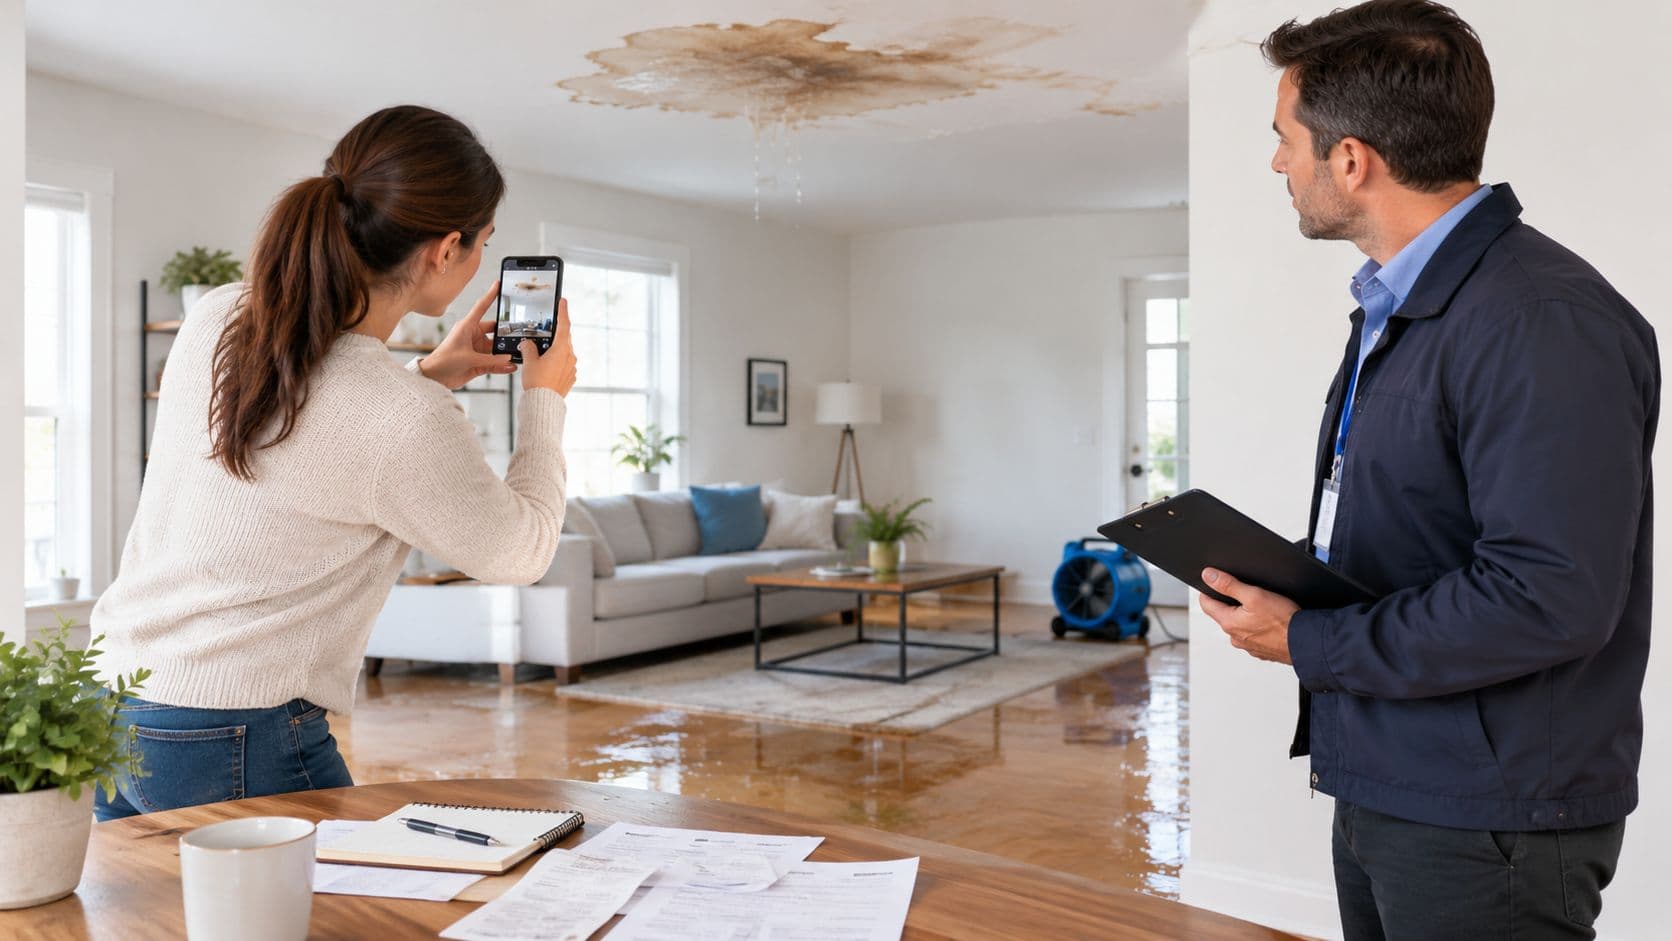
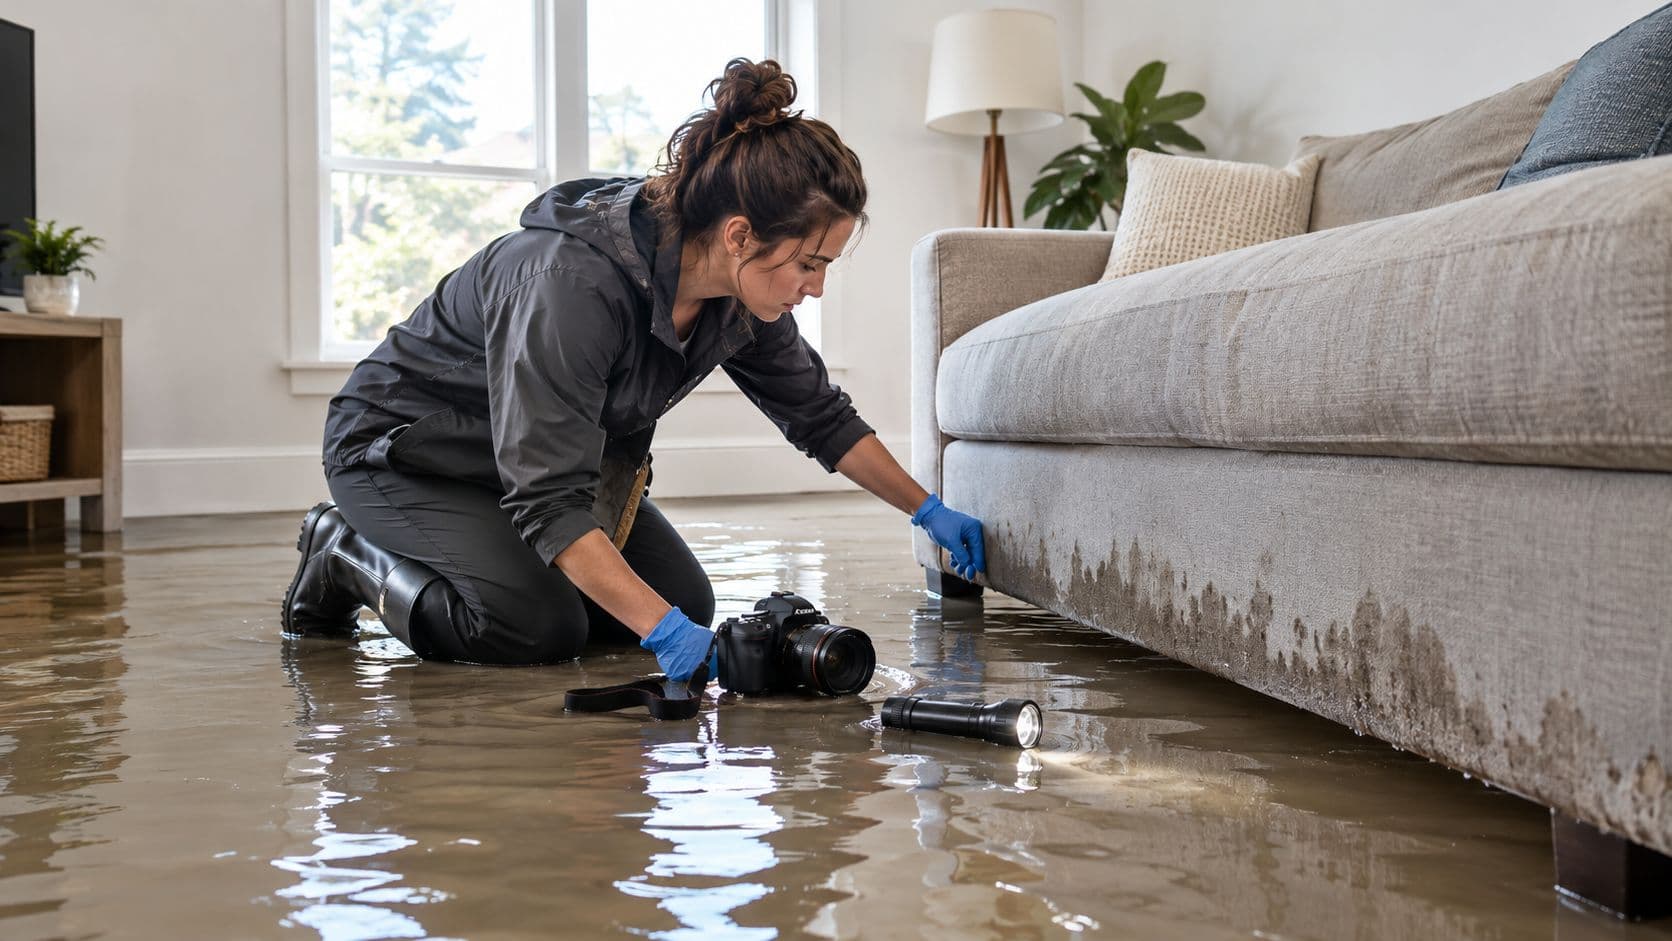
Photos and video should come before major changes whenever safety allows. Wide images show the room's condition, while close-ups capture stains, swelling, damaged contents, and the apparent source. A short narrated walkthrough can preserve details that still photographs miss.
For ceiling leaks, occupants should avoid standing beneath sagging surfaces or touching water near light fixtures. Guidance on what to do when water is leaking through a ceiling can help identify the immediate hazards, but electrical uncertainty calls for professional assistance rather than improvisation.
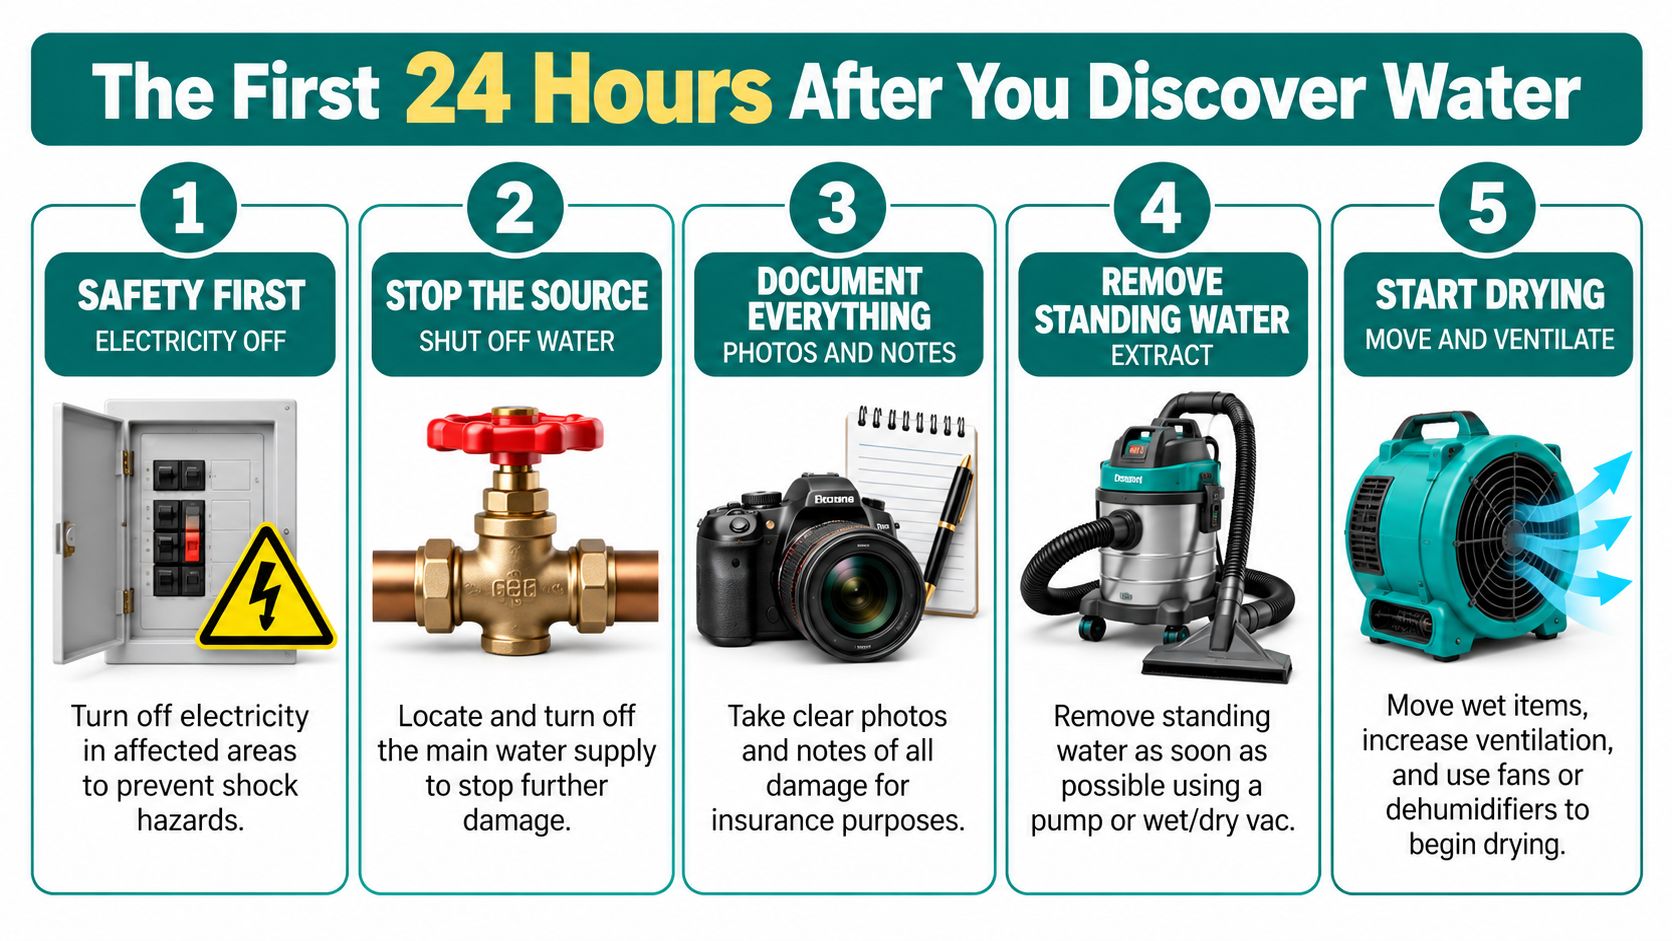
If standing water is shallow and clearly clean, a safe extraction attempt may buy time. Towels and household tools only help with limited surface water. They won't remove moisture from carpet padding, wall cavities, or subfloors, so a restoration assessment should be arranged when water has spread beyond a small, accessible area.
Understanding the Types and Classes of Water Damage
A kitchen analogy makes water categories easier to understand. Clean water from a supply line resembles a glass of fresh water spilled on a counter. Gray water from an appliance overflow resembles used dishwater. Black water from sewage or floodwater resembles material that should never touch a food-preparation surface.
The category describes contamination and health precautions. The class describes how much water the building absorbed and how difficult it will be to evaporate. A small clean-water leak may still be a demanding drying project if it reaches hardwood, wall cavities, or a subfloor.
| Category or Class | Description | Typical Mitigation Response |
|---|---|---|
| Category 1 | Water from a clean supply source, with limited contamination at the time of discovery | Stop the source, extract quickly, assess porous materials, and dry affected areas |
| Category 2 | Water with substantial contamination, often from an appliance or plumbing overflow | Use controlled handling, evaluate porous materials carefully, and determine what can be cleaned or must be removed |
| Category 3 | Heavily contaminated water, including sewage or floodwater | Isolate the area, use appropriate protective measures, remove contaminated porous materials, and follow safe disposal practices |
| Class 1 | Limited absorption and a small affected area | Use targeted extraction and drying after checking hidden spaces |
| Class 2 | Greater water absorption involving materials such as carpet, padding, or structural components | Use more equipment, wider monitoring, and a broader drying plan |
| Class 3 | Water affecting ceilings, walls, insulation, or larger portions of a building | Expect extensive extraction, controlled demolition, and repeated moisture checks |
| Class 4 | Deeply held water in dense materials such as hardwood, plaster, or concrete | Use specialized drying methods and allow more time for moisture to leave dense materials |
Category and class work together. Category 3 water may require removal because contamination changes the safety decision, while Class 4 materials may require prolonged drying because water moves slowly through dense surfaces. A technician needs both classifications before deciding how much equipment, removal, containment, and documentation the loss requires.
How Professionals Extract Water and Dry the Structure
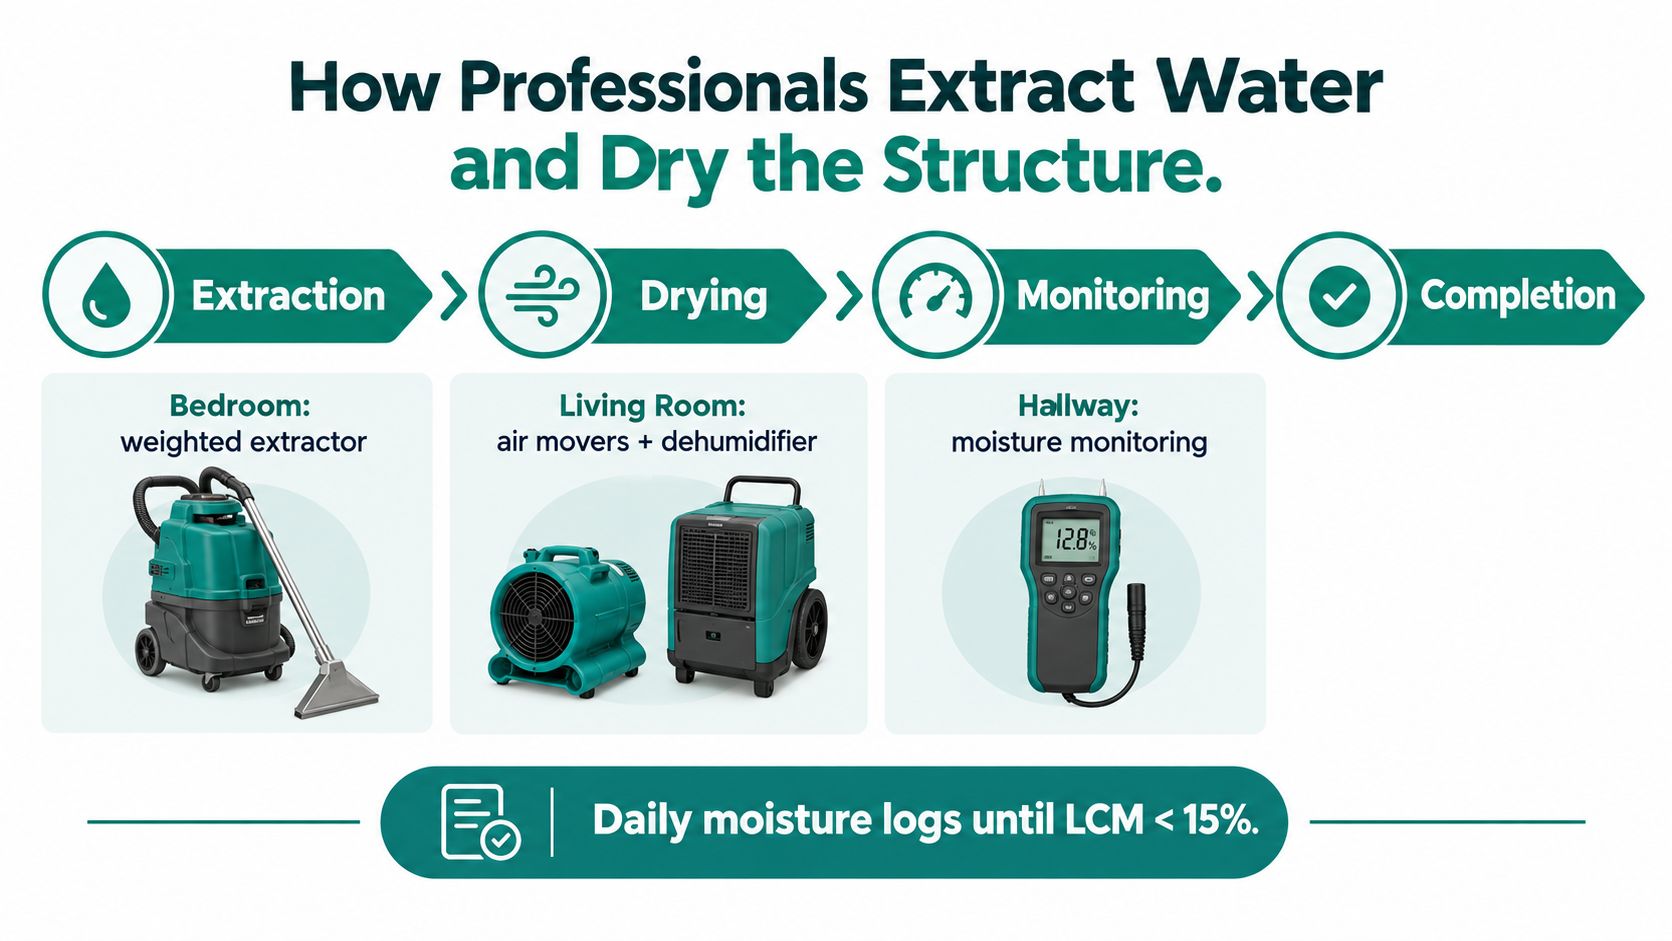
A professional crew starts by matching extraction to the room's materials and the way water has spread. On a hard floor, a weighted extractor lifts water from the surface, while a pump handles larger or deeper accumulations. Carpet may be extracted in place, lifted to move air underneath, or removed with its pad when the padding has absorbed too much water.
The first pass removes visible water. The next question is where moisture remains out of sight.
Technicians may remove baseboards to expose the lower wall. They can also create small access openings that release trapped moisture behind drywall and direct air toward wet framing. These openings are controlled access points, not unnecessary destruction. Closing a wall before its cavity dries can preserve a problem that the finished room hides.
Air movement must work with humidity control
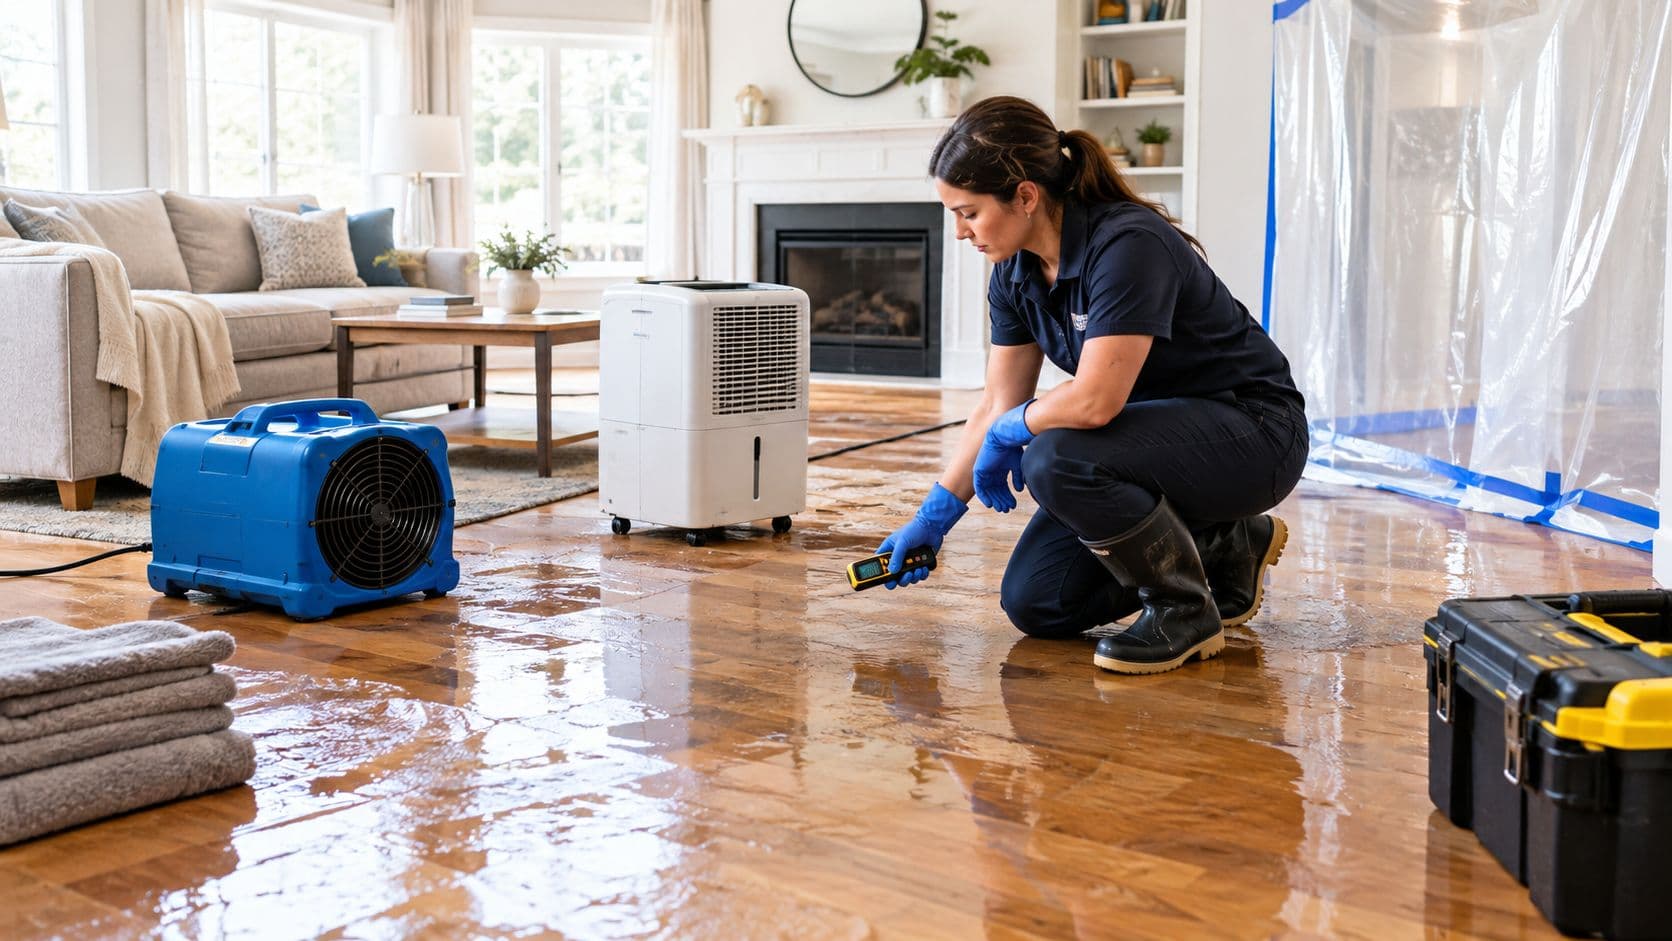
Air movers increase evaporation from wet materials. Dehumidifiers remove that moisture from the air, allowing more water to leave the structure instead of settling on another surface. Refrigerant units suit many ordinary conditions. Desiccant equipment may be chosen for colder or unusually wet environments because it uses a different method to reduce humidity.
Placement follows the building, not a fixed room layout. Technicians assess room volume, material type, airflow paths, equipment capacity, and the amount of moisture present. A fan pointed at a wall can dry its face while the back remains damp, so the crew changes positions and settings as measurements develop.
The guide to drying wet drywall emphasizes why access matters. Drywall, insulation, baseboards, and framing can retain moisture beyond a homeowner's view. Extraction and drying therefore happen alongside photographs, equipment records, and moisture readings. The physical work removes water, while the record shows what was found, what changed, and why each decision was made.
Verification turns drying into a controlled process
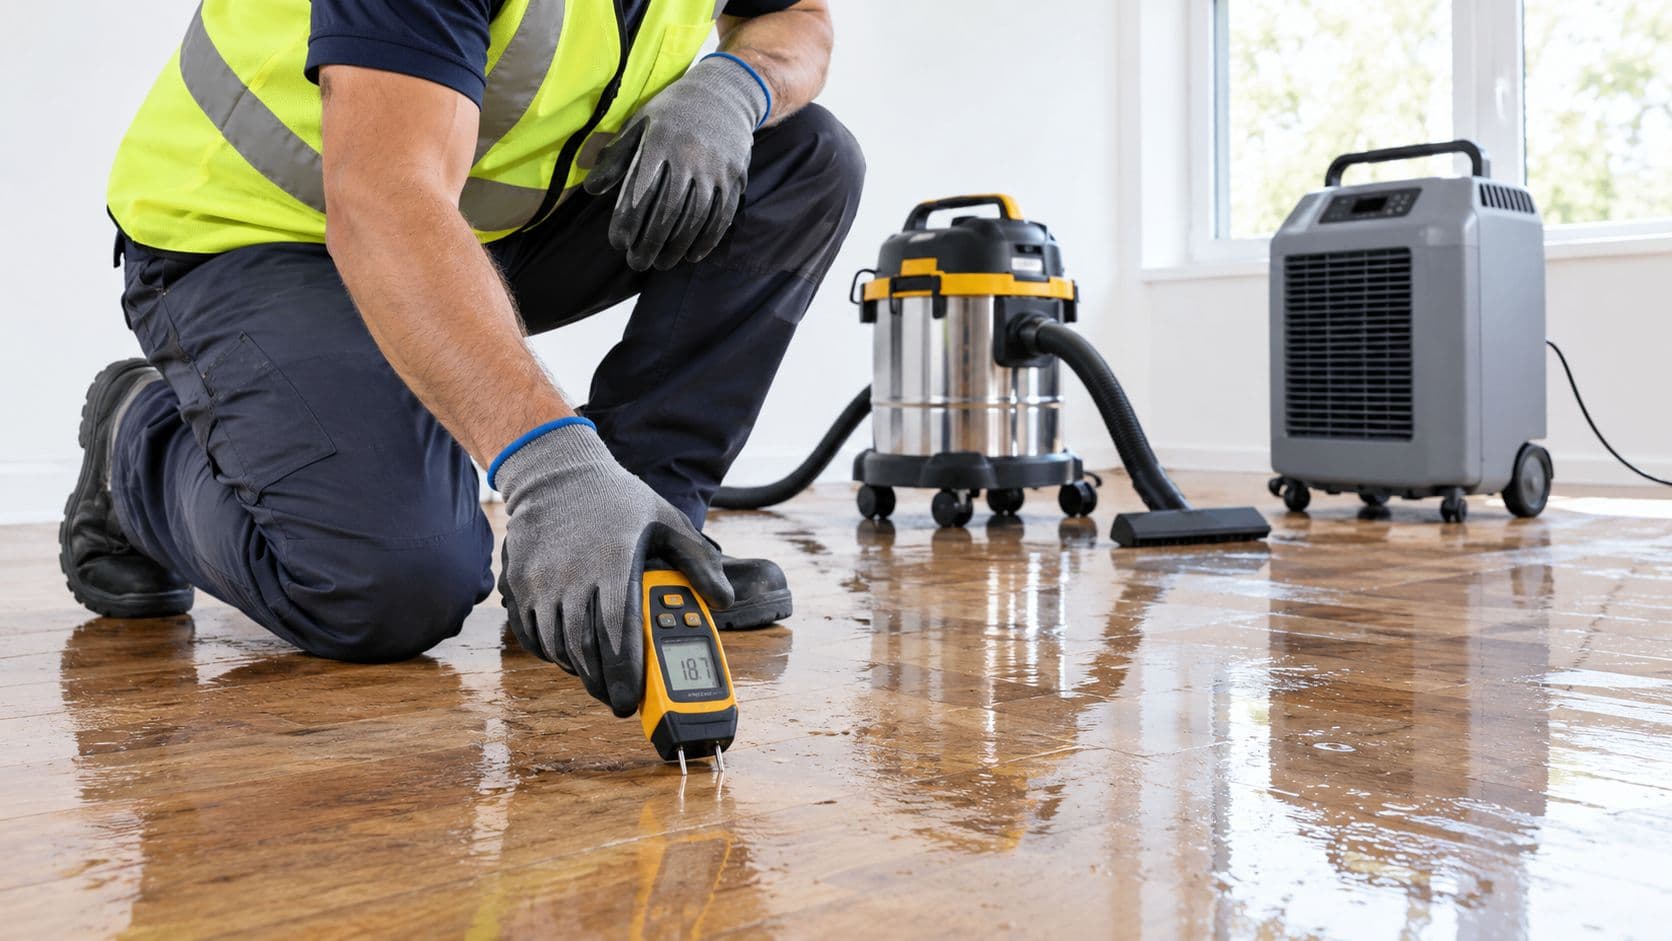
Thermal imaging can locate cooler areas that may indicate moisture, but it does not replace direct measurement. Pin meters test suitable materials. Other meters and probes help assess surfaces that cannot be tested with pins.
Technicians compare affected materials with unaffected reference areas of the same type and track whether readings stabilize. Independent building remediation guidance describes dry conditions as stabilized indoor conditions and materials returned to equilibrium, with one example benchmark of below 30% relative humidity at 70°F alongside materials that no longer support active mold growth.
Daily readings, equipment changes, photographs, and final verification form the project record. Equipment leaves when the evidence supports removal, not just when the room looks better.
Realistic Mitigation Timelines by Material
Drying time follows material behavior, not a calendar promise. A clean-water loss may dry in about 3 to 5 days, while hardwood, plaster, and concrete can take a week or more, according to an industry structural-drying field guide. Those ranges help set expectations, but moisture readings determine when work is complete.
A typical project starts with extraction on the first day. Over the next several days, technicians use airflow and dehumidification, adjust equipment, and record readings. The project file grows alongside the drying work, with photographs, equipment changes, and notes showing why a room, wall cavity, or floor area still required attention.
Material determines the schedule
Hardwood can draw water through seams and retain it beneath the finish. Engineered wood may swell at edges and joints. Glued-down vinyl can hide moisture under the flooring or adhesive. Carpet often releases surface water quickly while its pad remains saturated.
Tile may look normal soon after a loss because its surface absorbs little water. Moisture can still pass through grout lines and collect in underlayment, around cabinet edges, or in the subfloor. Concrete may appear unaffected while releasing moisture slowly into the room.
| Material | Typical Dry-Out | Key Monitoring Concern |
|---|---|---|
| Carpet and backing | Within 24 to 48 hours when conditions allow, based on EPA drying guidance | Padding, tack strips, and the subfloor can remain wet after the carpet feels dry |
| Clean-water loss overall | Commonly about 3 to 5 days | The source, airflow, humidity, and affected materials can extend the work |
| Hardwood, plaster, and concrete | Often a week or more | Dense materials hold moisture and may dry unevenly at edges and joints |
| Drywall and framing | Varies with access, cavity depth, and airflow | A dry face does not prove the interior is dry |
Treat three days as a possible result, not a guarantee. A professional may document the expected range at the start, then update it as readings show how the materials are responding. Mitigation ends when readings meet the established target and the record supports that conclusion. Equipment pickup follows verification, not appearance.
Deciding Between DIY Cleanup and Calling a Professional
A spilled glass of water on a clean, hard floor is different from water that has slipped under flooring or into a wall. DIY cleanup may be reasonable when the source is clean, the area is small, surfaces are accessible, and you can remove the water and control airflow and humidity promptly.
Professional help is the safer choice when the water has moved out of sight, carries contamination, or affects materials that cannot be judged by appearance alone. The question is not whether you can operate a wet vacuum. It is whether you can locate the moisture, extract it, dry each layer, and confirm the result with suitable equipment and records.
Conditions that change the answer
- Clean, isolated spill: A small amount on a hard, nonporous surface may be manageable after stopping the source, drying the area, and recording the condition with photos.
- Water beneath flooring: Hardwood, laminate, glued-down vinyl, and subfloors can hold moisture below the visible surface. Household fans may dry the room while leaving those layers wet.
- Saturated carpet padding: The pad can remain saturated after the carpet feels dry. Extraction or removal may be needed, followed by moisture checks below.
- Category 2 or Category 3 water: Contamination changes handling, protective measures, disposal, and material decisions. Avoid spreading it through the home.
- Visible swelling or cavity moisture: Buckled flooring, soft drywall, stained ceilings, or wet insulation show that water has moved beyond the surface.
- A delayed discovery: Water left in place for 24 to 48 hours warrants professional assessment, particularly when porous materials are involved. Prompt drying helps limit moisture-related growth concerns, as reflected in the EPA's drying table.
The practical rule is simple: clean, visible, shallow water confined to a surface may suit careful self-management. Water inside a layer, cavity, or contaminated area usually calls for professional drying and verification.
A decision based only on the rental fee can be misleading. Include transport, setup time, missed work, material removal, equipment operation, documentation, and the cost of correcting failed drying. Homeowners insurance commonly covers sudden and accidental events such as burst pipes or ruptured appliances, but not slow, preventable seepage, according to water-damage coverage guidance. Coverage depends on the policy, and an unsuccessful cleanup should not automatically be expected to qualify for payment.
Documenting the Mitigation Work for Insurance
A ceiling stain may look small when you first find it, yet water could already be inside a wall or beneath flooring. Start documenting before moving furniture, removing materials, or setting up equipment. A well-organized file helps an adjuster follow the event from its source through extraction, drying, and the final dry condition.
Begin with the story of what happened. Wide photographs show the room and the water's spread. Close-ups record swelling, staining, damaged belongings, and the suspected source. A narrated video can show the water's path and nearby areas that appear unaffected. Write down when you discovered the damage, what caused it if known, and what you did before help arrived.
Readings need location and context
A moisture reading has meaning only when someone can repeat or interpret it. Record the room, material, test location, instrument, and result for every reading. Compare affected materials with dry, unaffected areas of similar construction. Daily logs then show whether the drying plan is working, much like a progress chart for moisture leaving the building.
Keep these records together:
- Intake evidence: Photos, video, source details, room notes, and the discovery time.
- Moisture mapping: A marked plan identifying wet areas, readings, materials, and access points.
- Daily dry logs: Equipment in operation, technicians present, humidity conditions, readings, and placement changes.
- Material decisions: Reasons carpet, padding, drywall, insulation, cabinets, or flooring was saved, removed, or discarded.
- Completion proof: Final readings compared with baseline areas, equipment removal records, and the dry-out conclusion.
- Financial records: Invoices, approved scopes, receipts, and communications related to the mitigation work.
Industry guidance on documentation gaps in water claims identifies missing readings, incomplete maps, and weak monitoring records as recurring causes of denied or disputed claims. One photograph captures appearance at one moment. A dated record explains why materials were opened, equipment was moved, or drying continued after the surface looked normal.
Use one digital folder for original photos, logs, reports, invoices, and correspondence. Name files by room and date. This makes the physical work and the evidence trail easier to match, especially when a baseboard was removed, a wall was opened, or concealed moisture required more drying.
Moving From Mitigation Into Restoration and Repair
The handoff occurs when affected materials have reached the agreed dry target, equipment is removed, and the scope of repair is documented. The dry-out report should identify what was tested, what was removed, what was saved, and what remains to be rebuilt.
Restoration may include replacing drywall, refinishing hardwood, repainting rooms, replacing baseboards, or rebuilding cabinetry. These tasks wait until the structure is completely dry because new finishes can conceal remaining moisture and make later repairs more disruptive.
Keep the insurance and repair records aligned
The mitigation report supports the repair scope, but the two documents serve different purposes. The mitigation record explains emergency stabilization and drying. The restoration scope describes the work needed to return the property to its prior condition.
A practical handoff includes:
- Review the dry-out report and ask about any readings that remain high.
- Confirm which contents and materials were saved, cleaned, removed, or discarded.
- Compare the proposed repair scope with the documented damage.
- Schedule work in a sensible order, usually from concealed structural repairs toward finishes.
- Continue saving invoices, photographs, approvals, and change decisions during reconstruction.
The water damage restoration resource from PostDamage provides a starting point for understanding the wider process. PostDamage is a guidance and referral platform, not the contractor performing the physical work, so the homeowner still needs to review authorization, scope, credentials, and insurance arrangements with the professionals selected.
Mitigation is the foundation of the rebuild. When source control, drying, measurements, and documentation are handled together, restoration begins with a clearer scope and fewer unanswered questions.
When water damage has reached flooring, walls, ceilings, or hidden cavities, PostDamage can help explain the appropriate next step and connect the situation with local professional assistance. Submit one request with the incident details, photos, and documentation already available so the response can focus on the actual water-loss conditions.