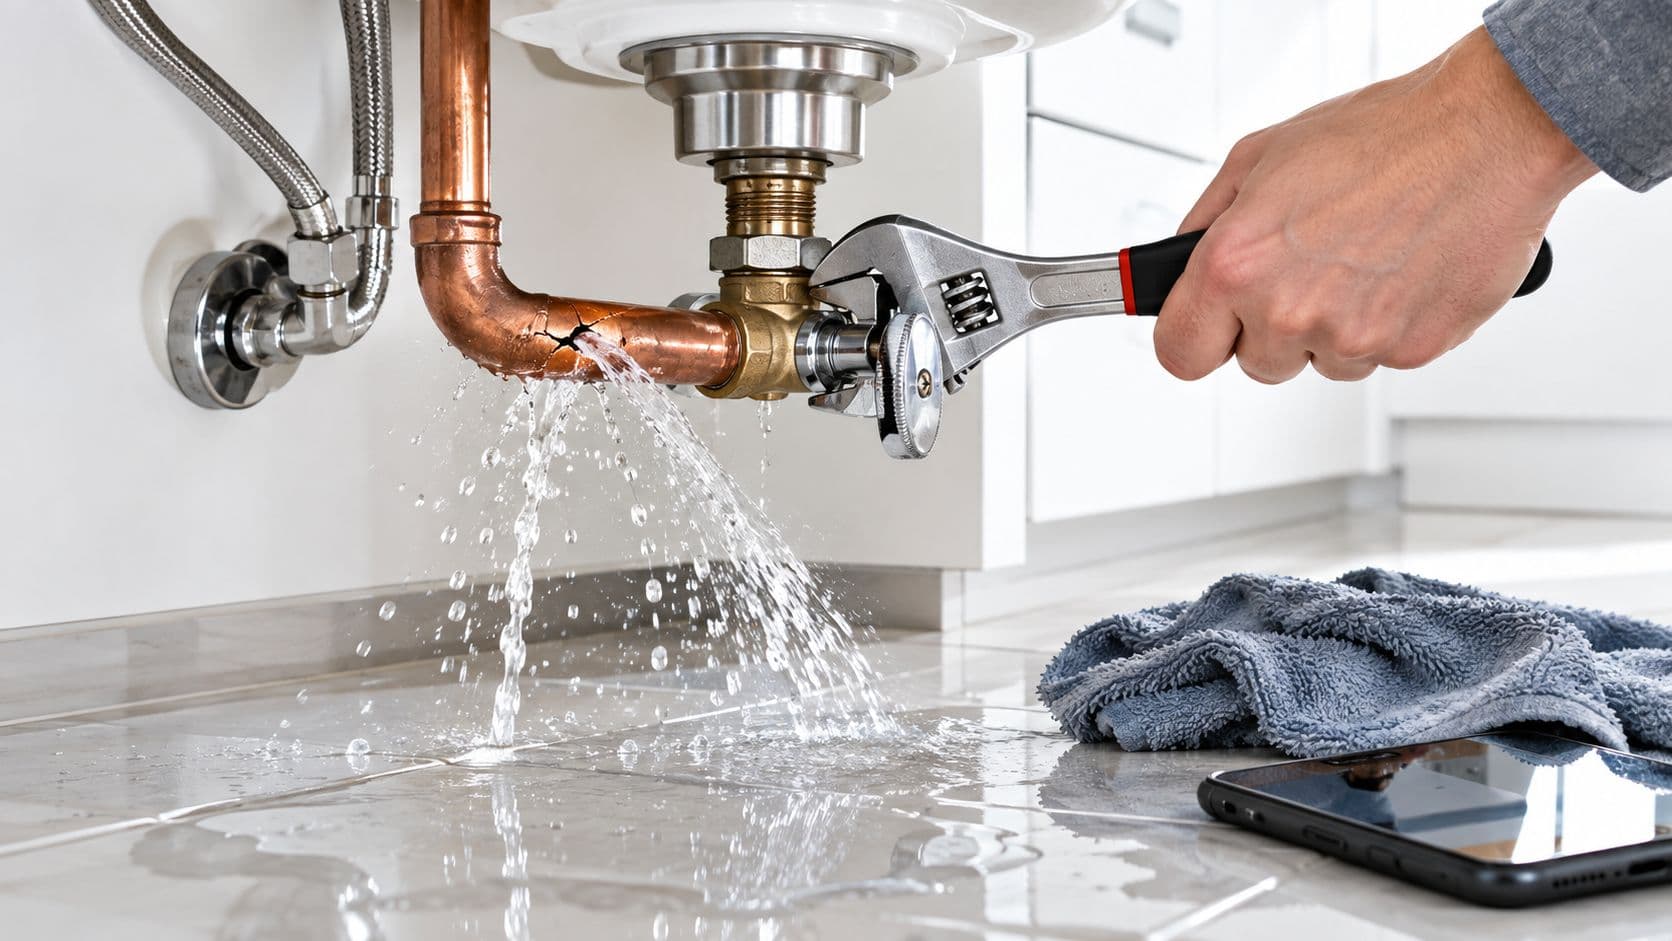
The sink in the kitchen starts with a drip, then a hiss, then a cold sheet of water racing under the cabinet and across the floor. At 11 p.m., that sound is enough to make anyone grab towels and start panicking. The right move is less dramatic and much more important, stop the source, protect the wiring, and preserve the evidence before the claim gets shaped by guesswork.
A water loss is not just a cleanup problem. It is an insurance event, and the first few hours decide whether the claim is treated as a sudden covered loss or as a maintenance issue that gets pushed back on the homeowner. That is why water damage insurance lives or dies on cause, documentation, and speed.
The First Ten Minutes After Water Damage
The first ten minutes are about control, not cleanup. A supply line under the sink fails, water keeps spreading, and the instinct is to rip into the cabinet and start yanking up flooring. That instinct is understandable, but it can wreck the claim if the visible evidence disappears before anyone records what happened.
Practical rule: stop the water first, then protect the home, then document what changed.
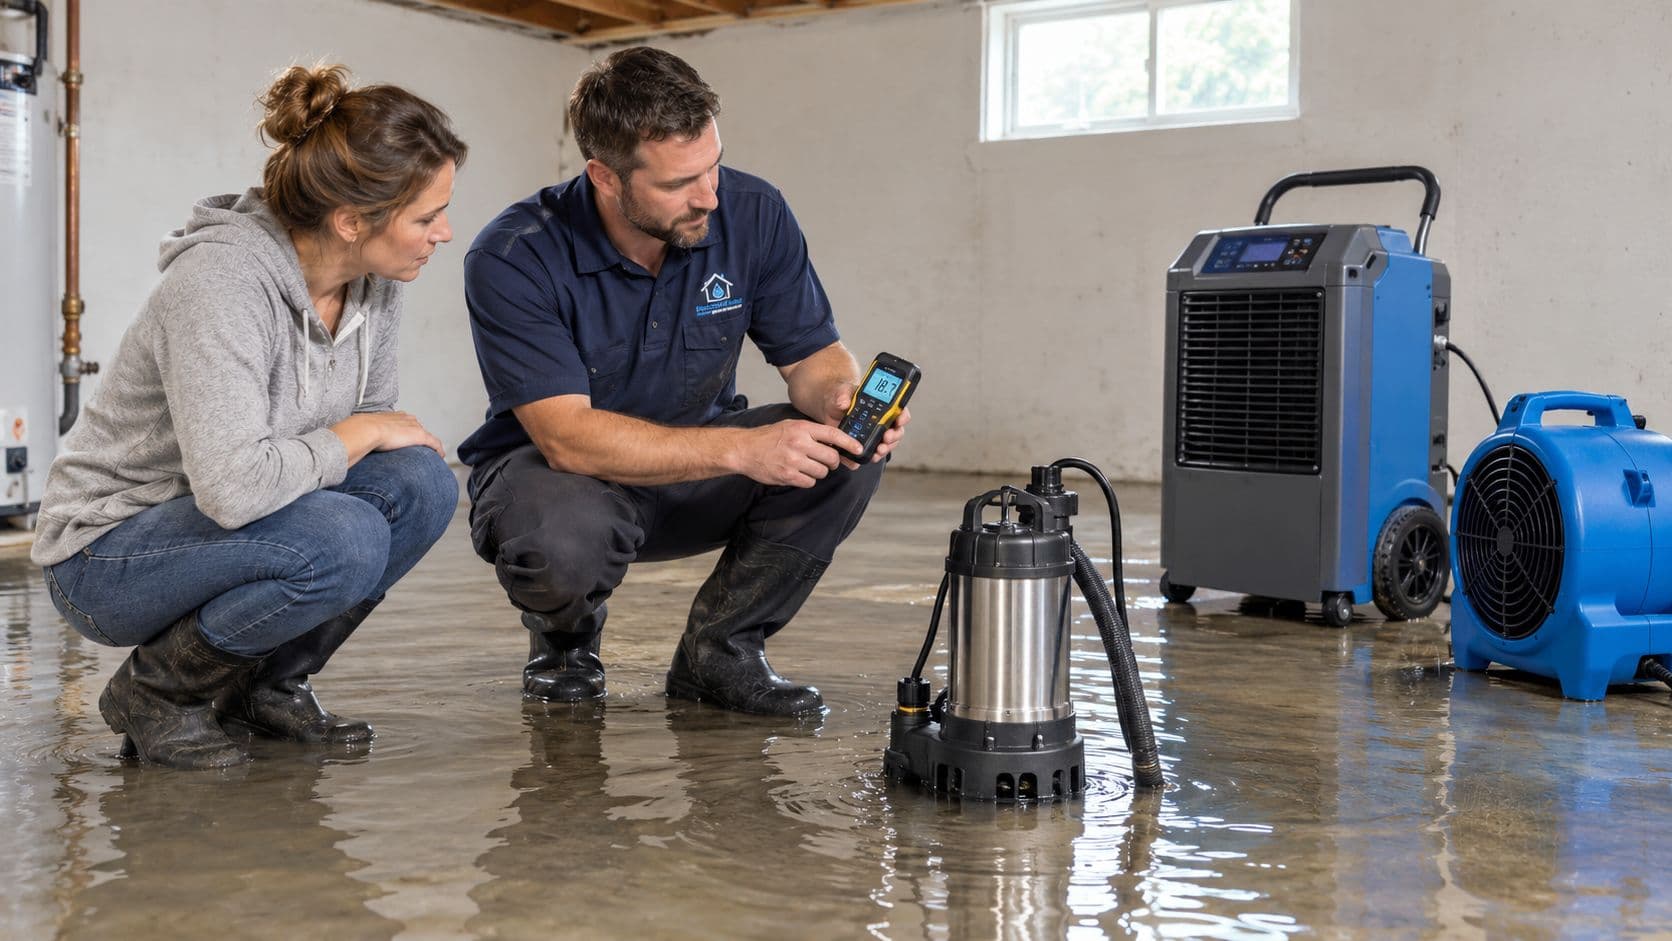
Shut off the supply valve under the sink if it's accessible. If water is near outlets, baseboards with power, or anything connected to an active circuit, kill power to the affected area. If porous materials are soaked, call for emergency drying right away, because wet drywall, carpet, padding, and insulation can keep absorbing moisture even after the leak stops.
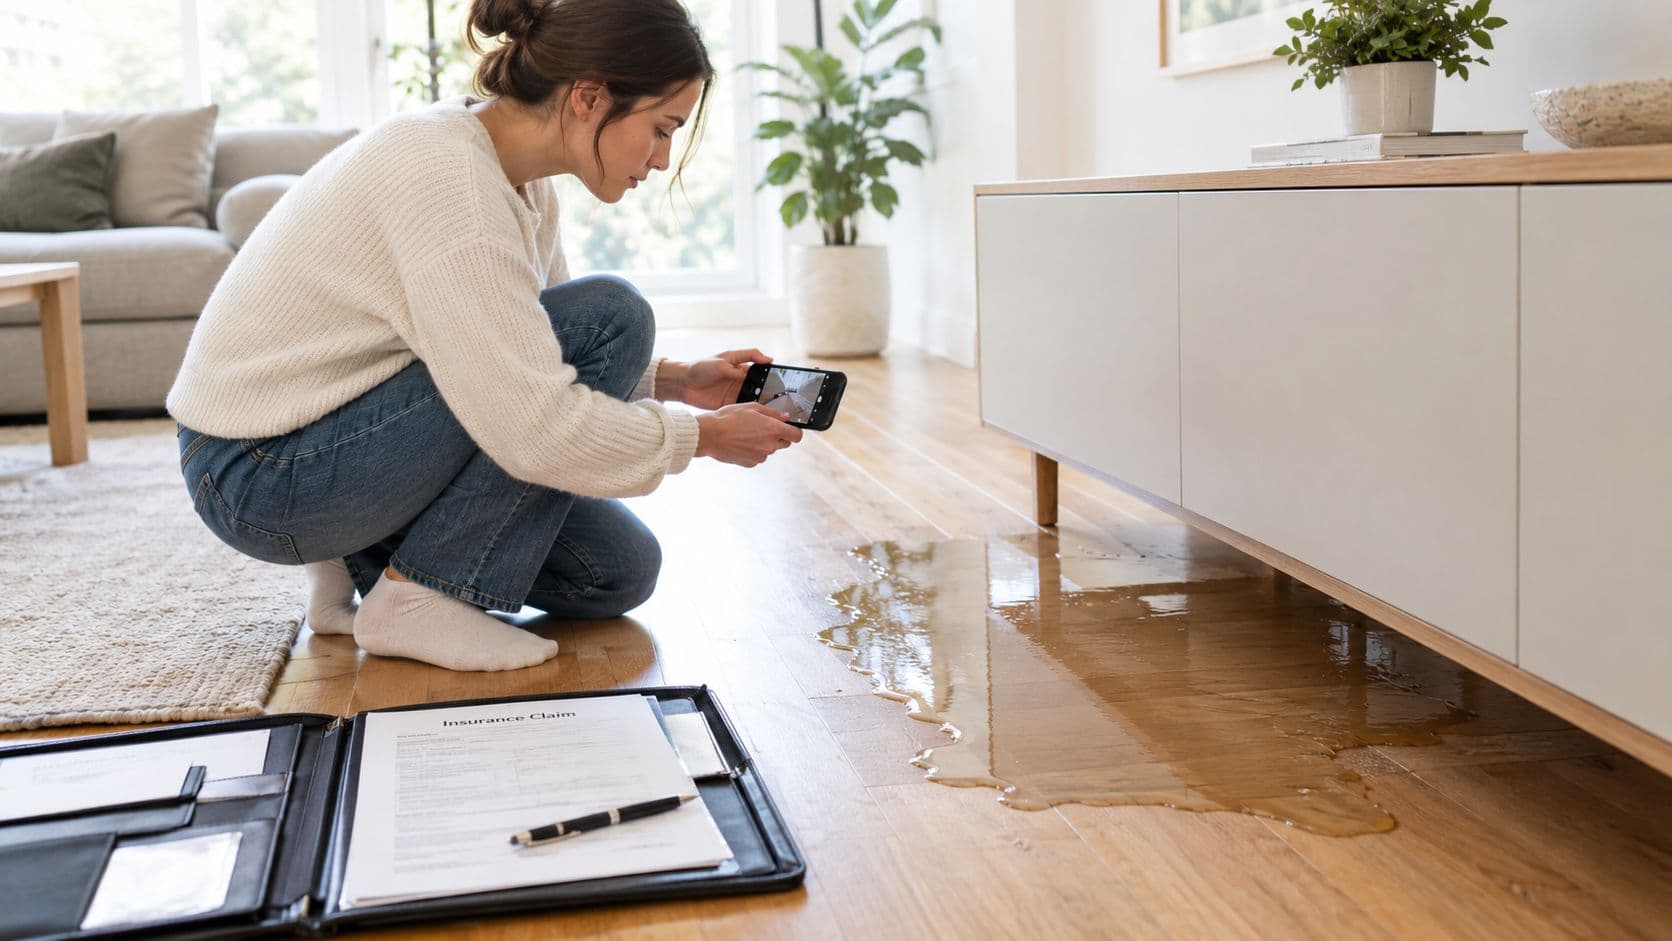
Do not start tearing out drywall. Do not throw away soaked carpet. Do not wait until the room is dry to take photos. The adjuster's first impression is built from the first day's photos, moisture readings, mitigation invoice, and any notes about when the leak was discovered.
A homeowner who records the room as found has a far stronger position than one who cleans first and explains later. The claim file should show the source, the path of water, and the condition of the materials before anything gets removed. That gives the carrier a clean timeline and gives the homeowner proof that the loss was handled responsibly, not exaggerated after the fact.
For a ceiling leak specifically, the same logic applies, and the evidence should be preserved before cutting into anything, as explained in what to do when water is leaking through a ceiling.
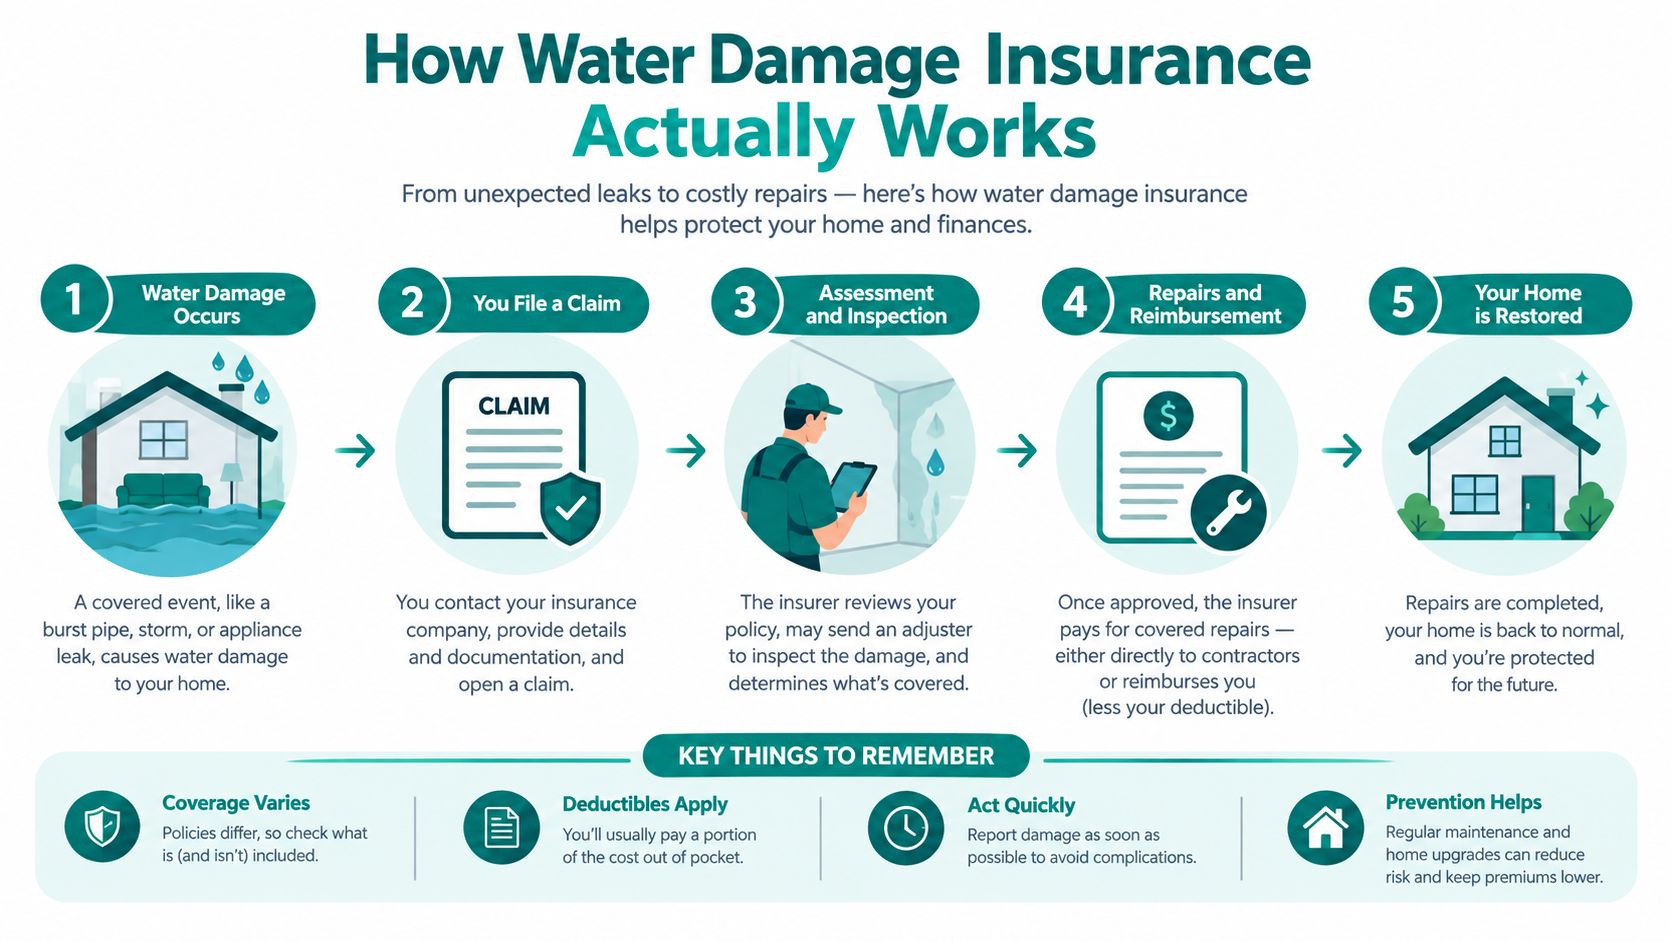
How Water Damage Insurance Actually Works
A burst pipe is the cleanest way to understand the whole system. The frozen pipe that split is the peril, meaning the event that caused the loss. The soaked drywall, ruined flooring, and damaged contents are the covered loss if the policy treats that sudden event as covered.
The key terms that decide the claim
A policy is not paying for every broken thing in the room. It pays for the damage caused by a covered event, not usually the broken pipe itself. That is why the pipe repair often comes out of pocket while the water-stained wall, warped floor, and damaged belongings may be covered.
An exclusion is the part the policy carves out, such as floodwater or long-term seepage. A sublimit is a smaller cap inside the larger policy limit, and it often matters more than people expect. An endorsement is an add-on that changes what the policy covers, such as water backup or sump overflow.
Why the first check is usually lower than expected
Most water claims settle on either actual cash value or replacement cost terms, depending on the policy. Depreciation is the part that catches people off guard, because the first payment often reflects age and wear, not just repair cost. The policy declarations page and the exclusions section control the outcome, not the brochure and not the sales pitch.
The policy pays for the consequence of the covered event, not the cause itself.
That distinction matters in every water claim, from a failed supply line to a leak that runs through framing and finishes. If the declarations page and endorsements are unclear, the safer move is to read the actual contract before anyone assumes coverage.
What Standard Policies Cover and What They Exclude
The easiest way to sort water claims is by cause, not by policy name. Many homeowners only have one homeowners or renters policy in front of them, and the key question is simple: is this sudden interior water loss, or is it excluded water from outside or from neglect.
Common sources and how they usually land
A burst pipe inside the home is usually covered under standard homeowners coverage because the loss is sudden and accidental, while floodwater is not. A roof leak caused by a sudden event can be covered if the roof was damaged in the same incident, but not if the leak came from old wear that should have been maintained.
A frozen pipe that bursts is commonly covered when the home was reasonably heated and cared for. A sewer or sump pump backup usually needs an endorsement or separate rider. Flooding from outside the home is handled separately, usually through flood coverage. Gradual leaks or long-term seepage are usually excluded because insurers treat them as maintenance failures.
Table Water Damage Coverage by Cause of Loss
| Cause of Loss | Standard Homeowners | Renters | Flood Policy |
|---|---|---|---|
| Burst pipe inside the home | Usually covered for resulting damage | Usually covered for belongings | Not the main coverage trigger |
| Roof leak from a sudden event | Sometimes covered if the roof was suddenly damaged | Belongings may be covered | Not the main coverage trigger |
| Frozen plumbing that bursts | Often covered if the home was reasonably maintained | Belongings may be covered | Not the main coverage trigger |
| Sewer or sump backup | Usually excluded without endorsement | Usually excluded without endorsement | Not covered as standard flood |
| Flooding from outside the home | Excluded | Excluded | Usually the relevant policy |
| Gradual leak or seepage | Usually excluded | Usually excluded | Usually excluded |
Renters coverage protects the tenant's belongings, not the building itself. Homeowners coverage can also include caps that matter in practice, especially the personal property cap and the mold cap, so a claim can look large on paper and still pay much less than expected. For any specific loss, the declarations page and endorsements decide more than the generic policy label ever will.
When Filing a Claim Is Worth It
The wrong move is filing every minor water loss automatically. The right move is running the math first, because a small claim can cost nearly as much in future premium pain as it pays out in repairs. With rising repair severity in the market, that calculation matters more than it used to.
Use the deductible and expected premium hit first
A loss around $3,000 can be a bad claim if the deductible is $1,000 and the future premium impact is enough to eat the rest of the value. In one worked example, a homeowner with $3,200 in drywall and flooring damage, a $1,000 deductible, and a likely $400 yearly premium increase for three years nets only $200 after filing costs, which is close to nothing.
That same math changes fast when the loss gets bigger. A $15,000 burst in a finished basement is usually worth reporting because the claim value is large enough to clear the deductible and still leave real recovery on the table. A $22,000 basement flood makes the surcharge almost irrelevant.
A simple filing threshold
- Minor loss under $2,500: Usually absorb it if the deductible and likely premium impact swallow most of the payout.
- Moderate loss between $2,500 and $10,000: Run the numbers carefully. Filing can make sense only if the covered amount clearly exceeds the deductible and any likely premium hit.
- Major loss over $10,000: Usually file, unless the policy has a clear exclusion or a severe sublimit problem.
Sublimits change the answer fast. A claim can be large enough to justify filing and still pay poorly if the damage falls under a capped category. If the cause is covered, the next question is whether the policy limit, deductible, and any sublimits leave enough real money to make the claim worth it.
Documenting the Damage and Filing the Claim
The claim gets stronger when the homeowner controls the record from the start. The insurer controls the adjuster assignment and the payment timing, but the homeowner controls the evidence, and that evidence usually decides how much gets paid.
The first 24 hours
Take wide photos of each affected room before anything is moved. Then take close-ups of the source point, wet drywall, warped flooring, stained cabinets, and any standing water. A slow video with timestamps helps show the layout and the extent of the damage.
Save wet drywall, flooring samples, and any damaged item that helps prove the source and extent of the loss. Pull receipts, invoices, or prior photos that show what the space looked like before the leak. That is the cleanest way to show pre-loss condition.
The first 72 hours
Get a written diagnosis from a plumber or roofer that identifies the cause and likely timing of the failure. Coverage often turns on whether the event was sudden or whether it had been leaking slowly for some time. That is why the cause letter matters as much as the cleanup photos.
Call the carrier or broker within the notification window in the policy, ask for the claim number, and save the name of the person who took the report. Keep receipts for mitigation work, because emergency drying and water removal are part of the record. The claims process works better when urgency is documented instead of just described.
The next step is the inspection. A claim inspection usually comes after the file is opened, and the first estimate is rarely the final word. A clear record on day one makes the inspection more useful and the settlement harder to undercut.
A separate inspection checklist for homeowners dealing with ceiling or wall damage is available at the water damage inspection guide.
Working with the Adjuster Without Losing Ground
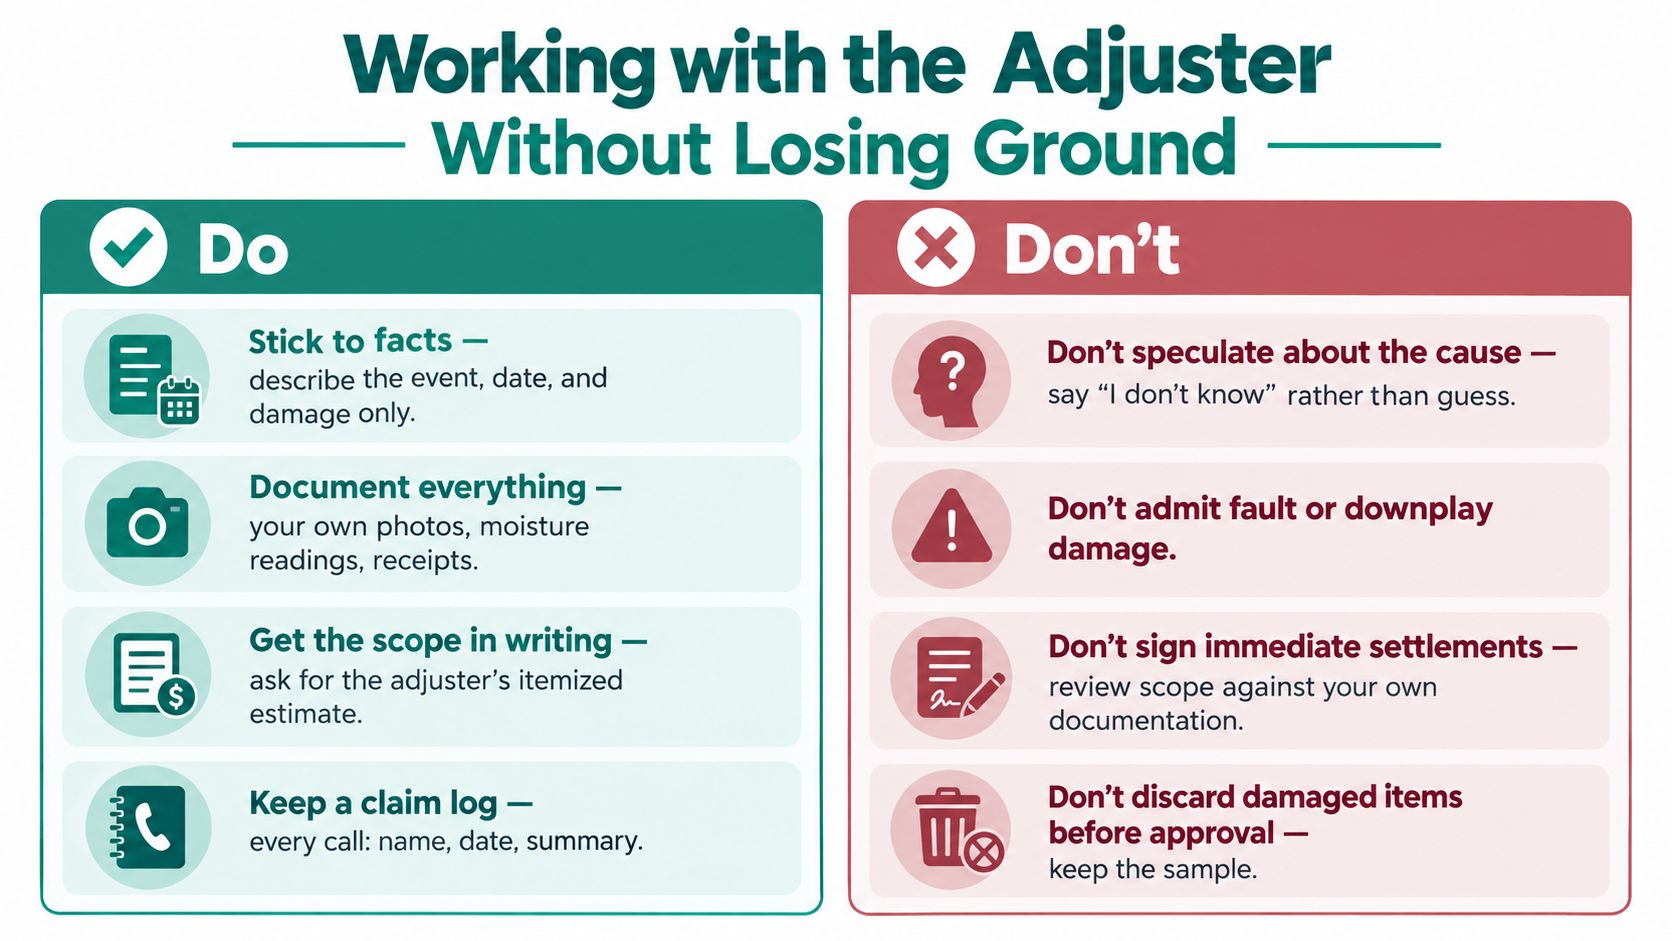
The first call is not the place for theories. Stick to the date, time, visible damage, and where the water came from if that's known. If the cause isn't certain, say so plainly. Never guess at repair costs on the phone, and don't agree to a recorded statement just because it's offered quickly.
How to handle the inspection
Walk the adjuster through the property in the same order the loss unfolded. Start with the source, then follow the path of water, then show the damaged finishes and contents. If a contractor is already involved, that person should be present to explain scope and the repair sequence.
The estimate from the carrier should be compared line by line against the contractor's scope. Carriers often build estimates in pricing software, so the fight is usually over missing line items, low quantities, or a scope that's too narrow. Push back with written contractor quotes and photos, not with general complaints.
When to escalate
If the estimate is still off, ask for a re-inspection. If the file stalls or the denial looks weak, a complaint to the state Department of Insurance can force a second look. For larger losses, a public adjuster can be worth it when the claim is big enough that a 5% to 15% fee is still justified by the likely recovery.
Don't sign a full release before the repair bid is complete. Don't accept the first actual cash value payment without checking the depreciation holdback. Don't agree to a preferred contractor without comparing at least one independent quote.
Keep every email, every call log, and every written commitment. The file should read like a timeline, not a memory test.
Coverage Pitfalls That Lead to Denied Claims
Wet drywall does not automatically mean a paid claim. The denial usually comes from the cause, not from the amount of visible damage. If the record suggests a maintenance issue, a repeated seepage problem, or excluded floodwater, the claim can fail even when the room looks badly damaged.
The patterns that cause trouble
A slow leak behind a wall is the classic problem. So is a damaged area that got worse because no one acted promptly. Mold that spread because drying was delayed can also create a coverage fight, especially if the carrier says the extra damage was preventable.
Code upgrade costs are another trap. Even when the underlying water loss is covered, the policy may not pay for every part of a modern rebuild. Sewer backup and flood are also easy to confuse, but the policy treats them differently.
Table Common Pitfalls vs. How to Avoid Them
| Pitfall | How to Prevent It |
|---|---|
| Gradual leak with no clear event | Document the first signs and get a written cause report quickly |
| Poor maintenance record | Keep repair receipts and maintenance notes for valves, caulking, and visible wear |
| Cleanup delayed too long | Start drying and mitigation immediately, then keep all receipts |
| Confusing backup with flood | Read the endorsement language before assuming coverage |
| Expecting every rebuild cost to be paid | Check exclusions, endorsements, and any sublimits before accepting the estimate |
A denied claim is often a proof problem or a causation problem, not random bad luck. The homeowner who records the event, proves the sudden source, and responds quickly has a much better chance of getting the claim paid correctly.
Your Next Steps and What to Keep Handy
Start with the source of water and the photos. Then keep the room as documented until the insurer has what it needs to open the file. That means the homeowner should have proof of the event, proof of the damage, and proof of the cost to stop it from getting worse.
A practical 24-hour checklist
- Stop the source of water so the loss does not keep spreading.
- Photograph everything before cleanup so the claim file shows the room as found.
- Save a sample of damaged material if it helps prove what got wet and how.
- Keep receipts for emergency mitigation so drying and extraction costs are documented.
- Notify the insurer by phone and in writing so the notice date is clear.
- Request the claim number and adjuster name in writing so follow-up is traceable.
The useful papers are small but important, policy declarations, photos of serial-numbered appliances, contractor contacts, and prior maintenance records. Keep them off-site or in the cloud so a flooded room doesn't wipe out the claim file along with the carpet.
For mitigation guidance and next-step help after a leak, burst pipe, or ceiling water problem, the practical starting point is PostDamage's water damage restoration resource.
PostDamage helps homeowners make sense of water damage, document the loss correctly, and decide when restoration help is needed. If the home has a leak, flood, or burst pipe right now, visit PostDamage and use the guidance to take the next step with a cleaner claim file and fewer mistakes.