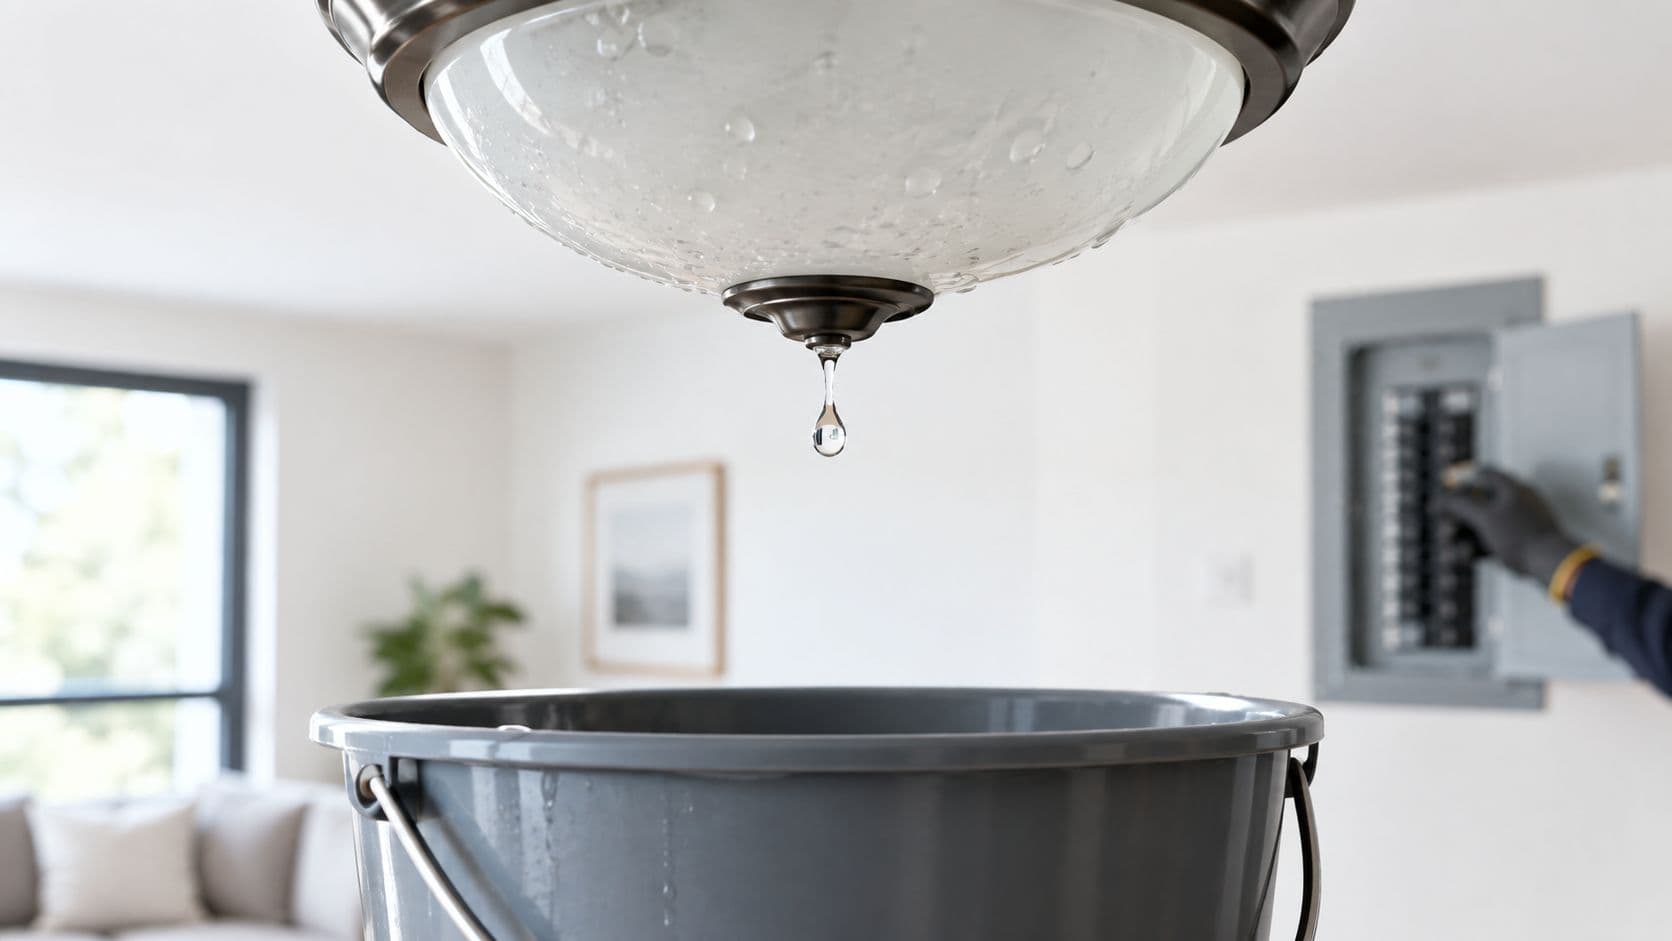
A homeowner usually notices this in a split second. A droplet forms on the trim ring, water starts pooling inside the glass, or a steady drip lands on the floor under a ceiling light. At that point, this isn't just a leak. It's a water-damage event with an electrical hazard attached.
Water coming through a light fixture should be treated as dangerous until the circuit is shut off safely. Safety guidance is consistent on the main point: don't touch the fixture or surrounding water, and shut off power at the breaker only if it can be reached from a dry position, because a wet fixture can become energized when water reaches electrical parts (electrical safety guidance for water leaking through a light fitting).
What to Do the Moment You See Water at a Light
The first minute matters. Most bad decisions happen because someone tries to “just check it” before the power is off.
First 60 seconds
- Move people and pets out of the room. Keep anyone from walking under the fixture or near wet flooring.
- Dry hands before touching any switch or panel. Wet hands and wet switches are a bad combination.
- Stop using the light switch. An off switch doesn't prove the fixture is safe.
- Place a bucket, pan, or towels under the drip from a safe distance. Catch the water without going near the fixture itself.
- Do not touch the fixture. Don't grab the glass, don't test the bulb, don't remove the cover.
- Do not climb onto a chair or ladder. A wet floor and overhead electrical hardware is the wrong setup for DIY inspection.
Practical rule: Treat any water at a ceiling light as if the fixture is live until the breaker is confirmed off.
Modern code treats wet or damp electrical locations differently for a reason. Lighting equipment in those spaces has to be listed for the actual exposure and installed so water can't enter or collect in wiring compartments or live parts. Once water gets into the wiring cavity, the normal assumptions about indoor lighting safety no longer apply.
What not to do
- Don't trust the wall switch. It may leave parts of the fixture energized.
- Don't poke a hole in the ceiling near the light. That can release more water onto wiring.
- Don't stand in water and reach upward. That's the worst possible position if the circuit is still live.
The right move is simple. Control people first, then control power.
Cutting Power at the Breaker Panel Safely
This step deserves its own procedure. “Turn off the breaker” sounds simple until the panel labels are vague and the floor near the leak is damp.
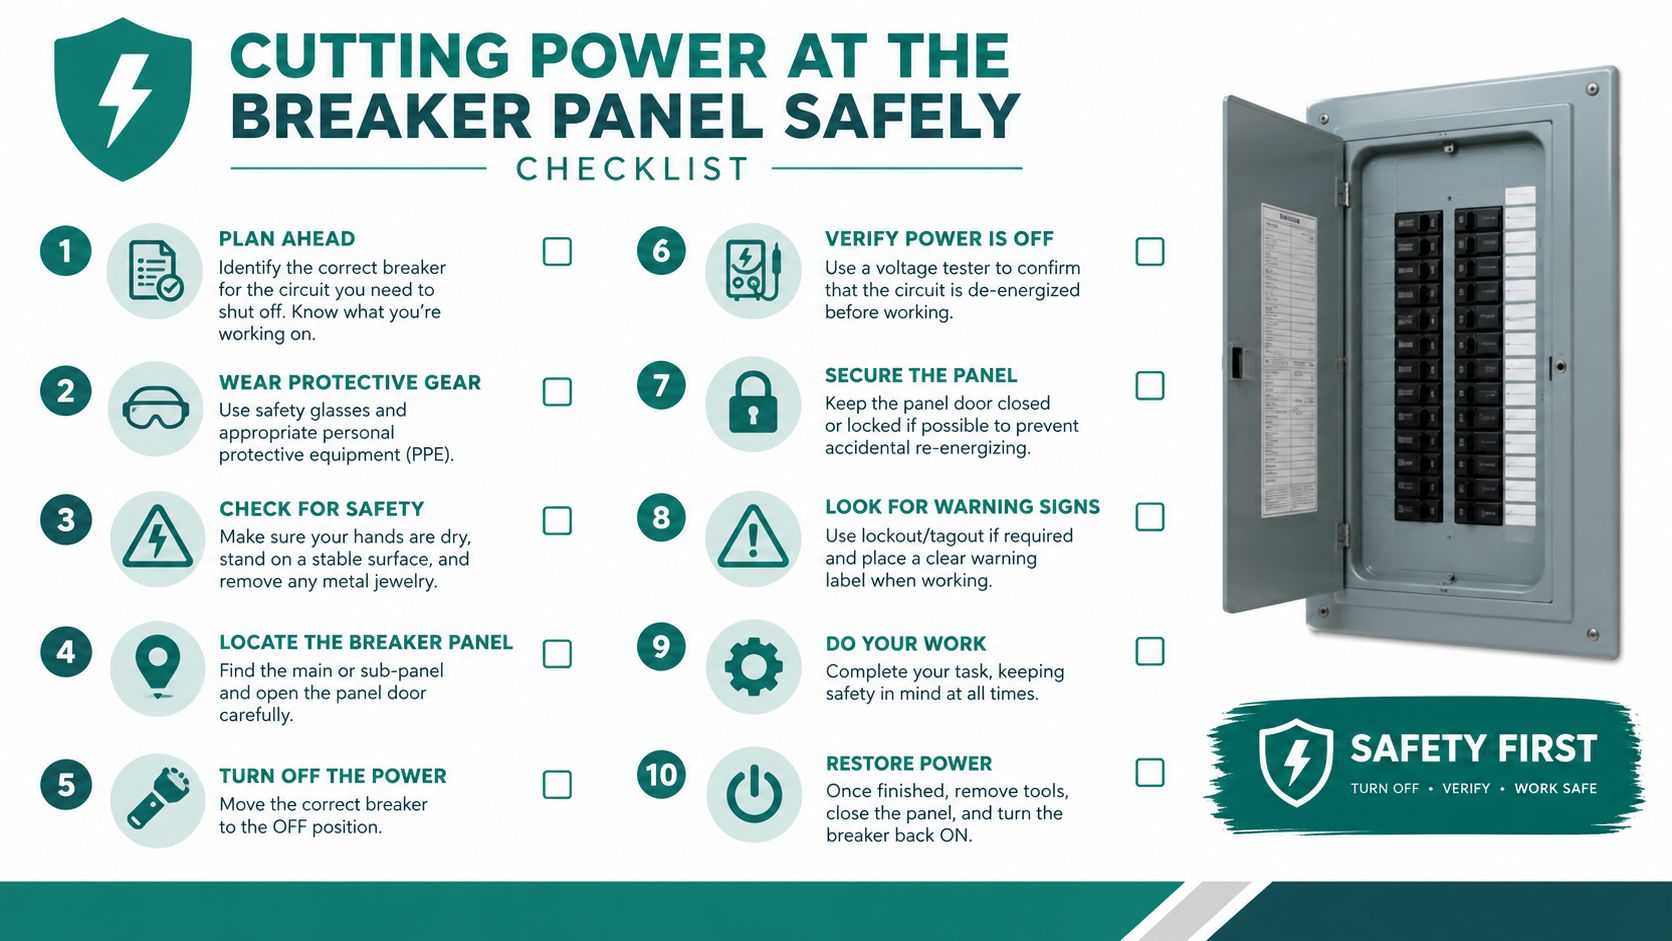
Safe breaker procedure
Start at the panel only if the route to it is dry and safe. Use dry hands, dry footwear, and stand on a dry surface.
- Find the likely circuit. Look for the room, floor, or lighting label that matches the affected area.
- Shut off that breaker first. Don't touch the fixture, switch, or water until this is done.
- If labels are unclear, turn off the main breaker. Guessing is worse than losing power to the whole house.
- Photograph the panel. Capture the labels and the breaker position before anyone changes anything.
If the right breaker can't be identified safely, guidance is clear that shutting off the main breaker is the better choice than guessing at individual circuits (advice on using the main breaker when unsure).
How to verify the power is actually off
After the breaker is off, verify from a known-safe vantage point. That means testing the switch only if the area around it is dry and the person can reach it without stepping into water. Better yet, use a non-contact voltage tester at the switch plate, not at the wet fixture.
Guidance on this issue is blunt. The first critical step is to de-energize the affected circuit at the breaker panel before touching the fixture, switch, or standing water, because water can create a conductive path and energize the fixture (safe workflow for water in a light fitting).
If the path to the panel isn't dry, the safest call is emergency professional help, not improvisation.
A photographed breaker position also helps later. Electricians can see what was isolated. Insurance staff can see when power was cut. That small step prevents a lot of confusion after the immediate problem is over.
Containing the Leak Without Touching the Fixture
Once the circuit is off, the job shifts from electrical safety to damage control. The mistake to avoid here is turning a contained ceiling leak into a larger water-loss event by waiting too long.
Contain from the floor only
Use a bucket or deep pan directly under the drip. Add towels around it to catch splash and protect flooring. If the bucket rattles or shifts on hard flooring, put a folded towel under it.
Move anything valuable out of the drip zone. That includes rugs, small furniture, electronics, paper items, and anything fabric-covered that absorbs water fast.
For practical room-level cleanup steps after the immediate containment is in place, a homeowner can review this guide to water cleanup after an indoor leak.
Shut off water only if the source is obvious
If the leak clearly started when an upstairs sink, toilet, shower, washing machine, or similar fixture was in use, shut off the nearest local water valve first. If that doesn't stop it, shut off the main water supply.
After power is off, standard guidance is to contain the leak with buckets or towels from a safe distance and arrange inspection of both the leak source and the electrical components before restoring power, since the fixture or wiring may need repair or replacement (guidance on containing the leak and arranging inspection).
Keep this simple: bucket underneath, valuables moved, water source isolated if obvious. No ceiling work yet.
Don't open the light. Don't remove the globe. Don't loosen screws. Water can stay trapped above the visible part of the fixture, and that hidden moisture is exactly what causes trouble later.
Reading the Leak Pattern to Find the Source
The leak pattern usually tells more than the fixture does. A ceiling light is often just the exit point. Water can travel along joists, framing, pipes, or metal boxes before it shows itself.
Recent homeowner guidance points to a real content gap here. The source path matters, and rain-only leaks, plumbing leaks, HVAC-related moisture, and condensation don't behave the same way (why timing and pattern matter in leak diagnosis).
What the timing usually means
If the drip appears only during rain, the likely suspect is above the ceiling plane, often roof-related water intrusion that has tracked to the fixture opening.
If it appears when someone uses an upstairs bathroom or laundry line, plumbing moves to the top of the list.
If it shows up after air conditioning has been running, especially under attic equipment or nearby ductwork, HVAC condensate or sweating components deserve attention.
If it appears without rain and without fixture use above, slow condensation or a hidden line leak becomes more likely than a one-time spill.
Leak Patterns and Likely Sources
| Pattern You See | Most Likely Source | First Professional to Call |
|---|---|---|
| Drips only during or after rain | Roof leak or flashing failure above the ceiling | Roofer |
| Leak starts when shower, tub, sink, or toilet is used upstairs | Plumbing supply or drain line | Plumber |
| Moisture appears after AC operation, especially below attic equipment | HVAC condensate line, pan, or related moisture issue | HVAC technician |
| Slow clear moisture with no rain and no plumbing use | Condensation around ductwork, metal box, or ventilation issue | HVAC technician or general contractor |
| Water stain spreads sideways before reaching the light | Water tracking along framing from a hidden source | Start with the trade suggested by timing |
A homeowner dealing with this kind of ceiling leak can also compare the broader signs in this guide to water leaking through the ceiling.
What the stain can suggest
A brown ring often points to water that has been sitting and drying repeatedly. That's common with roof intrusion.
A fresh clear drip tied to active fixture use usually leans plumbing.
A repeated fogging or moisture return after the leak seems to stop can point to lingering moisture inside the fixture or ceiling cavity, which is one reason lights shouldn't go back into service just because dripping stopped.
Which Professional to Call and in What Order
Calling the electrician first because the water is showing at a light is understandable, but it's not always the fastest path to stopping damage.
Start with whoever stops the water
Use this order:
- Active rain-related leak: call a roofer first.
- Leak tied to sink, shower, toilet, or laundry use: call a plumber first.
- Leak tied to AC operation or attic air equipment: call an HVAC technician first.
Once the water source is controlled, call a licensed electrician to inspect the fixture, wiring, and breaker before the circuit goes back on.
The practical sequence
After the source and electrical safety are handled, the next call is usually a water-damage restoration company. That's the point where the focus turns to wet drywall, insulation, framing, and drying the cavity before repairs are closed up.
For larger incidents, a homeowner should also consider professional help with the full water damage restoration process.
For outdoor or damp-location fixtures, visible moisture, rust, flickering, buzzing, or tripped protection devices are red flags that the fitting may be unsafe until inspected. Guidance also notes that smoke or burning turns the situation into an emergency that requires evacuation and emergency services (warning signs that call for immediate escalation).
A simple decision path works well:
- Water still entering now? Stop the source first.
- Only happens when upstairs plumbing is used? Plumber first.
- Only happens in rain? Roofer first.
- Power already off and leak stopped? Electrician next, then drying help.
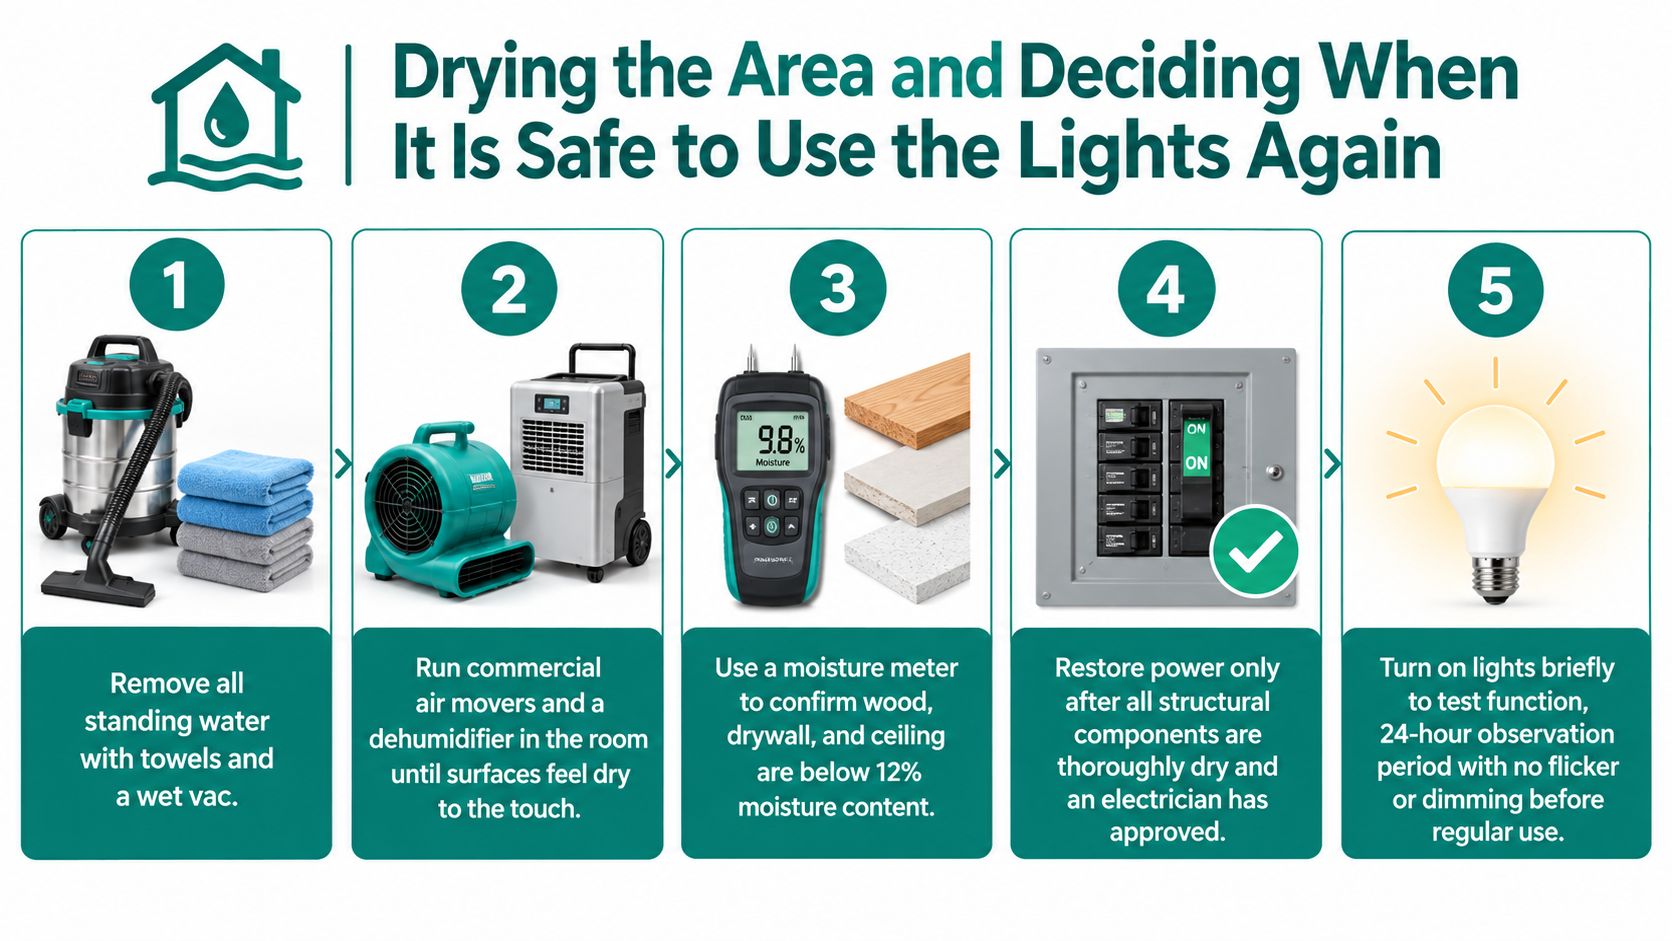
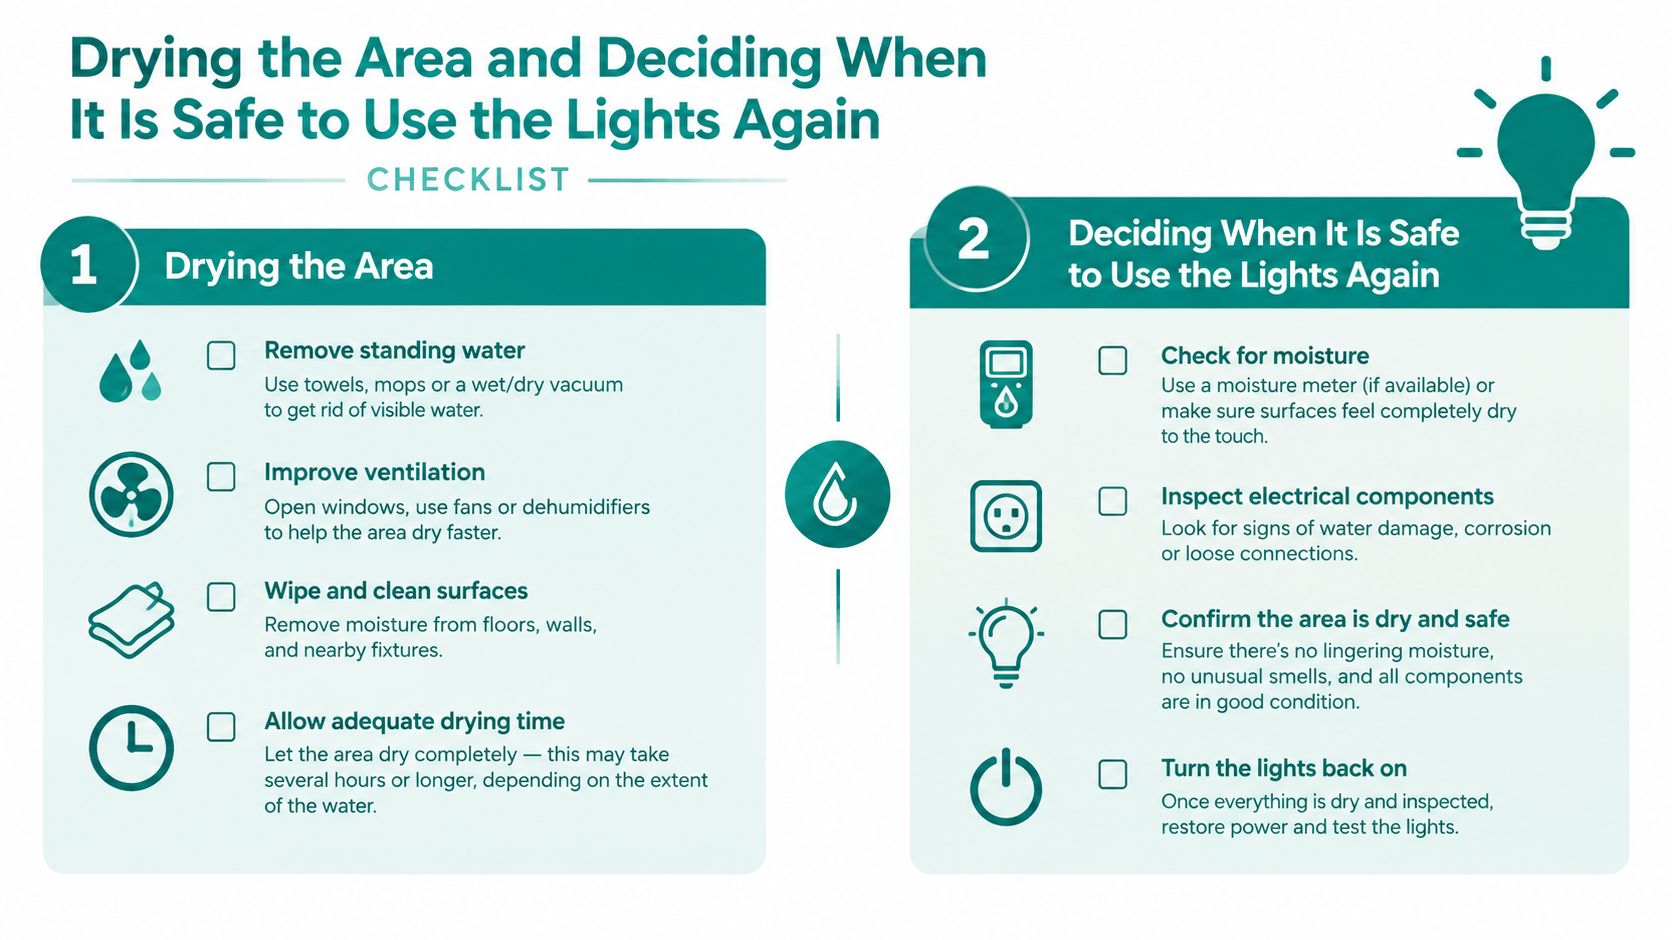
Drying the Area and Deciding When It Is Safe to Use the Lights Again
This is the question most homeowners care about after the panic passes. When can the light go back on?
The honest answer is strict: not when the dripping stops, and not when the ceiling “looks dry.” Recent guidance specifically warns that moisture can remain trapped inside the fixture or wiring voids after visible leaking ends, and power shouldn't be restored until a qualified electrician checks the affected parts (return-to-service caution for wet fixtures).
What to dry first
After the source is fixed:
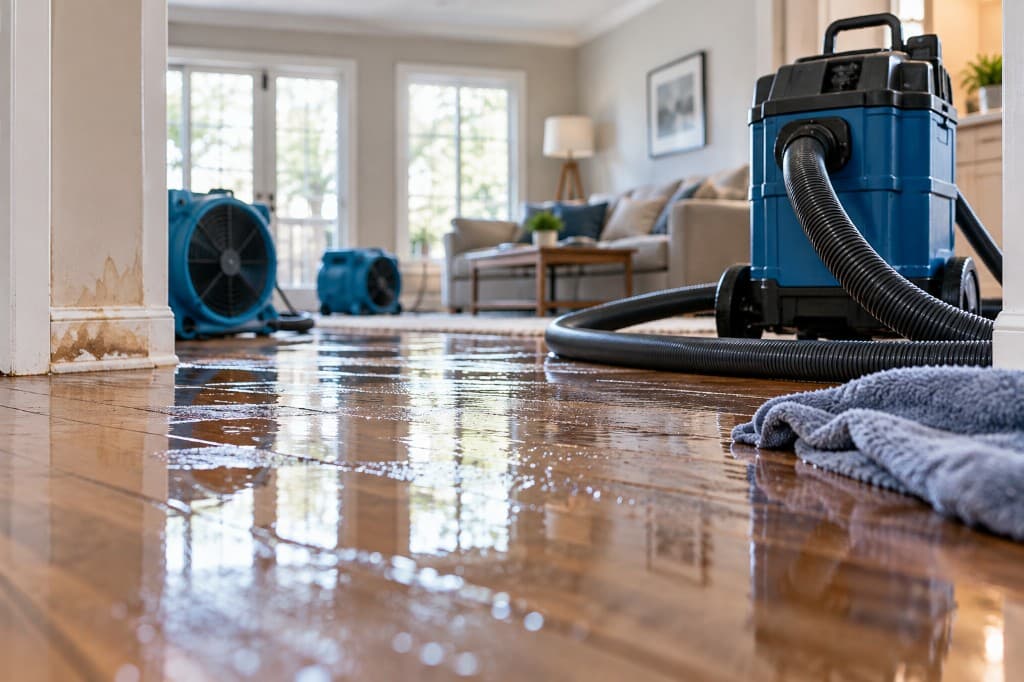
- Remove standing water. Towels and a wet vac are fine for room surfaces.
- Dry the room aggressively. Use air movers and a dehumidifier if available.
- Expose damaged finishes if needed. Sagging ceiling material, wet insulation, and stained sections often need partial opening or removal so hidden moisture doesn't stay trapped.
A homeowner deciding what can be saved and what likely needs removal can use this guide on how to dry wet drywall.
Return-to-service checklist
Don't restore power until all of these are true:
- The leak source is repaired.
- The electrician has checked the fixture and wiring.
- There's no visible corrosion, rust, or mineral residue at the fixture.
- The breaker holds normally after reset.
- The light doesn't flicker, buzz, fog, or trip the circuit on first test.
- Ceiling materials around the fixture are dry, not just surface-dry.
A wet light fixture is out of service until both the leak path and the electrical path are cleared.
If the fixture shows rust, repeated fogging, or any sign that water sat inside it, replacement is often the smarter call than trying to reuse it. A light fixture is cheap compared with a second failure hidden in the ceiling.
Documenting the Damage for an Insurance Claim
Documenting too little, too late, and in the wrong order is a common mistake. The right time to start is while the leak is active, as long as it can be done from a safe distance.
What to photograph first
Start wide, then move tighter:
- Wide shots: the full room, the floor below, and the ceiling area.
- Mid-range shots: the fixture, nearby stain pattern, and any bucket or containment setup.
- Close-ups: droplets, rust, discoloration, warped drywall, damaged furniture, and any breaker labels or tripped positions.
Take short video too. A brief clip showing actual dripping is often more useful than a still photo that only shows a stain.
If the breaker was shut off, note the time. If a plumber, roofer, HVAC technician, or electrician arrived, note that too. This should become a simple timeline, not a novel.
Build a clean incident log
A one-page log is enough if it includes:
- Discovery time: when the water was first seen
- Immediate actions: when power was shut off, when buckets were placed, when water supply was turned off if applicable
- Leak pattern details: whether it happened during rain, plumbing use, or HVAC operation
- Professional visits: who came, what they observed, and what they shut down or repaired
- Damage list: rooms, ceiling finishes, insulation, flooring, furniture, electronics, or fixtures affected
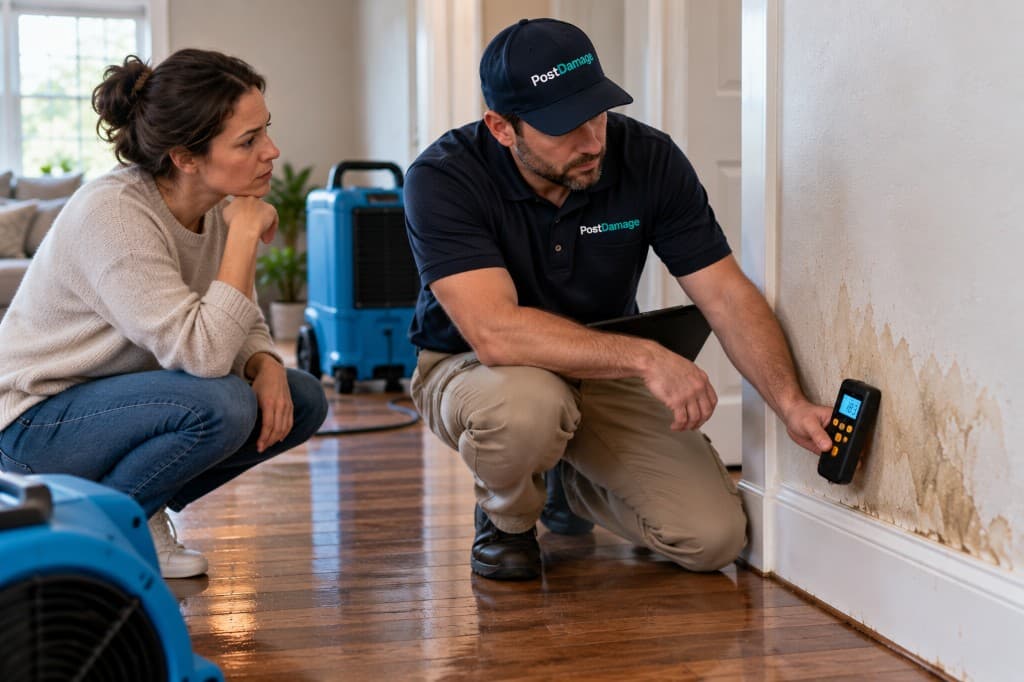
If a moisture meter is available, log readings by location and date. The point isn't to produce a lab report. The point is to show that drying was tracked and decisions were tied to actual conditions.
Save the boring stuff
Receipts matter. Keep every receipt for:
- Emergency supplies, such as buckets, towels, plastic sheeting, and fans
- Service calls, including the plumber, electrician, roofer, or HVAC technician
- Drying or restoration work, if hired out
- Replacement materials, if emergency removal was necessary
Don't throw away damaged items before photographing them unless they create an immediate safety issue.
Keep the claim conversation factual
When speaking with the insurer or adjuster, stick to observable facts:
- what was seen
- when it was discovered
- what was done to limit further damage
- which professional identified the probable source
- whether power remains off pending electrical clearance
Avoid guessing about cause if no trade professional has confirmed it yet. “Water appeared at the dining room light during rain” is useful. “The roof definitely failed because the contractor installed it badly” is not.
Claim mindset: document what happened, what got wet, what was done immediately, and what professionals found. Facts travel better than theories.
Don't close the file too early
A light-related leak often damages more than the fixture. Water can move into drywall, insulation, framing, flooring seams, and wall cavities. That's why the drying phase matters as much as the repair phase.
If the leak was substantial or the area stayed wet long enough to saturate surrounding materials, professional drying is usually the safer path. A hidden wet cavity above a light fixture is exactly the kind of damage people underestimate because the visible drip seems small.
The clean recap is straightforward:
- Shut off power safely.
- Contain the water from the floor.
- Read the leak pattern to identify the most likely source.
- Call the trade that stops the water first.
- Bring in the electrician before restoring the circuit.
- Dry the surrounding materials fully.
- Document everything as it happens.
PostDamage helps homeowners and property managers make sense of incidents like water coming through a light fixture, especially when the next step isn't obvious. The site offers practical water-damage guidance, help understanding the drying and restoration process, and a simpler path to the right kind of professional support without turning one leak into five sales calls.