A damp patch has appeared on the wall, the paint is bubbling, and the baseboard feels swollen. The visible mark may be far from the actual source. Water can travel along framing, insulation, wiring routes, and pipe chases before it reaches the surface, so a leak in wall can continue damaging materials even when the dripping has stopped.
The immediate priorities are straightforward: make the area safe, stop the water, locate the source, confirm the moisture, and dry the cavity before closing it. Cutting into the wall too early can create unnecessary repairs, while waiting for the stain to grow can leave drywall, insulation, framing, and finishes exposed to prolonged dampness.
Locating the Source and Mapping the Moisture
A visible stain is evidence of water, not proof of where water entered the assembly. The first inspection should cover both sides of the wall where possible, nearby ceilings and floors, plumbing fixtures, exterior penetrations, and the wall's junctions with windows, roofs, foundations, and other assemblies. Peeling paint, bubbling wallpaper, swollen trim, discoloration, soft drywall, and a musty smell can all help identify the affected area, but none of them establishes the full boundary of the intrusion.
Building-envelope failures often sit at weak points. Guidance from the U.S. Forest Service on wall moisture and water intrusion identifies missing flashing, poor weather-resistive barriers, badly designed wall intersections, and penetrations as causes associated with leaks. Plumbing leaks, condensation, ground moisture, interior humidity, and construction-related water can also contribute, so the investigation shouldn't assume that a wall stain automatically points to a nearby pipe.
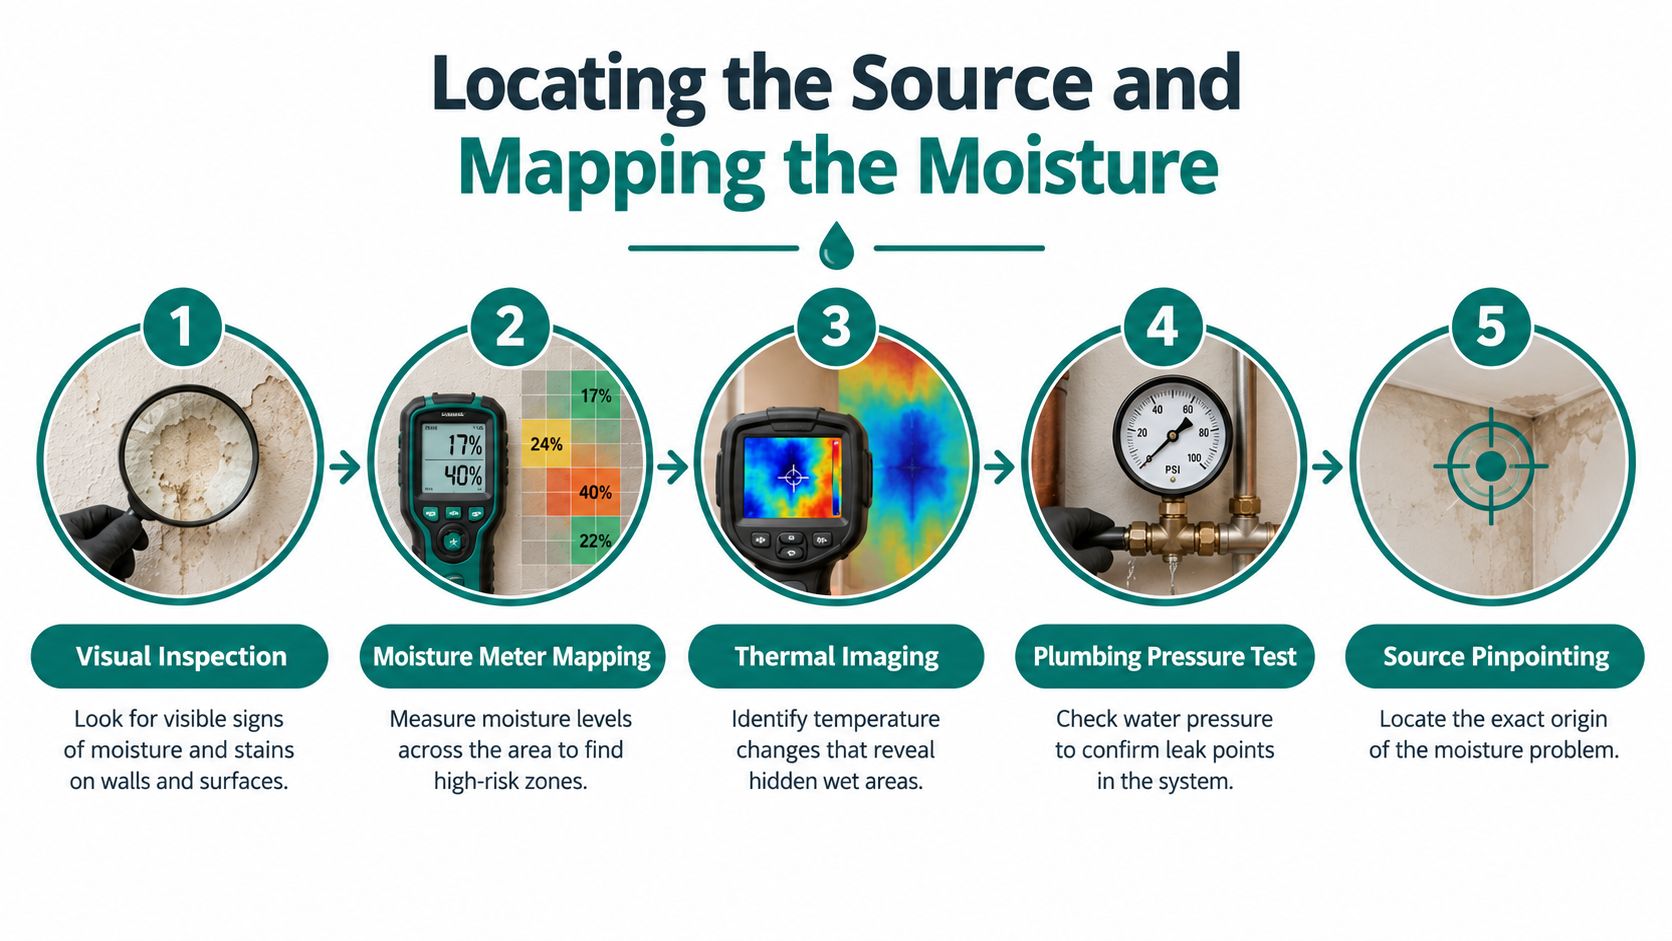
Start with a broad, non-destructive scan
A practical diagnostic sequence begins with observation, then moves to instruments:
- Inspect the visible symptoms. Mark every stain, blister, soft area, swollen baseboard, and change in flooring. The highest mark isn't always the source because water can move sideways before appearing.
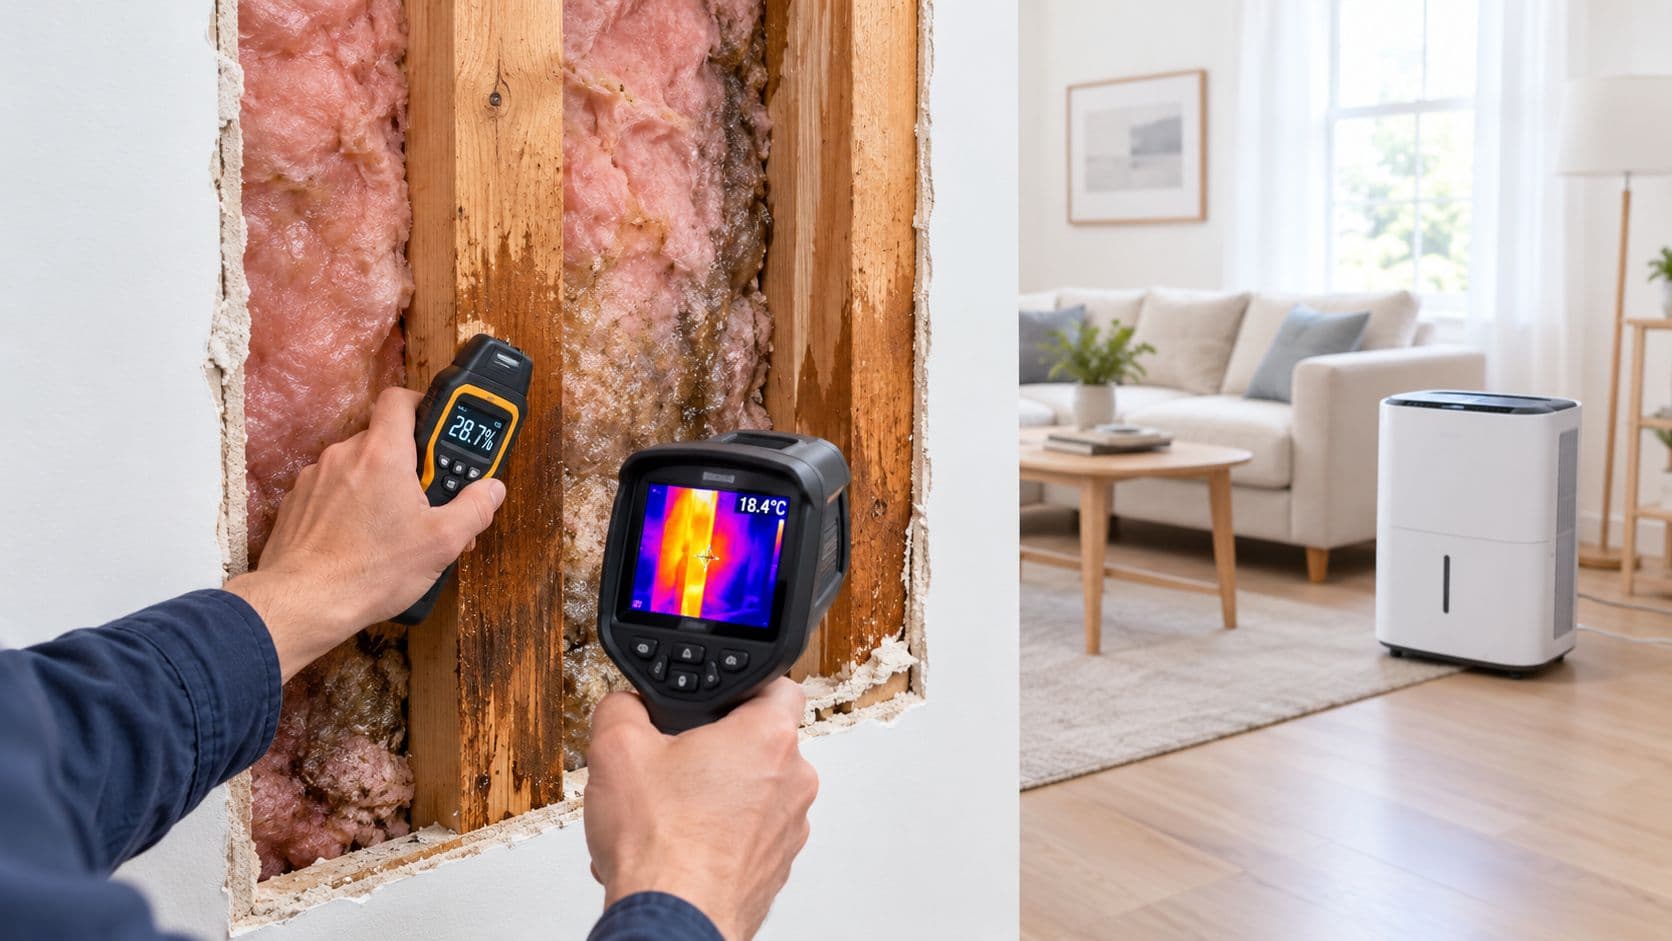
- Scan with thermal imaging. A thermal camera can quickly identify temperature differences that may correspond to evaporative cooling or damp materials. It doesn't directly see moisture, however. Airflow, insulation gaps, shading, and HVAC drafts can create similar patterns.
- Verify with a moisture meter. A pin or pinless meter should test the suspected area and an adjacent area believed to be dry. The dry reference gives the inspector a comparison point instead of treating one isolated reading as conclusive.
- Map the boundary. Read above, below, and to both sides of the anomaly. Mark the locations where readings change, then compare those results with the thermal pattern.
- Test the likely source. A plumber may need to perform a pressure test or inspect the relevant drain, supply line, roof penetration, or exterior junction after the wet area has been mapped.
The guide to detecting water leaks in walls provides additional practical context for examining hidden moisture. The most useful principle is simple: thermal imaging screens, moisture meters confirm. Independent research from Oak Ridge National Laboratory evaluated nine methods for detecting moisture intrusion and considered factors such as cost, simplicity, accuracy, and whether a method produced quantitative or subjective results in its assessment of wall-system moisture detection methods.
Practical rule: A cool patch is a reason to investigate, not a reason to cut open the wall.
If a meter confirms elevated moisture, the next decision is controlled access. Removing a baseboard may expose the lower edge of the drywall with less disruption than cutting a large opening. Larger access may be appropriate when water is trapped, insulation is saturated, or the source cannot be reached otherwise. The opening should follow the evidence, not guesswork.
Immediate Containment and Water Mitigation Steps
Once the affected area is known, the first task is to stop additional water from entering. A restoration plan cannot compensate for an active supply line, overflowing fixture, leaking drain, failed appliance connection, or exterior opening that continues to feed the wall cavity.
Follow the safest order of operations
Shut off the water first. The homeowner or property manager should close the nearest accessible valve for the affected line if the valve is identifiable and safe to reach. If the source can't be isolated, the main supply valve may need to be closed. A burst or pressurized line requires prompt plumbing assistance, especially when the leak is inside a finished wall.
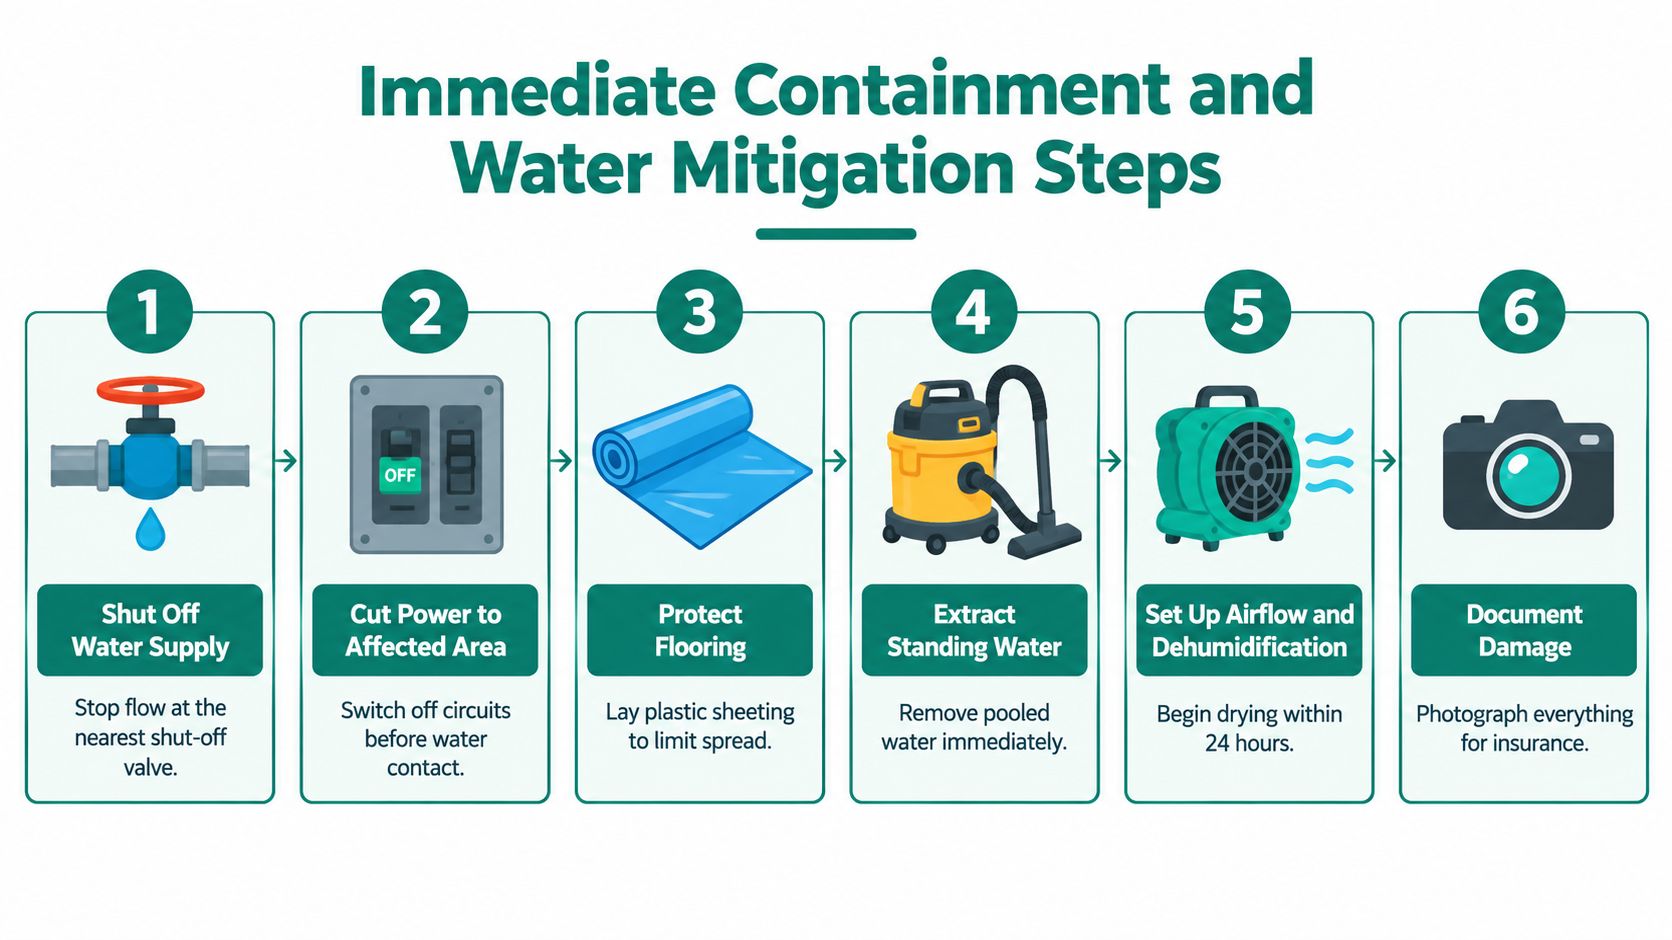
Cut power before touching wet building materials. Water near outlets, switches, junction boxes, light fixtures, wiring, or electrical equipment creates a serious hazard. The affected circuit should be switched off at the breaker only if the panel and the person operating it are dry and accessible. If water has reached the panel, or the electrical layout is uncertain, an electrician should make the area safe.
Protect the surrounding property. Move furniture, electronics, rugs, and stored items away from the wall. Cover unaffected flooring with plastic sheeting where appropriate, but don't seal wet materials beneath an impermeable covering. Place containers beneath active drips and use towels to control small amounts of surface water without pushing contamination into porous materials.
Remove accessible standing water. A wet vacuum can collect pooled water from floors and hard surfaces when electricity is safely controlled and the equipment is designed for wet collection. Ordinary household vacuums shouldn't be used for standing water. Water that has crossed a contaminated floor, toilet overflow, or sewage-affected area requires a more cautious response and may not be suitable for casual handling.
Relieve trapped water only with a controlled plan. A small opening near the base of a wall can sometimes allow water to drain into a catch basin, but drilling or cutting can strike wiring, pipes, or other concealed services. The safest approach is to remove trim or create a small inspection opening only after the area has been scanned and the circuit has been isolated. A large cut made without locating utilities can turn water damage into an electrical or plumbing emergency.
Begin evaporation without spreading the problem
Air movement helps surface water evaporate, but a fan pointed into a closed, wet cavity can move moisture into adjacent rooms or deeper into the assembly. Fans should be positioned to move air across exposed surfaces, while dehumidification removes the moisture that enters the air. Doors and windows should be managed according to indoor humidity and outdoor conditions, not opened automatically.
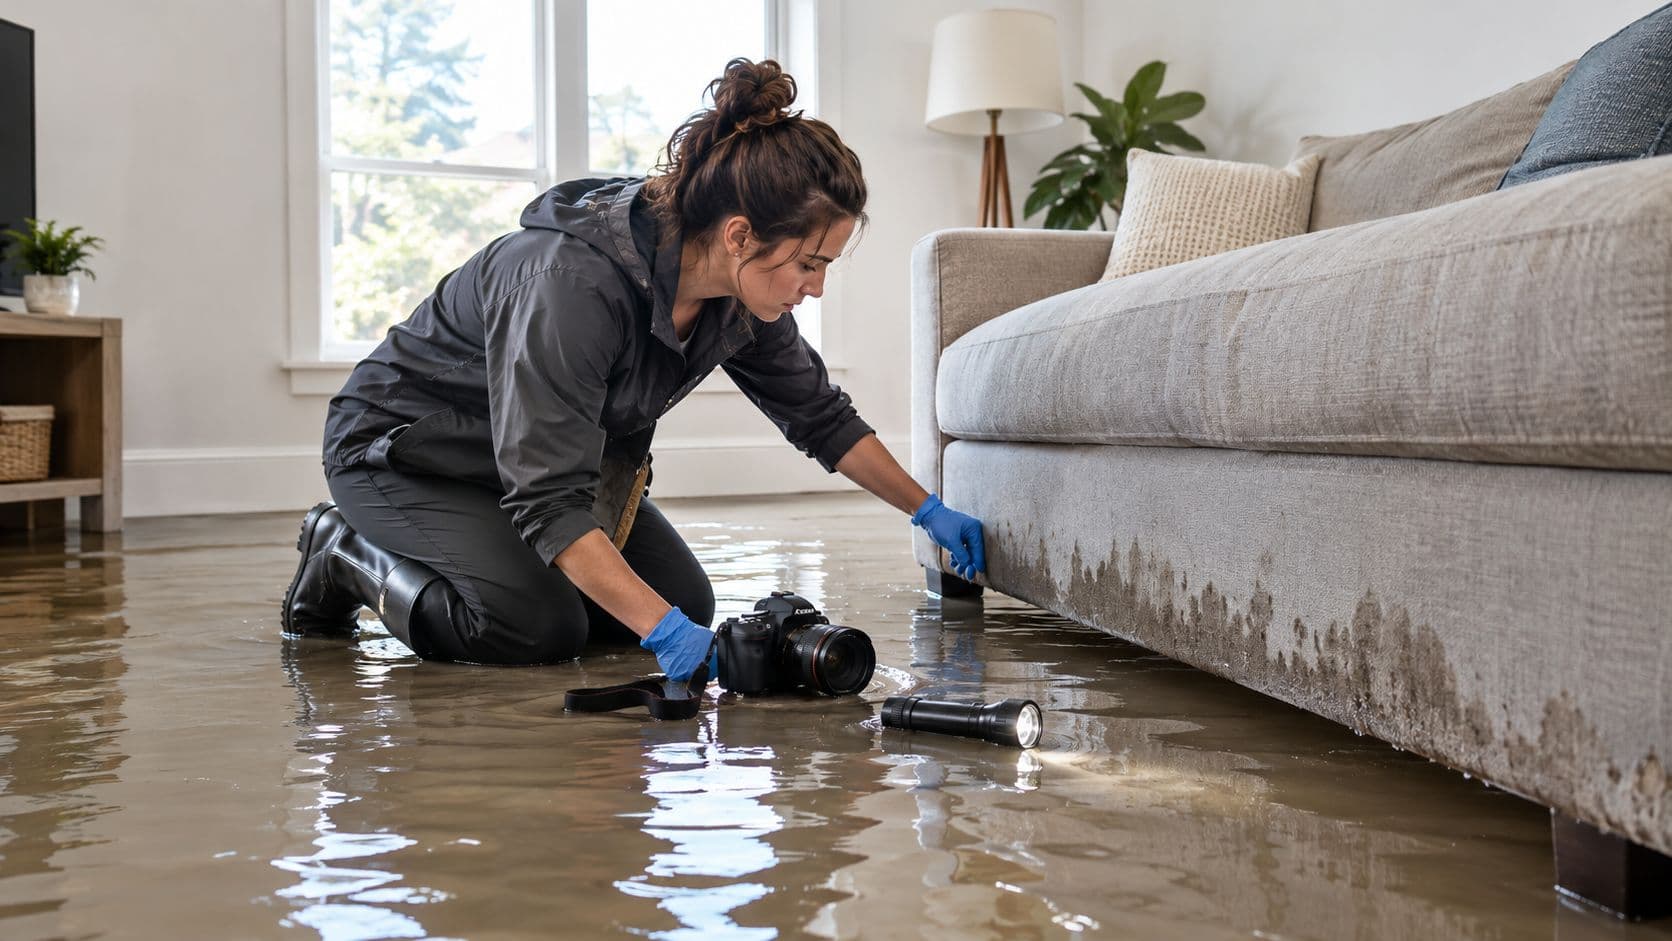
A property manager should record the shutoff time, the suspected source, the rooms affected, and any emergency work. Photographs should show the full room, the wall from several angles, close views of stains and damaged materials, and any equipment or items that were moved. Those records support decisions by plumbers, restoration technicians, and insurers.
Evaluating Damaged Materials and Drying the Cavity
Drywall can look acceptable on the face while remaining wet behind the paper or at the lower edge. Insulation can hold moisture against framing, and a wall cavity can remain damp after the room feels comfortable. The correct decision depends on the water category, the duration of wetting, the material's condition, and whether the cavity can be opened and monitored.
The EPA advises drying wet materials within 24 to 48 hours to reduce the likelihood of mold growth, as explained in its guidance on mold in hidden building areas. That window makes prompt assessment important. It doesn't mean every wall must be demolished immediately, but it does mean a closed cavity shouldn't be left unexamined while the surface dries.
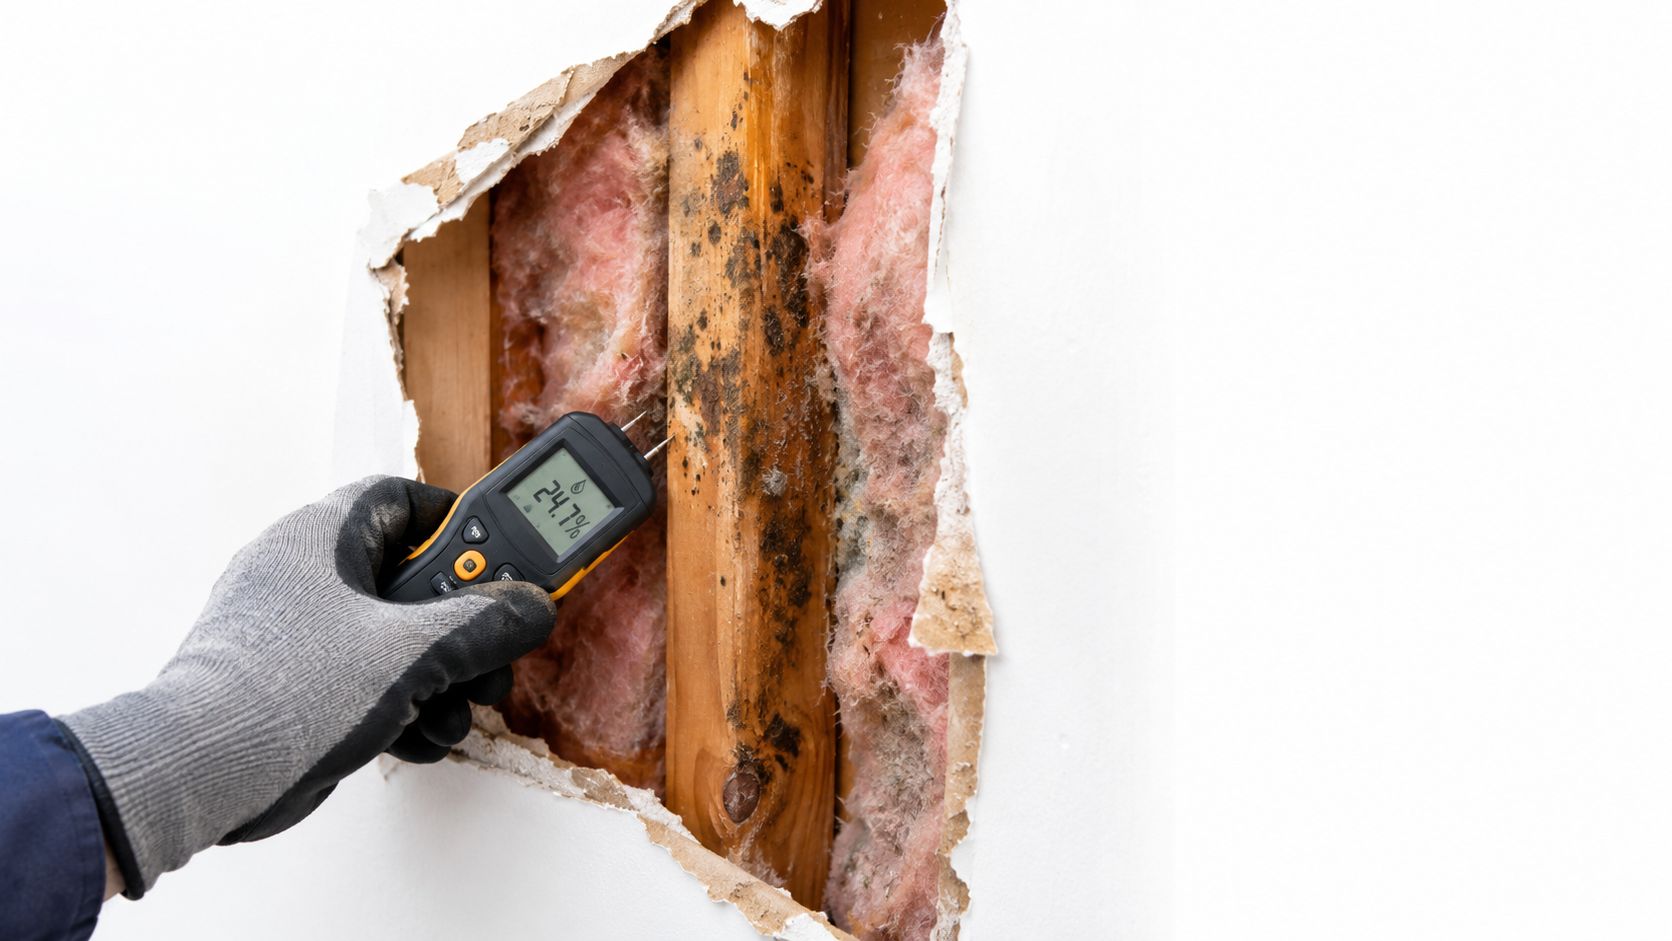
Decide what can stay
Drywall may be a candidate for drying when the water was clean, the board remains flat and firm, the paper hasn't separated, and the cavity can be ventilated and verified. It should be removed when it stayed wet longer than 48 hours, contacted gray or black water, has visible mold, or is swollen and delaminated. These replacement triggers are set out in guidance on water-damaged drywall.
A small inspection opening can reveal whether the back of the board is damp, whether insulation is saturated, and whether framing has begun to deteriorate. The opening should be large enough to inspect and dry the assembly, but not so large that it creates unnecessary reconstruction. A restoration professional can use moisture readings to decide whether the remaining board and framing are responding to drying.
- Drywall: Remove compromised sections when the paper has separated, the board has swollen, or contamination prevents reliable cleaning.
- Insulation: Treat wet insulation as a separate problem. Guidance on drying drywall and replacing wet insulation generally recommends replacement because insulation retains water and can keep nearby framing damp.
- Wood framing: Framing may be salvageable when it remains structurally sound and can be exposed, dried, and monitored. Surface dryness isn't enough if moisture readings remain high inside the assembly.
- Finishes and trim: Remove swollen baseboards, damaged casing, and other porous finishes when they prevent airflow or conceal damp edges.
Dry the structure, not just the room
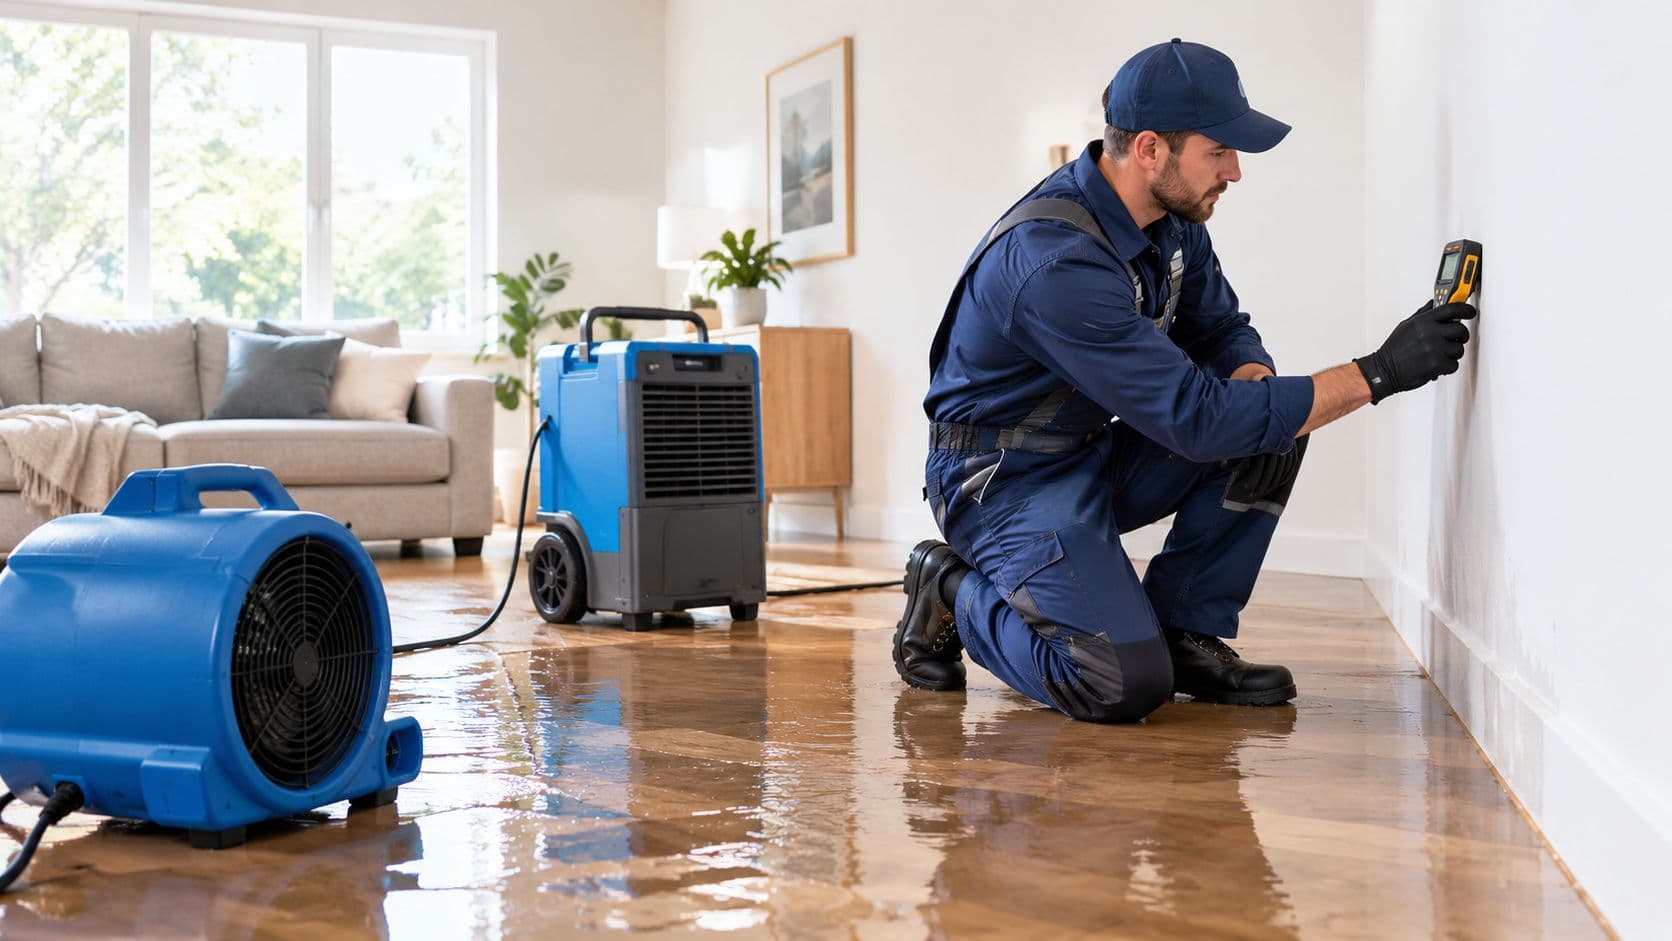
Effective cavity drying combines air movement with dehumidification. Air movers should direct controlled airflow across exposed wet surfaces, while commercial dehumidifiers remove moisture from the room air. A technician may use directed cavity-drying equipment after opening the wall, but equipment placement must be based on moisture readings rather than on a fixed schedule.
The drying process should include repeated readings at the affected framing, adjacent dry framing, drywall edges, flooring, and other connected materials. The work is complete only when the wet materials have reached a consistent dry condition relative to unaffected material. A room that feels dry can still contain trapped moisture behind insulation or at the bottom of a stud bay.
For homeowners comparing procedures, the guide on how to dry wet drywall reinforces the need to address hidden moisture rather than just repainting the stain. Repainting before drying and source correction is a cosmetic response, not water mitigation. It can conceal the evidence while the cavity continues to damage framing and finishes.
Navigating Insurance Coverage and Documentation
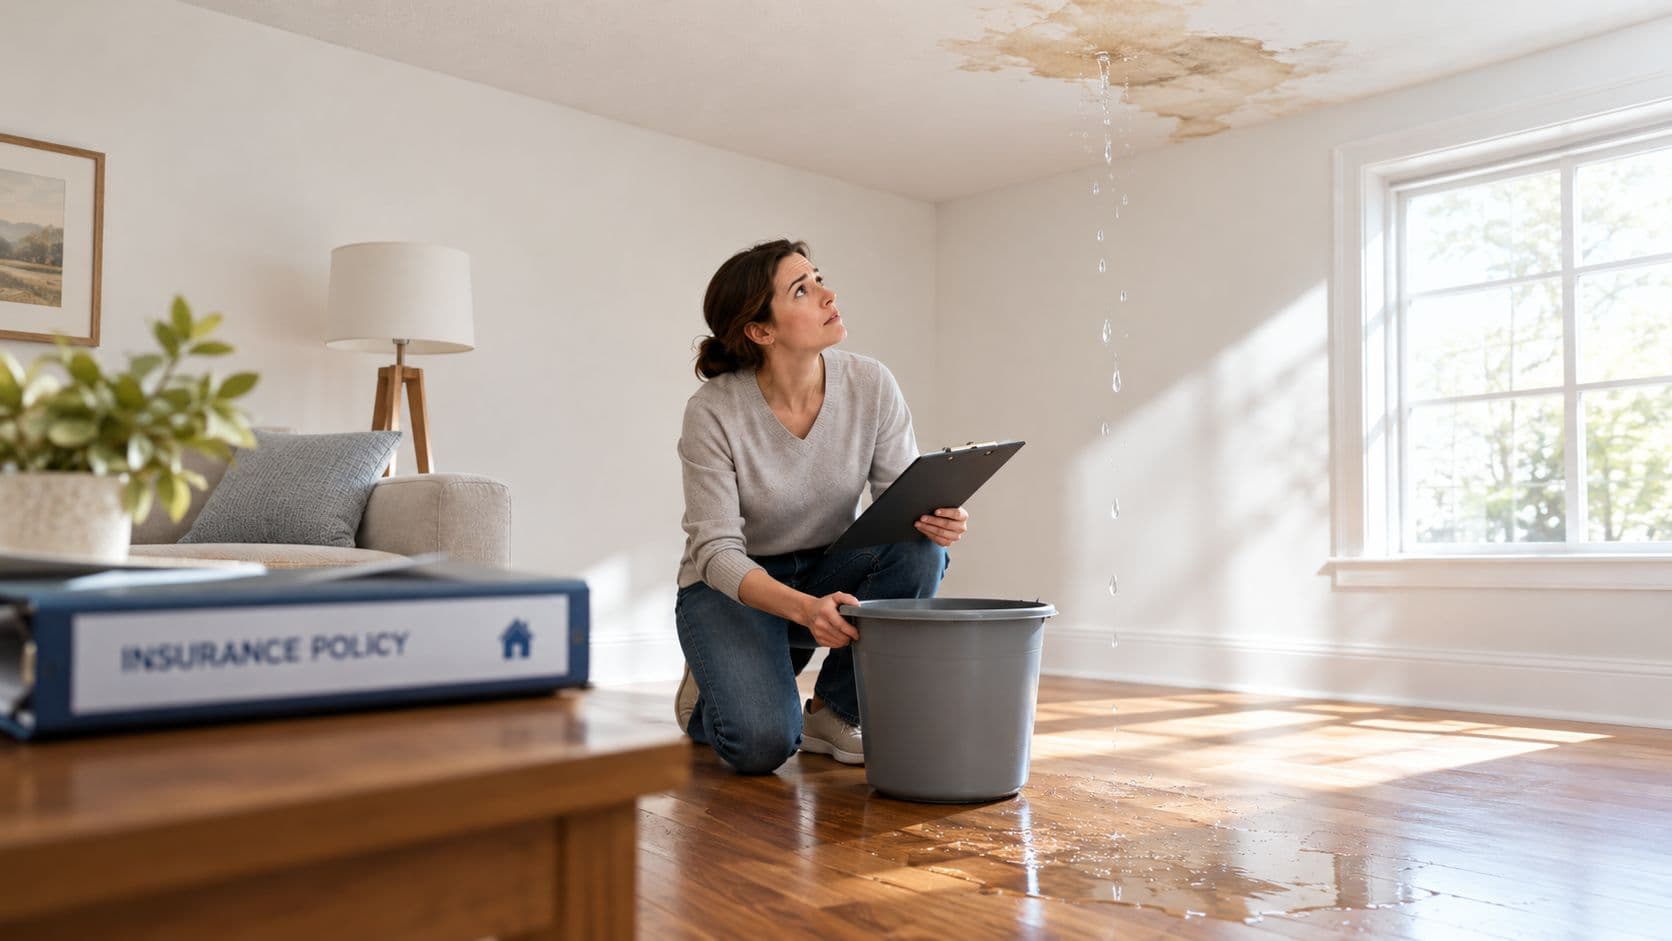
Insurance decisions often turn on two separate questions: what caused the water damage, and what work is required to access and repair it. A sudden and accidental discharge, such as a burst pipe, may be treated differently from gradual seepage through a pinhole, failed seal, or long-standing exterior defect. The policy language, exclusions, endorsements, maintenance provisions, and facts of the loss control the outcome.
Trace-and-access coverage deserves particular attention. Some policies may pay for the reasonable work required to locate a hidden leak and open the wall, while treating the permanent repair of the failed pipe or component separately. A policy may cover resulting water damage without covering the worn or defective item that allowed the water to escape. The insurance guidance on hidden water damage and trace-and-access coverage describes this distinction and emphasizes that coverage depends on the policy.
A property owner shouldn't assume that a denied pipe-repair cost means every part of the claim is denied. The access opening, drying, damaged drywall, insulation, flooring, and other resulting damage may be evaluated separately. The adjuster should receive a clear description of each work category.
Build the record before the wall is opened
Documentation is strongest when it captures the condition before emergency work changes it:
- Photograph the source area. Take wide room views, mid-range wall views, and close images of stains, bubbling paint, swelling trim, wet flooring, and visible water.
- Record the timeline. Note when the problem was discovered, when the water was shut off, when a plumber or restoration technician arrived, and when drying equipment began operating.
- Preserve damaged materials where practical. Don't discard soaked drywall, insulation, or personal property before documenting it and checking whether the insurer wants an inspection.
- Keep every receipt. Emergency extraction, temporary protection, plumber attendance, electrical safety work, equipment rental, and replacement materials should be recorded.
- Request written scope details. Ask which work is considered leak access, which work is mitigation, which work is permanent repair, and which items require separate approval.
A short, factual account is more useful than a confident guess about the source. If the source remains uncertain, the homeowner should say that it is suspected rather than claiming that a particular pipe or exterior joint caused the loss.
Compare the two coverage questions
| Issue | What the adjuster may examine |
|---|---|
| Sudden discharge | Whether the event was abrupt, accidental, and promptly addressed |
| Gradual seepage | Whether the condition developed over time or reflected maintenance and deterioration |
| Trace and access | Whether the policy includes reasonable costs to locate a hidden leak and open finished surfaces |
| Permanent repair | Whether the failed pipe, fitting, seal, or exterior defect is excluded or handled separately |
| Resulting damage | Whether drywall, insulation, framing, flooring, and finishes were damaged by the covered water event |
The table is a starting framework, not a coverage determination. The policy and the adjuster's written explanation matter more than assumptions based on a neighbor's claim.
Water intrusion can become financially serious before the source is obvious. An AIG property risk study covering 2014 to 2017 reported about 3,788 U.S. claims in its analysis, with roughly 34% associated with non-natural-peril water damage; burst or leaking pipes represented 42% of claims and 45% of dollars lost within those losses in the study's water intrusion risk analysis. That scale is one reason prompt documentation and controlled mitigation matter.
Repairing the Wall and Preventing Future Intrusion
Rebuilding should begin only after the water source has been corrected and the cavity has been shown to be dry. Installing new drywall over damp framing traps the original problem inside the assembly and makes later inspection more disruptive. The repair sequence should preserve evidence, restore the wall's function, and address the entry point that caused the damage.
Rebuild from the structure outward
The usual order is:
- Correct the source. The responsible trade should repair the leaking supply or drain line, failed connection, exterior opening, or other confirmed entry point.
- Verify the repair. The wall should be monitored after the repair, and the suspected source should be tested where appropriate. A dry reading immediately after shutoff doesn't prove that the source was corrected.
- Dry and inspect framing. Remaining wood should be checked for softness, deterioration, odor, and persistent moisture. Any structural concern requires qualified evaluation before closure.
- Treat exposed framing appropriately. An antimicrobial sealant may be considered for clean, exposed framing after the source is fixed and the wood is dry. It isn't a substitute for removing contaminated materials or correcting moisture.
- Replace insulation when needed. New insulation should fit the cavity without compressing or leaving voids that reduce the wall assembly's performance.
- Install and finish new drywall. Replacement board should be secured correctly, joints taped, compound applied in controlled coats, and the surface sanded and primed before paint.
- Match the room's exposure. Moisture-resistant board may be appropriate in high-humidity locations such as bathrooms, but it doesn't make a wall waterproof and won't correct a leaking pipe or exterior opening.
The guide to water-damage wall repair can help a property owner understand the transition from mitigation to reconstruction. The key boundary is that drying removes water damage risk, while rebuilding restores the finished assembly.
Check the exterior when plumbing isn't the cause
A wall leak can originate outside the room. Flashing at windows, roof-to-wall transitions, wall intersections, penetrations, cladding joints, and foundation drainage all deserve inspection when the timing corresponds with driving rain or when plumbing tests show no failure.
The earlier building-envelope guidance identifies flashing, weather-resistive barriers, intersections, and penetrations as recurring weak points. The practical response is to inspect the complete water-shedding path rather than seal the interior stain. Interior caulk or paint may hide the symptom temporarily while water continues entering from outside.
Before the final finish is installed, the property owner should retain photographs of the open cavity, repair invoices, moisture records, and the completed source correction. That file helps explain why materials were removed and gives future occupants or managers a clear record of the event.
When to Call a Professional Water Damage Restoration Company
A minor, visible spill on a hard surface may be manageable with prompt cleanup. A hidden wall leak is different because the source, extent, water category, and condition of the cavity are uncertain. A homeowner who can't safely isolate the water or power, confirm the affected boundary, and verify drying is taking a substantial risk by treating the incident as a cosmetic repair.
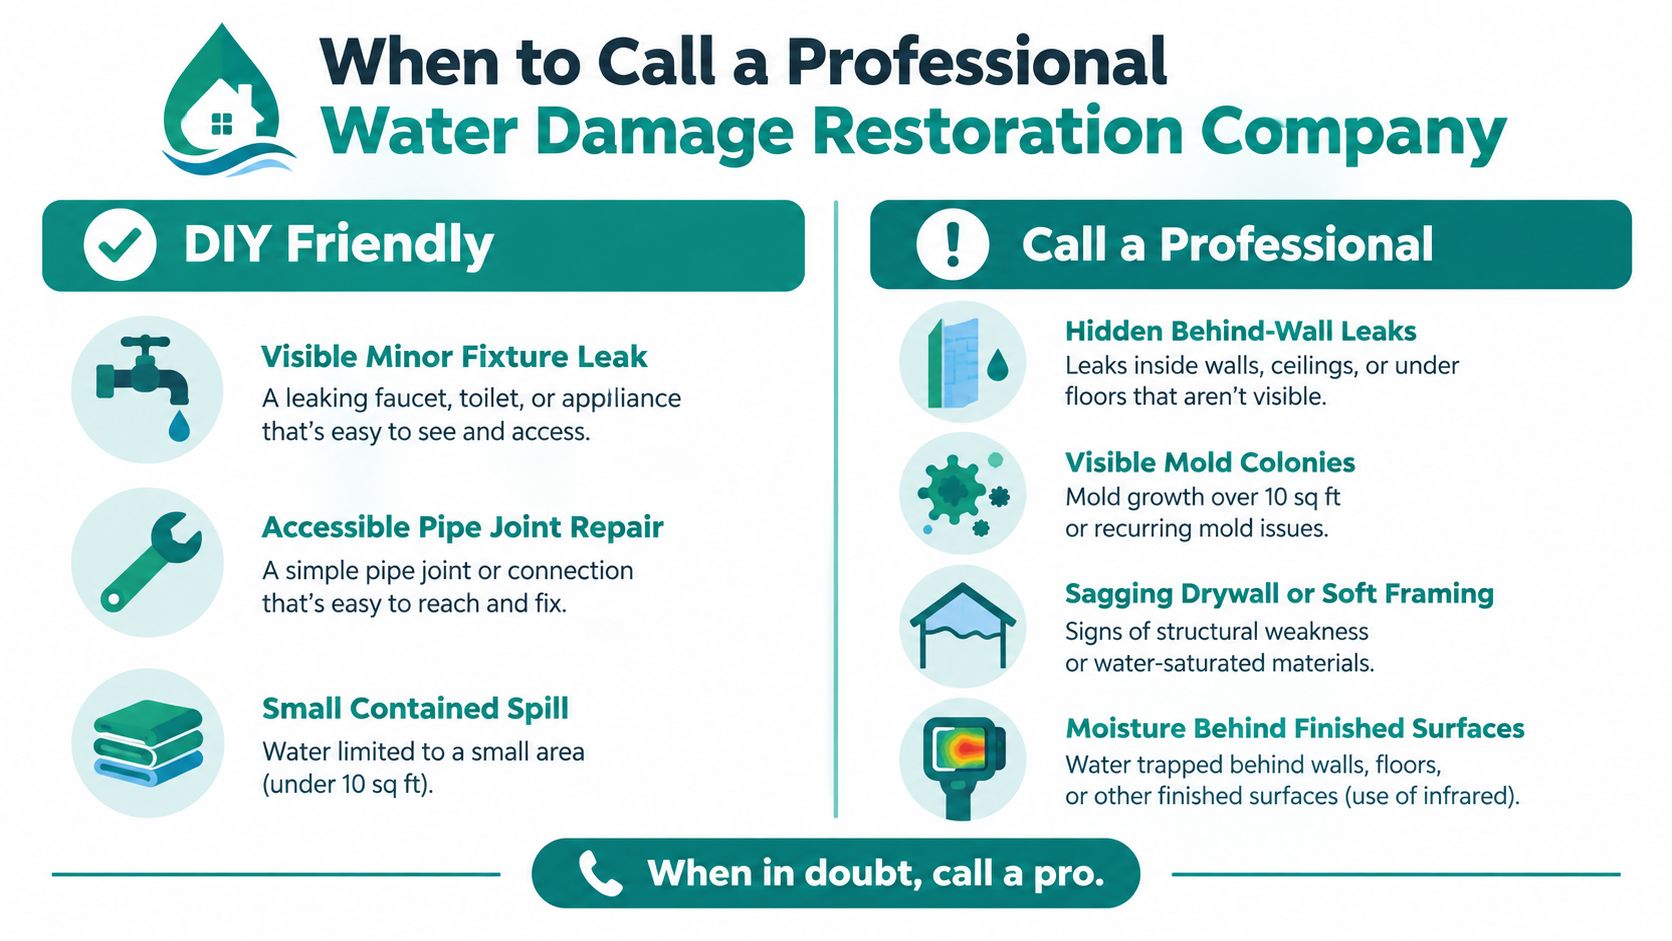
Use the decision points that matter
DIY may be reasonable when the water source is fully stopped, the spill is small and visible, electrical systems are unaffected, porous materials aren't saturated, and the homeowner can monitor drying without opening hazardous areas. Even then, photographs and moisture checks are worthwhile.
Professional restoration is the safer choice when any of these conditions apply:
- Hidden cavity: Water is behind drywall, under flooring, inside a ceiling, or around insulation.
- Electrical contact: Water has reached outlets, wiring, fixtures, appliances, or the electrical panel.
- Broad spread: Several rooms, floors, or connected wall sections are affected.
- Contaminated water: The water came from a drain, toilet overflow, sewage source, or another potentially contaminated pathway.
- Material failure: Drywall is swollen, insulation is saturated, framing feels soft, or flooring has buckled.
- Persistent odor: A musty smell remains after the visible water is removed, suggesting that hidden damp materials may still be present.
- Uncertain source: The stain is growing, the leak recurs, or plumbing and exterior causes haven't been separated.
A restoration company can combine moisture mapping, controlled demolition, extraction, air movement, dehumidification, and drying documentation. A plumber may still be required to repair the source, and an electrician may be needed for electrical safety. No single contractor should be assumed to handle every part of a complex water loss.
When the wall is open, the source is uncertain, or the materials can't be verified dry, professional assessment usually costs less than closing the problem inside the wall.
PostDamage offers water-damage guidance and a single request that can help homeowners understand the next step and connect with appropriate local professionals, rather than requiring multiple sales calls. Homeowners dealing with a leak in a wall can visit PostDamage to describe the situation and seek a practical path forward.