You walk into the room and spot it right away, the laminate looks flat in one spot and slightly raised in another, or a seam has started to shine where it shouldn't. Maybe the spill looked small at first, but the water kept moving under the planks, along the perimeter, or into the subfloor where the damage is harder to see. That hidden path is the core problem with water under laminate flooring. The surface can look almost normal while the assembly below is already swelling, separating, and trapping moisture.
Laminate is a layered system, not a solid slab. Its protective top layer can keep a little surface water from showing immediately, but the core beneath it is moisture-sensitive, and that's where the decision gets made. Once water reaches the joints, edges, or the underside, the floor can lift, gap, buckle, or develop edge swelling, which is evidence that the problem is below the visible surface, not just on top of it. Manufacturer testing under EN 13329 includes water-related methods such as ISO 24336, and product samples in the standard show swelling limits that vary by product class, which tells the story clearly, laboratory resistance is not the same thing as surviving a real leak. EN 13329 sample and water-swelling limits
Practical rule: If the floor is visibly raised, separated, or soft at the seam, treat that as moisture in the assembly until proven otherwise.
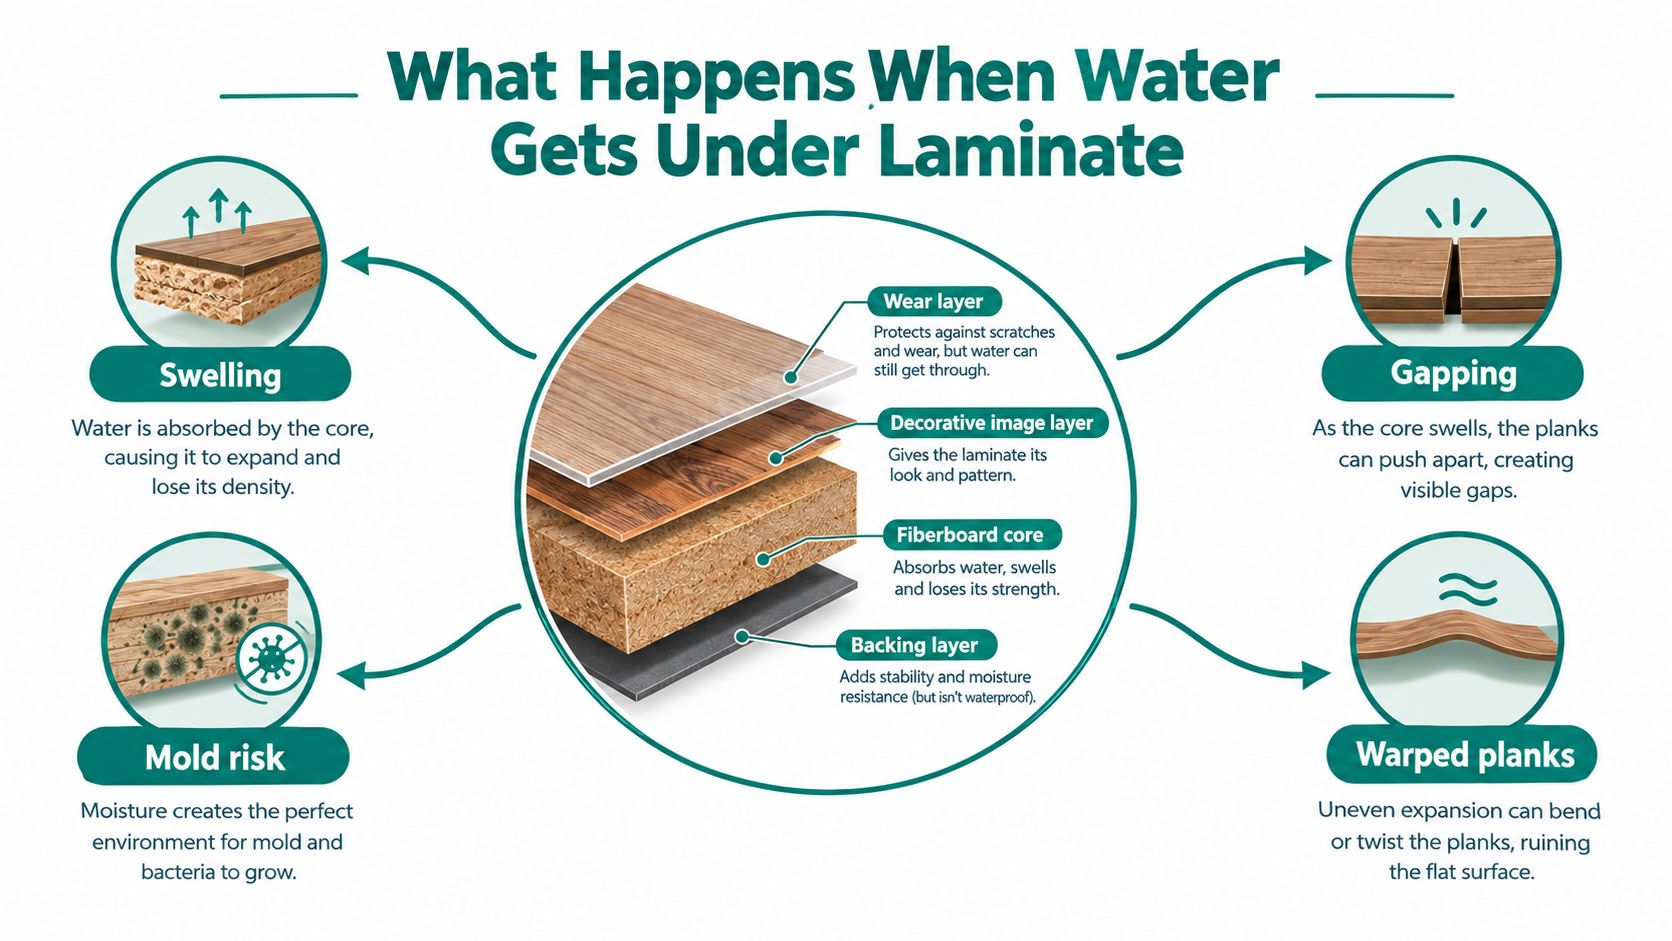
What Happens When Water Gets Under Laminate
A laminate floor usually fails from the bottom up. Moisture slips through the joints, the cut edges, or any damaged seam. Once it reaches the core, the board begins to change shape, and that change is not cosmetic. It means the floor has moved beyond a simple wipe-up.
Why the underside matters more than the top
The visible wear layer is only one part of the system. Under it sit the decorative image layer, the core, and the backing. When water gets beneath the boards, the core swells first, and that swelling pushes seams apart or lifts plank edges. That is why a homeowner may see buckling, joint separation, or a raised edge and still have no clear read on how far the moisture traveled.
The standard for laminate testing draws an important line here. It covers moisture behavior, but it also excludes spaces that stay frequently wet, such as bathrooms, laundry rooms, and saunas, unless the manufacturer specifically allows that use. In plain terms, laminate is made for short moisture exposure, not for water sitting below it or moving through the room.
Why “waterproof” does not settle the question
A marketing label does not change the physics of a layered floor. Under EN 13329 testing, swelling limits vary by product class, and product sheets can show different limits from one laminate to another. That is lab performance, not a promise that a leak, flood, or appliance spill will leave the installed floor unharmed.
The useful takeaway is simple. If the spill stayed on the surface and was wiped quickly, the floor may be fine. If water went through the joints, sat against baseboards, or pooled beneath the planks, the subfloor and underlayment matter as much as the boards on top.
First Steps in the First Hour
The first hour is about control, not cleanup perfection. Stop the source first, then protect the space, then document it. A homeowner who moves too fast with pry bars or fans can make the job bigger than it needs to be.
Shut down the source and protect the room
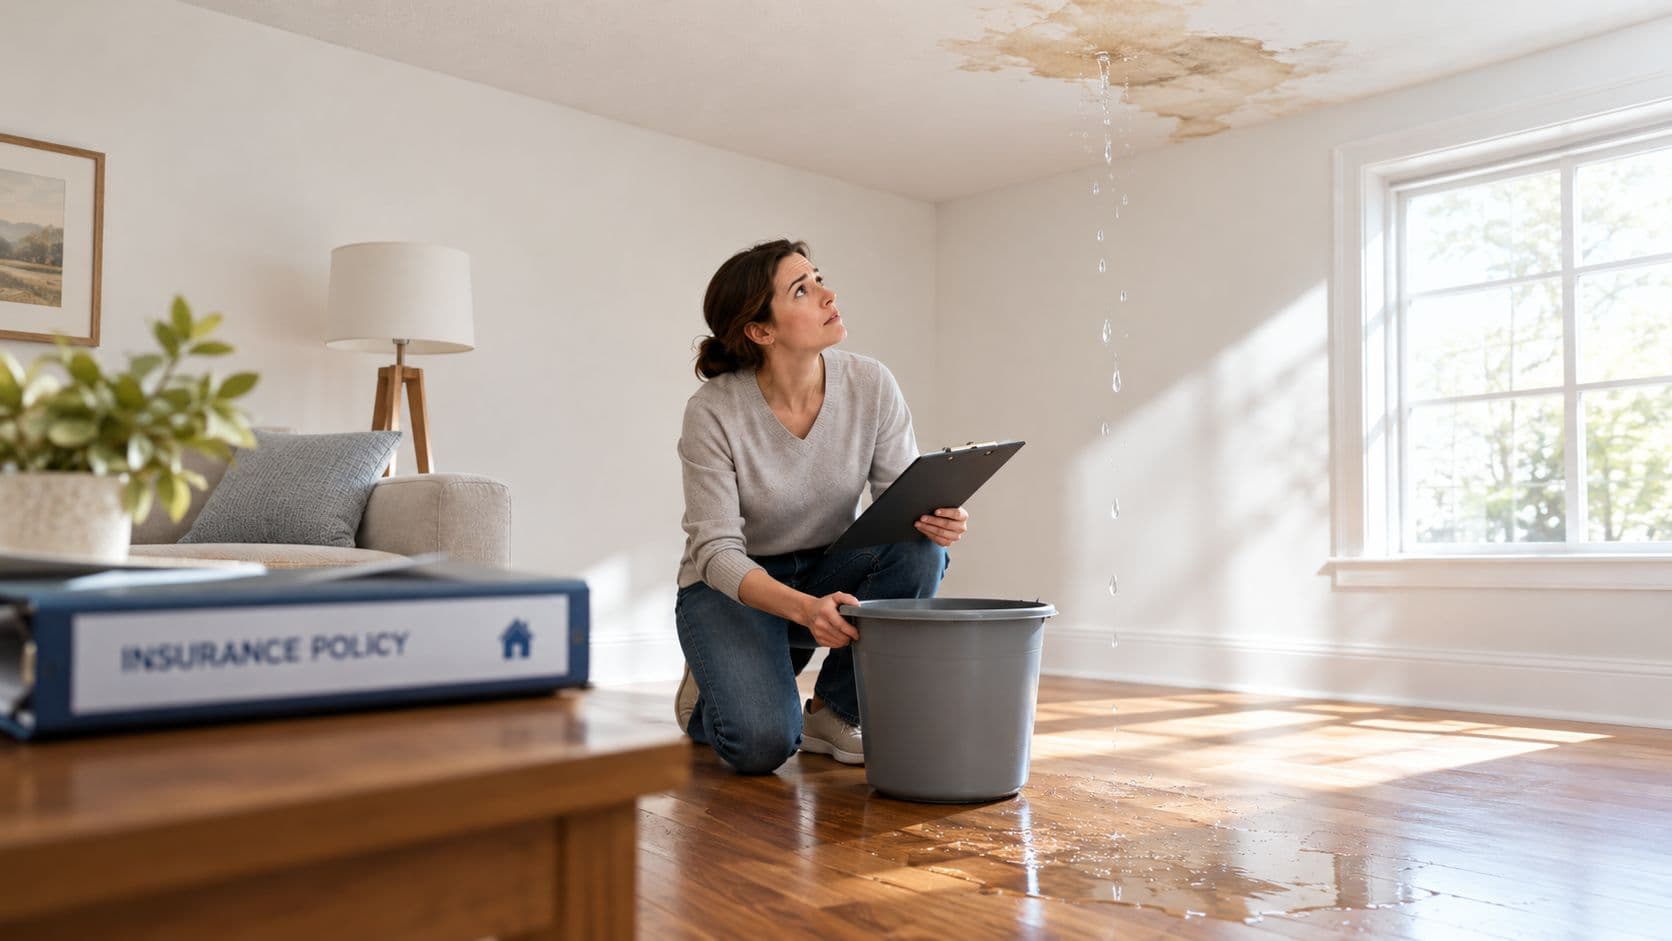
If the water is still coming in, shut off the nearest valve or the main. If standing water is near outlets, appliances, or a dishwasher, cut power to that zone before anyone steps into it. That reduces the risk of shock and keeps a small leak from turning into a larger safety problem.
After that, keep water from spreading. Towels at the doorway, a plastic barrier at the threshold, and a quick sweep of adjacent rooms can keep moisture from moving farther than it already has. The point is containment, not cosmetic cleanup.
Document before anyone tears into the floor
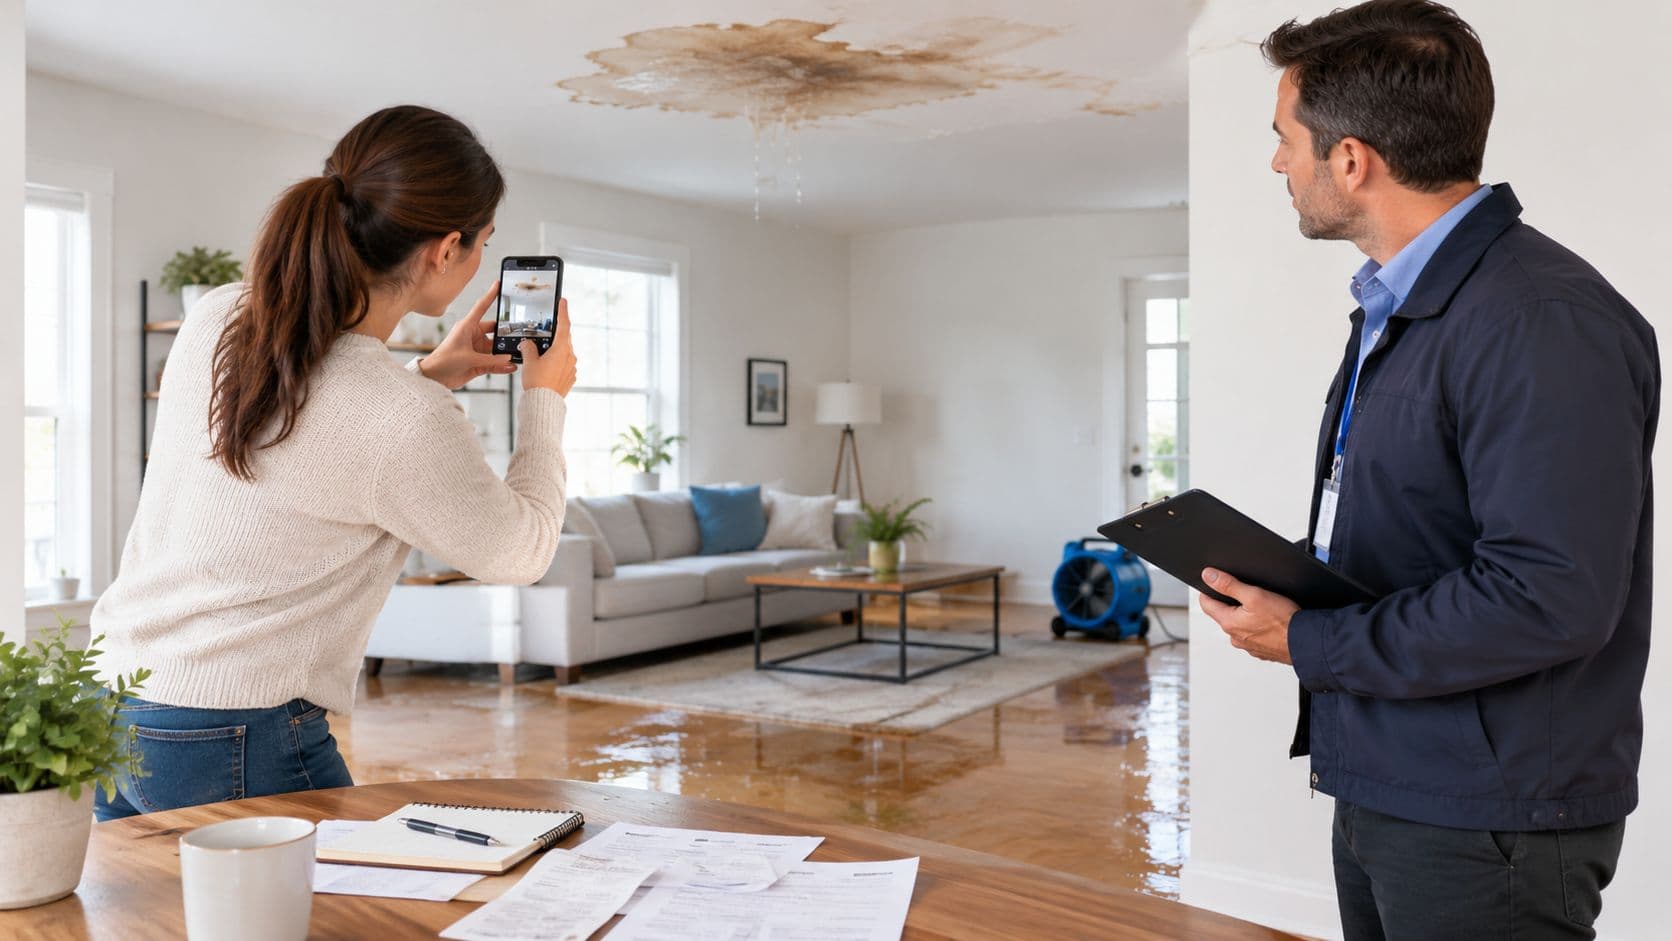
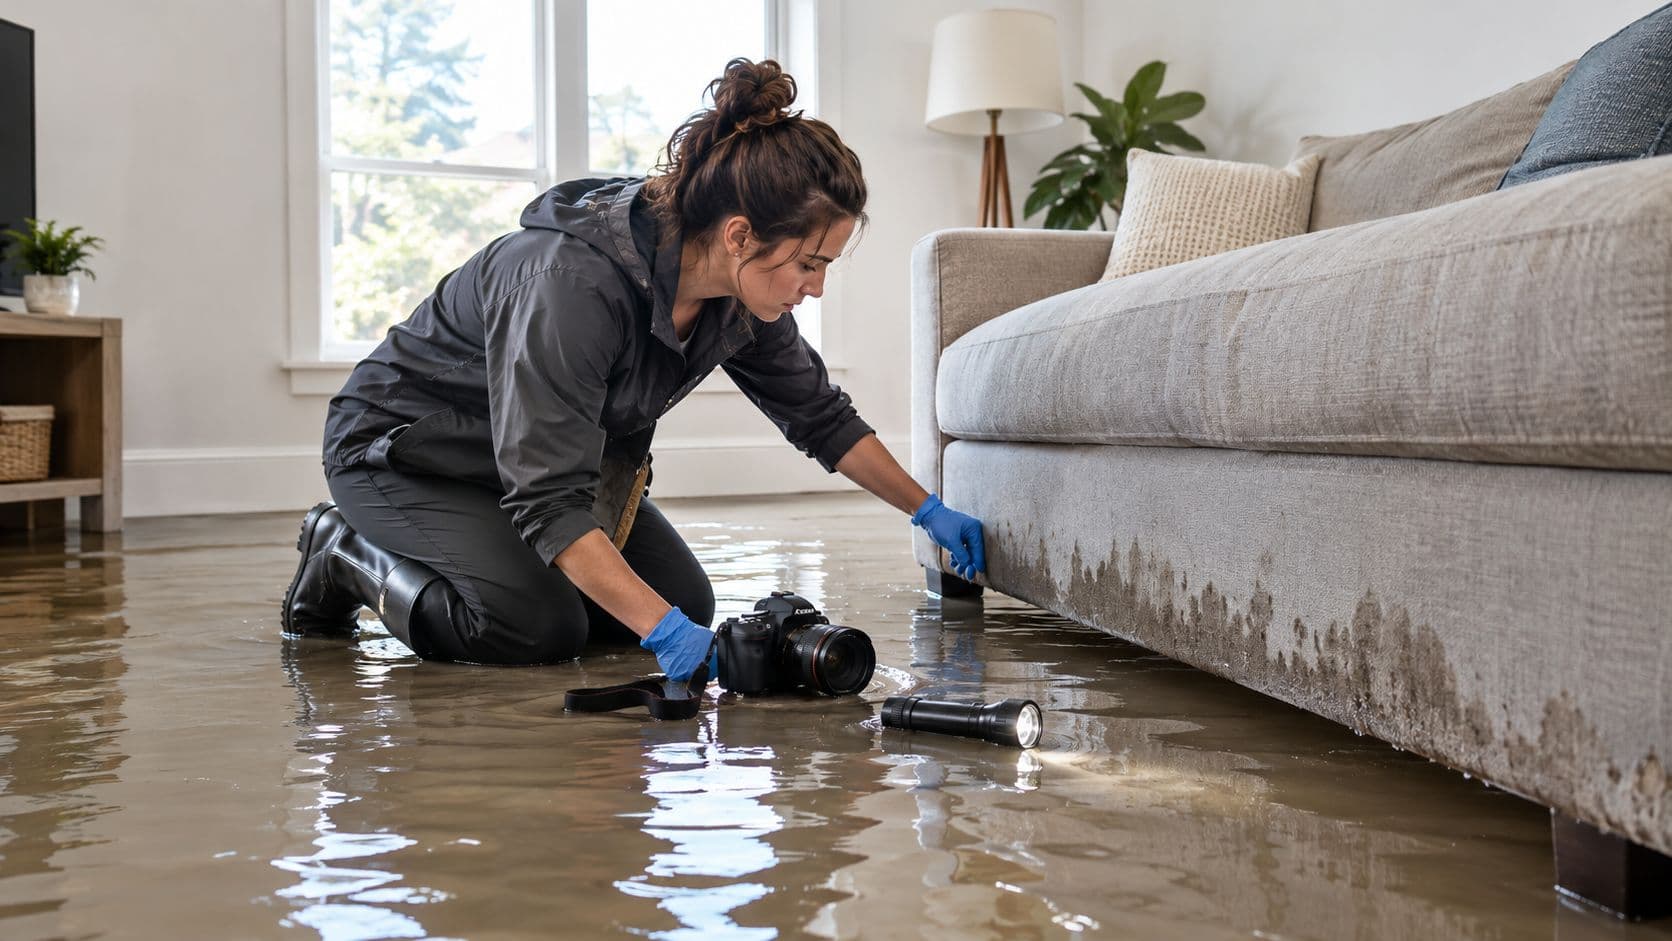
Take wide shots of the room, then close-ups of the source, the seams, the baseboards, and any obvious lifting. Add timestamped photos if the phone allows it, and write down when the water started, when it was stopped, and what the source appears to be. That small record matters later if insurance or a restoration company needs a clear timeline.
Do not start peeling up planks just to “see what's going on.” A floor that looks dry on top can still hide wet underlayment, damp trim cavities, or a soaked subfloor. If the water is sewage or floodwater, don't circulate air around the area blindly, because contamination changes the cleanup boundary.
Keep this order straight: stop the source, kill power if needed, document, then decide what gets opened up.
This water clean-up guidance fits the same sequence homeowners should follow in the first hour, stabilize first, then dry and assess.
Matching Your Situation to the Right Response
Not every wet floor needs the same response. A small spill that got mopped within minutes is one problem. A dishwasher leak that ran for half a day is another. A burst line under the cabinet or sewage coming up through the floor is a different category entirely.
Small spill, leak, burst line, or contaminated water
A small spill that was caught right away usually stays a surface issue. The practical response is fast cleanup, then a check at the nearest seams and edges to confirm nothing traveled under the planks.
A localized appliance leak is more serious because the water can move beneath the floor while the top still looks ordinary. That kind of event often calls for lifting planks at the edge or transition to see whether the underlayment or subfloor stayed wet.
A burst supply line is a structural drying problem until proved otherwise. Water can travel farther than the visible wet zone suggests, especially under a floating floor where the surface hides what's happening below.
Sewage, floodwater, or unknown contaminated water deserves the most cautious response. The EPA separates ordinary drying from contaminated-material handling, and that distinction should control the homeowner's next move. A clean supply-line leak is not the same as wastewater or outdoor water that has already picked up contamination. EPA mold and moisture cleanup guidance
A simple triage rule
If the water was clean, small, and discovered quickly, the odds of salvage are better. If it sat for hours, spread under the flooring, or came from a toilet, flood source, or unknown source, the project moves toward removal and professional assessment. The surface appearance alone doesn't tell the story.
Decision point: the source and duration matter more than the brand name on the box.
Drying the Floor Without Making It Worse
Drying only works if it reaches the layers that got wet. Surface touch-dry is not the same as dry under the boards, and that gap is where homeowners make expensive mistakes. If the top looks fine but the subfloor is still damp, the problem isn't solved.
Extract, open access, and move air correctly
Start by removing standing water with a wet vac or similar extraction tool. If baseboards or quarter-round are trapping moisture at the perimeter, lift them carefully so the edge can breathe and the water doesn't stay hidden. That step matters because trapped water often lingers where the eye can't see it.
Use a commercial-style dehumidifier, not a small household unit, and place air movers so they push air along the plank direction rather than blasting randomly across the room. The goal is to move moisture out of the assembly, not just make the room feel less damp. Fans alone can move air without lowering humidity enough to do real drying.
Check the subfloor, not just the face of the floor
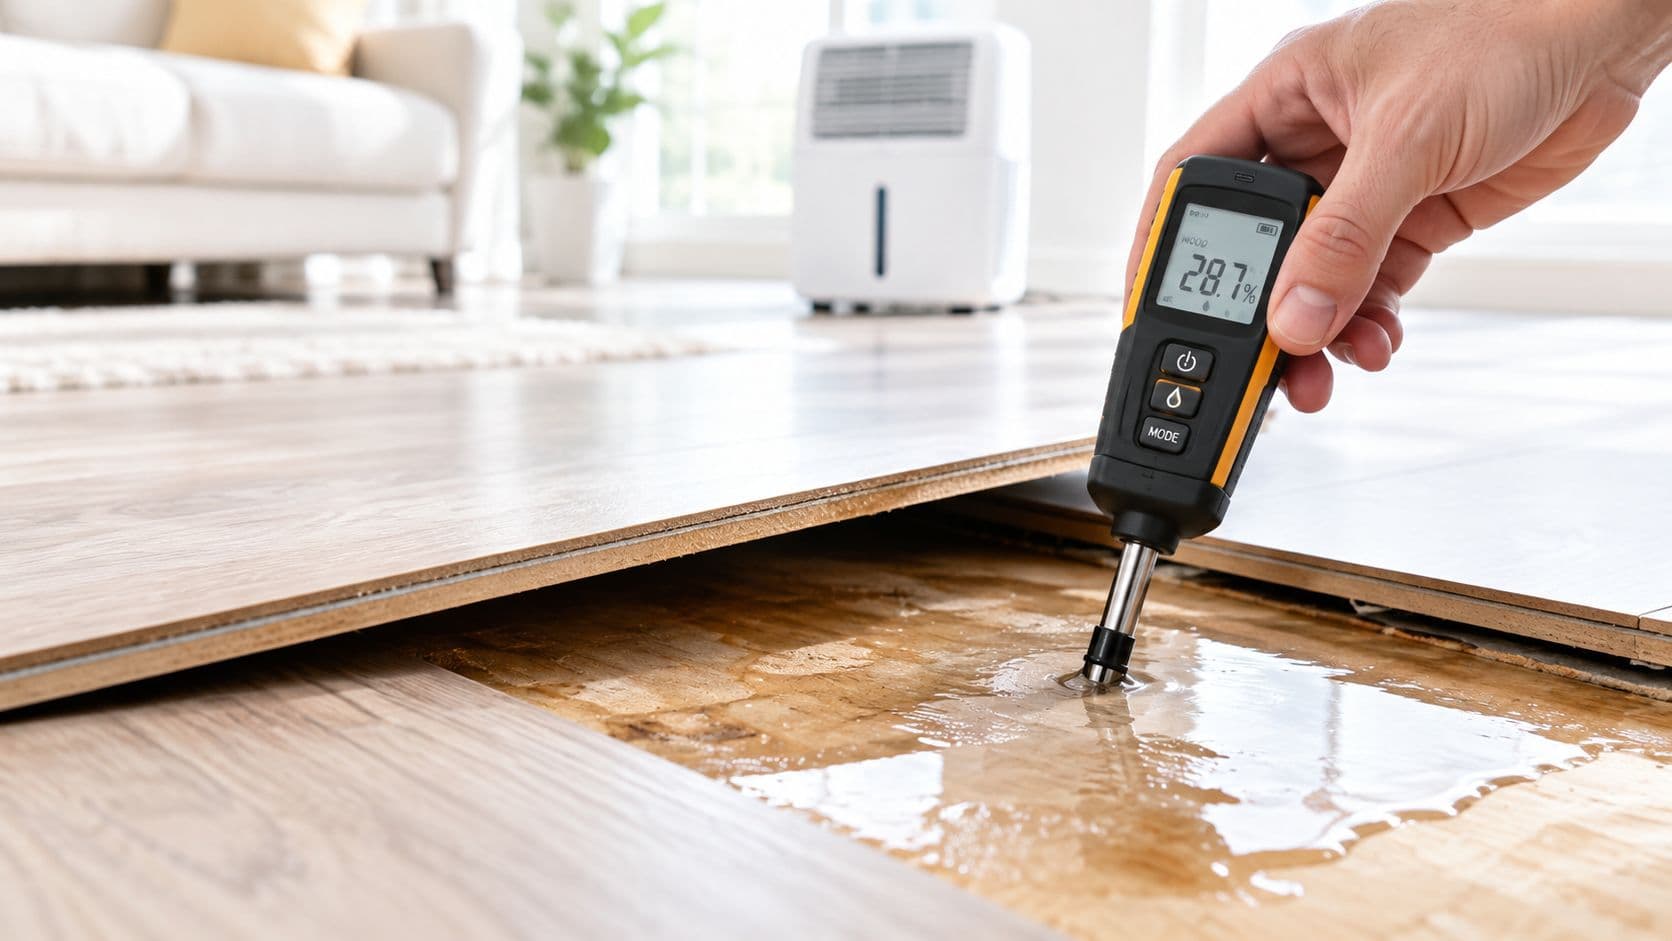
The floor's visible condition is only part of the picture. Concrete and wood subfloors need different moisture checks, and installation guidance commonly uses a calcium-chloride test for concrete and a Tramex-type meter for wood or plywood. In that cited installation guidance, the concrete benchmark is 3.0 lb per 1,000 sq. ft. per 24 hours, and the wood or plywood benchmark is 14%, with product-specific instructions controlling if they differ. Those are installation benchmarks, not universal clearance numbers. Subfloor moisture testing and installation guidance
A quick reference helps keep the testing straight.
| Material | Test Method | Acceptable Reading | What It Means |
|---|---|---|---|
| Concrete subfloor | Calcium-chloride test | 3.0 lb per 1,000 sq. ft. per 24 hours | Installation benchmark for moisture vapor emission |
| Wood or plywood subfloor | Tramex-type meter | 14% | Installation benchmark for wood moisture reading |
If the area was clean water, small, and addressed fast, DIY drying can make sense. If the floor stayed wet longer than 48 hours, if moisture readings stay high, or if the water was contaminated, the job should move beyond household tools. EPA 24 to 48 hour drying guidance
How to dry wet drywall is relevant here because the same rule applies in floors and walls, remove moisture from hidden materials, not just the surface.
Repair or Replace How to Decide
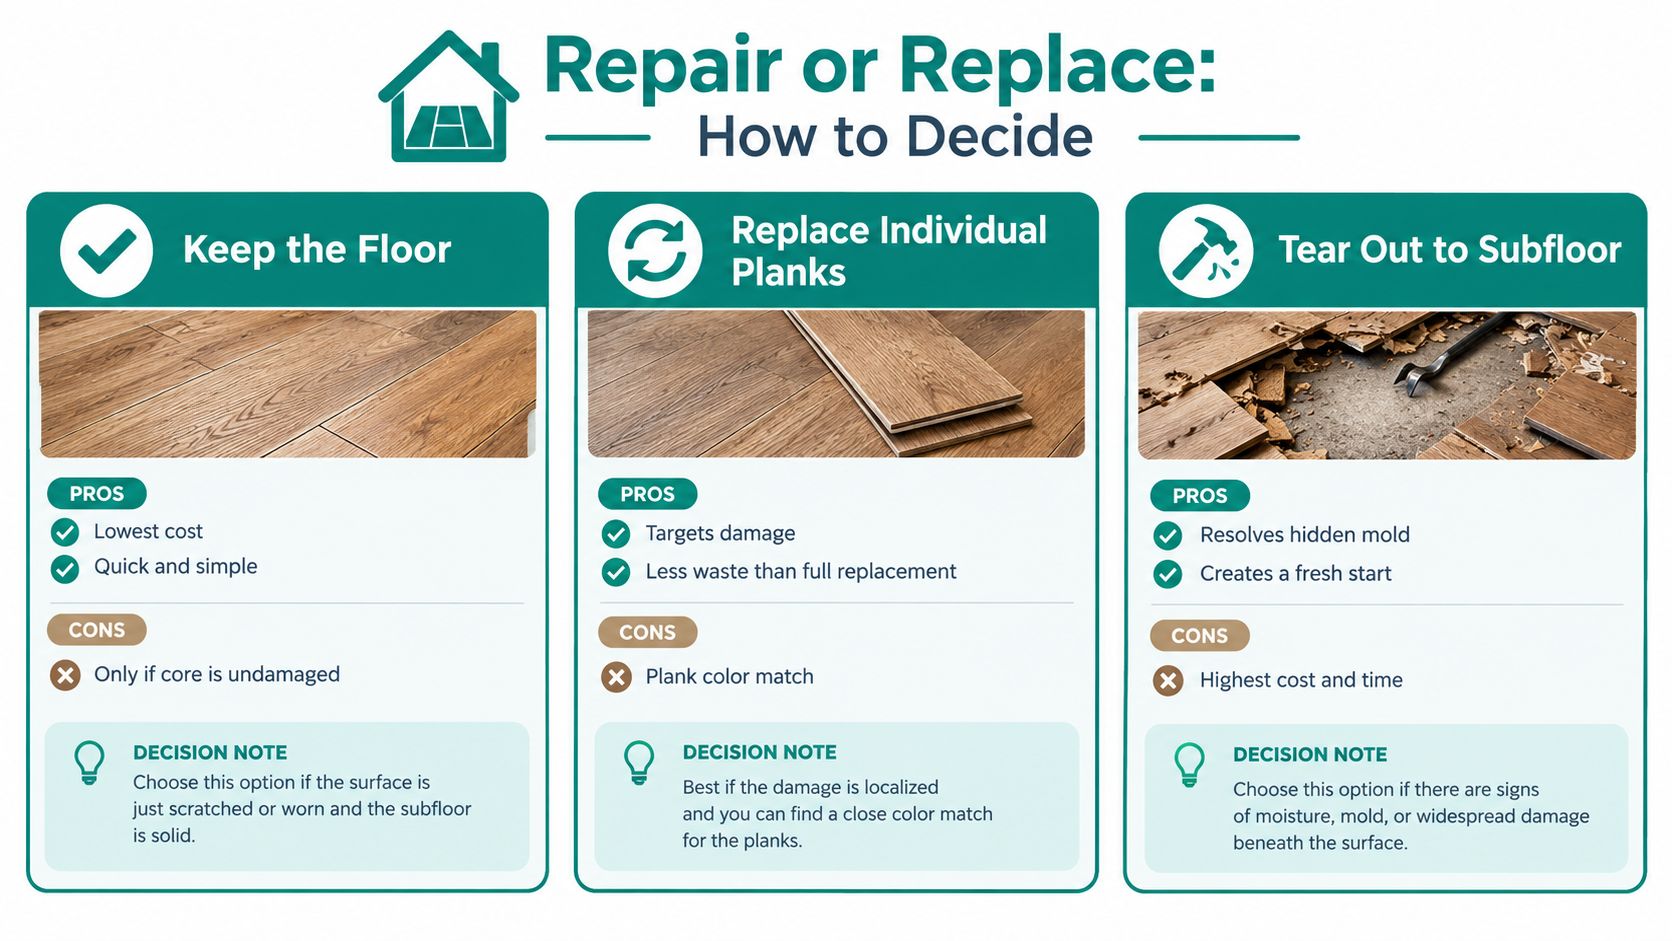
The wrong instinct is to swap only the visibly ugly boards and call it done. A swollen plank often no longer locks properly, so reinstalling it can push the failure into the next row. The right decision is based on shape, fit, moisture, and what happened under the floor, not on sentiment.
Keep, repair, or tear out
If the floor dried quickly, the boards stayed flat, the seams still lock, and the subfloor tested dry, keeping the floor in place can be reasonable. That outcome only works when the assembly never lost its shape.
If damage is localized, a few planks may be replaceable. That path makes sense when the surrounding floor is dry, the replacement boards match the locking profile, and the underlayment beneath them isn't compromised.
If the boards are cupped, the seams are separated enough to catch a fingernail, the floor no longer lies flat, or the underlayment stayed wet, the better move is removal to the subfloor. Replacing only the top boards in that situation usually leaves the hidden problem in place.
Watch the warranty language, not the sales language
Many “waterproof” laminate warranties are narrower than homeowners expect. They often protect against promptly cleaned, localized household spills and exclude flooding, leaking pipes, and appliance leaks. Some also require visible damage on at least 2 square inches of each affected plank before coverage applies, which is a fine-print detail that matters when a claim starts. Warranty language on water exposure
Underlayment gets the final vote. If it is wet, compressed, contaminated, or can't dry completely, it comes out before anything new goes down. Putting fresh flooring over compromised underlayment is how a repair turns into a repeat failure.
When to Call a Restoration Professional
DIY ends when the water stopped being simple. Visible mold on the planks, baseboards, or nearby drywall is a hard stop. So is any sewage or floodwater, a wet area that's still damp after 48 hours, or a floor that keeps showing higher readings even after a day of active drying.
Persistent cupping, a buckled subfloor, recurring musty odor, or damp trim after the visible water is gone are also strong reasons to bring in help. Those signs usually mean moisture is still trapped in the assembly, and that's not something a box fan solves.
What a restoration crew does that a homeowner usually can't
A restoration company brings in commercial dehumidifiers, structural drying equipment, moisture detection, and selective demolition to reach the hidden layers. In some cases, the process includes controlled removal of planks or underlayment so the subfloor can dry completely. That's different from what a plumber does, and different again from what a flooring installer handles.
Containment matters once materials are being opened. Pulling baseboards or lifting planks without controlling humidity and air movement can spread dust and spores through the home, which is a bad trade if the area already stayed wet too long. At that point, the job is no longer a simple repair.
For homeowners who need a water-damage path from assessment to help, PostDamage's water-damage restoration resource is the right place to start the handoff.
Documentation, Insurance, and Preventing It Next Time
The claim file should tell the story clearly. Photograph the source, the affected transitions, the baseboards, adjacent rooms, and any removed planks. Keep a small sample of damaged material in a bag, and hold onto the original product label or installation guide in case warranty language becomes part of the conversation.
On the insurance call, keep the language simple and factual. Say what happened, when it started, when it was stopped, and whether the water was sudden and accidental or came from a longer leak. Standard homeowners policies usually handle sudden plumbing failures better than gradual leaks or floodwater, so the first report should be accurate from the start.
Prevention is mostly about access and maintenance. Know where the shut-offs are for sinks, the dishwasher, and the fridge. Replace washing-machine hoses every five years, use trays under water heaters and washing machines, and keep indoor relative humidity in the 30% to 50% range. Choosing the right underlayment for the subfloor matters too, because the cheapest option is rarely the one that handles moisture best.
Water under laminate flooring is rarely just a surface problem. The decision that matters lives underneath, where moisture either dries out cleanly or keeps spreading in hidden layers. If the floor is still wet, smells off, or no longer lies flat, the next step is to document it, dry it correctly, and call for help before the damage gets locked into place.
If the floor is still damp or the seams are already lifting, PostDamage can help narrow the next step and connect the problem to the right kind of water-damage help. Visit PostDamage to review your situation and move from guesswork to a clear action plan.