Success with water-damaged kitchen cabinets depends on the cabinet's moisture state within 24 to 48 hours of exposure. Firm bases can recover, while spongy or swollen bases usually won't, and moisture readings matter more than appearance alone.
A slow leak under the sink often looks harmless at first. A few drops collect on the cabinet floor, the homeowner wipes them away, and the doors still open normally. The trouble may already be inside the toe kick, behind the back panel, or within the particleboard core, where trapped moisture can continue weakening the cabinet after the visible water is gone.
The right response is to stop the leak, remove water, dry the hidden spaces, and measure before deciding whether to repair or replace. Cosmetic work started too early can seal in moisture and turn a manageable cabinet repair into a structural replacement.
Understanding Hidden Water Damage Inside Kitchen Cabinets
A drain connection under the sink can drip for weeks without producing a dramatic puddle. A dishwasher hose can release water inside the cabinet run, while condensation around an ice maker can dampen the back and bottom edges. In each case, the cabinet exterior may look acceptable even as moisture moves into seams and absorbent cores.
Kitchens are especially vulnerable because plumbing, appliances, flooring, and enclosed cabinetry meet in a small area. In Sweden, kitchens were identified as the origin of 33% of all water damage incidents in a 2022 report from Vattenskadecentrum, a finding discussed by this report on kitchen water losses. Cabinets under sinks and beside dishwashers are frequent trouble spots because low-volume leaks can remain hidden before the base visibly fails.
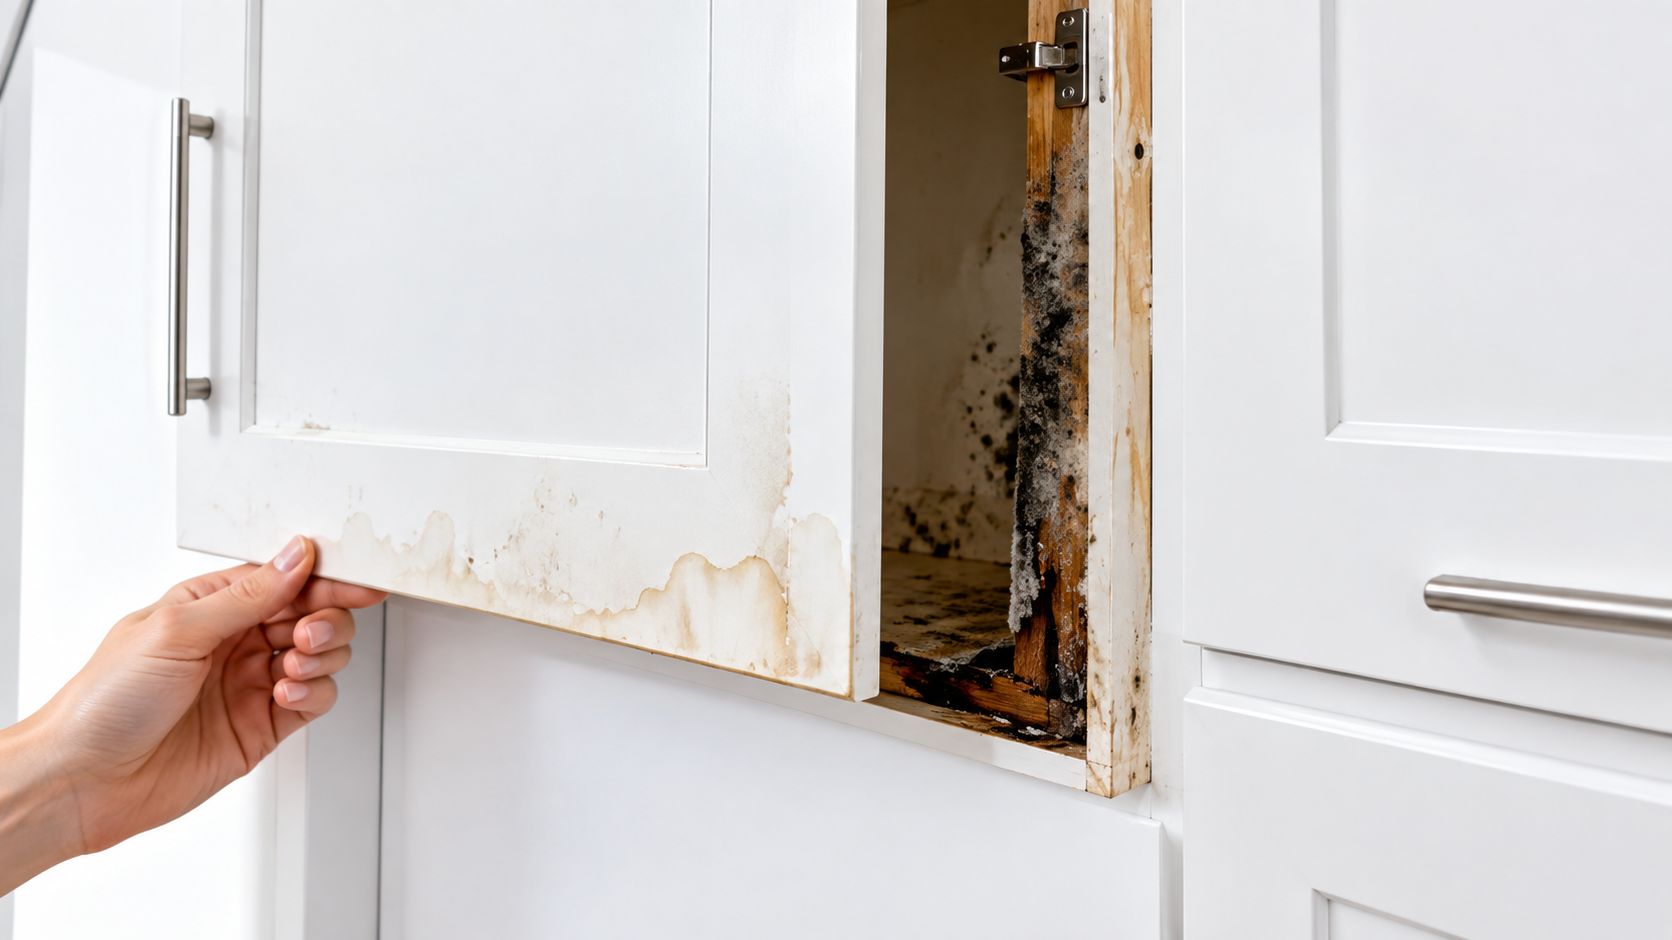
Why the surface can mislead
Particleboard absorbs water into its core. A laminated or faced surface may slow visible deterioration, but it can also conceal swelling underneath. The toe kick can hide water against the subfloor, and the cabinet back can stay damp even when the interior shelf feels dry.
A controlled cabinet-leak study found that faced and unfaced particleboard cabinet bases exposed to 200 milliliters of water per day needed at least 64 days to collapse. Faced versions in similar conditions didn't collapse even after 88 and 152 days, although they drooped. The study also found that high humidity above 90% alone didn't make a faced interior cabinet base sag after 150 days. These findings, documented in the cabinet water-duration study, show why visible failure can lag far behind exposure.
The practical lesson is simple: delayed collapse doesn't prove that damage is minor. It means the cabinet may still be in the hidden progression stage.
Practical rule: A dry-looking cabinet floor isn't proof that the cabinet box is dry. The toe kick, underside, back, and particleboard core need separate attention.
Homeowners can document the suspected source and arrange a water leak inspection when moisture may have traveled beyond the cabinet. That matters when staining extends into drywall, flooring, or adjacent wall cavities.
Assessing Cabinet Water Damage Correctly
Assessment should begin with structure, not appearance. Empty the cabinet and inspect the floor, corners, shelf supports, back panel, toe kick, and areas around plumbing penetrations. Press gently on suspicious sections, but don't keep probing a weakened particleboard edge until it crumbles.
Look for these signs:
- Swelling: Raised edges, swollen seams, or a cabinet floor that no longer sits flat indicate absorption into the core.
- Softness: A spongy base or crumbling edge is more serious than surface discoloration.
- Delamination: Peeling laminate or veneer suggests that the bond between the finish and substrate has failed.
- Movement: Loose joints, bowed panels, and altered door or drawer alignment can indicate box distortion.
- Hidden dampness: Toe kicks, backs, and undersides often retain water after exposed surfaces feel dry.
A professional water-damage inspection can map those concealed areas, but a homeowner can still make a useful preliminary assessment with a suitable moisture meter and careful visual inspection.
Use moisture readings to classify the risk
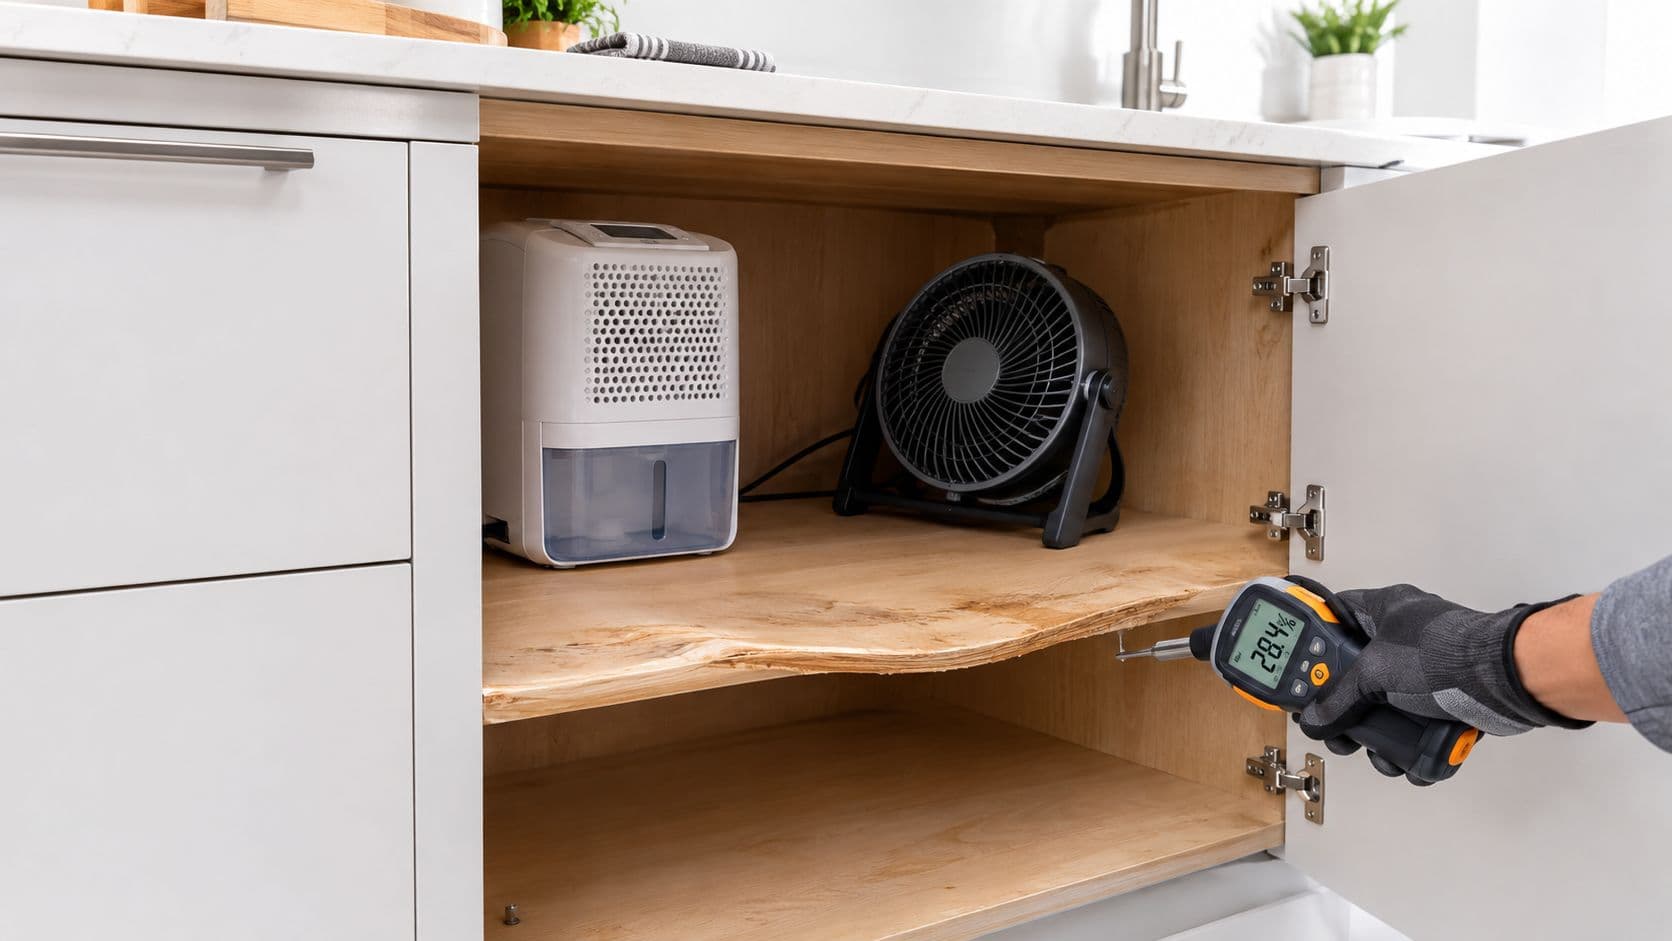
Moisture measurement is more dependable than color, smell, or touch. Restoration guidance recommends wood below 12% moisture content before sanding or refinishing, while readings above 15% indicate mold and structural risk, as explained in this cabinet restoration guidance.
Those figures support a practical classification:
| Moisture and condition | What it suggests | Sensible response |
|---|---|---|
| Below 12%, firm box, minor finish damage | Drying is approaching a suitable repair state | Continue evaluating finish, veneer, and joints |
| Between 12% and 15%, limited swelling | Moisture remains elevated | Continue controlled drying and recheck |
| Above 15%, soft or swollen particleboard | Structural and microbial risk is elevated | Obtain professional assessment before cosmetic work |
| Dry surface with hidden dampness | The cabinet may still be compromised | Measure toe kicks, backs, undersides, and adjacent materials |
Separate cosmetic damage from structural damage
A scratched finish, lifted veneer, or isolated swollen shelf can often be repaired. A cabinet box with widespread softness, crumbling edges, or severe warping is a different problem because the substrate no longer provides dependable support.
Door and drawer operation also provides useful evidence. If alignment remains normal and the box feels rigid, component repair may be realistic. If doors bind, drawers rack, or fasteners pull out of softened material, replacement becomes more likely.
Drying and Temporary Fixes for Water-Damaged Cabinets
A cabinet can feel dry at the surface while water remains trapped behind the toe kick, beneath the cabinet floor, or inside joints and end panels. Drying starts with source control. Stop the leak first, then remove contents, drawers, and loose shelves. Before drying begins, follow a structured water clean-up process to remove standing water safely.
The U.S. EPA advises drying wet or damp materials within 24 to 48 hours when possible to reduce the likelihood of mold growth, a timeframe summarized in this cabinet drying resource. This window does not confirm that a cabinet can be saved. It gives sound materials more time to dry before swelling, delamination, and fastener failure progress.
A controlled drying sequence
- Stop the moisture source. Shut off the relevant supply and complete plumbing repairs before permanent cabinet work.
- Empty the cabinet completely. Remove stored items and anything else that can retain moisture.
- Remove standing water. Blot or extract water from the cabinet floor, toe kick, underside, and nearby seams.
- Expose concealed areas. Open doors, remove drawers, and remove a toe kick when it blocks access to the void beneath the box.
- Create directed airflow. Position air movement toward the cabinet interior, joints, and enclosed cavities rather than merely across the room.
- Control humidity and measure repeatedly. Dehumidification helps remove moisture released from enclosed materials. Refinishing should wait until wood measures below 12% moisture content, according to restoration guidance for water-damaged cabinets.
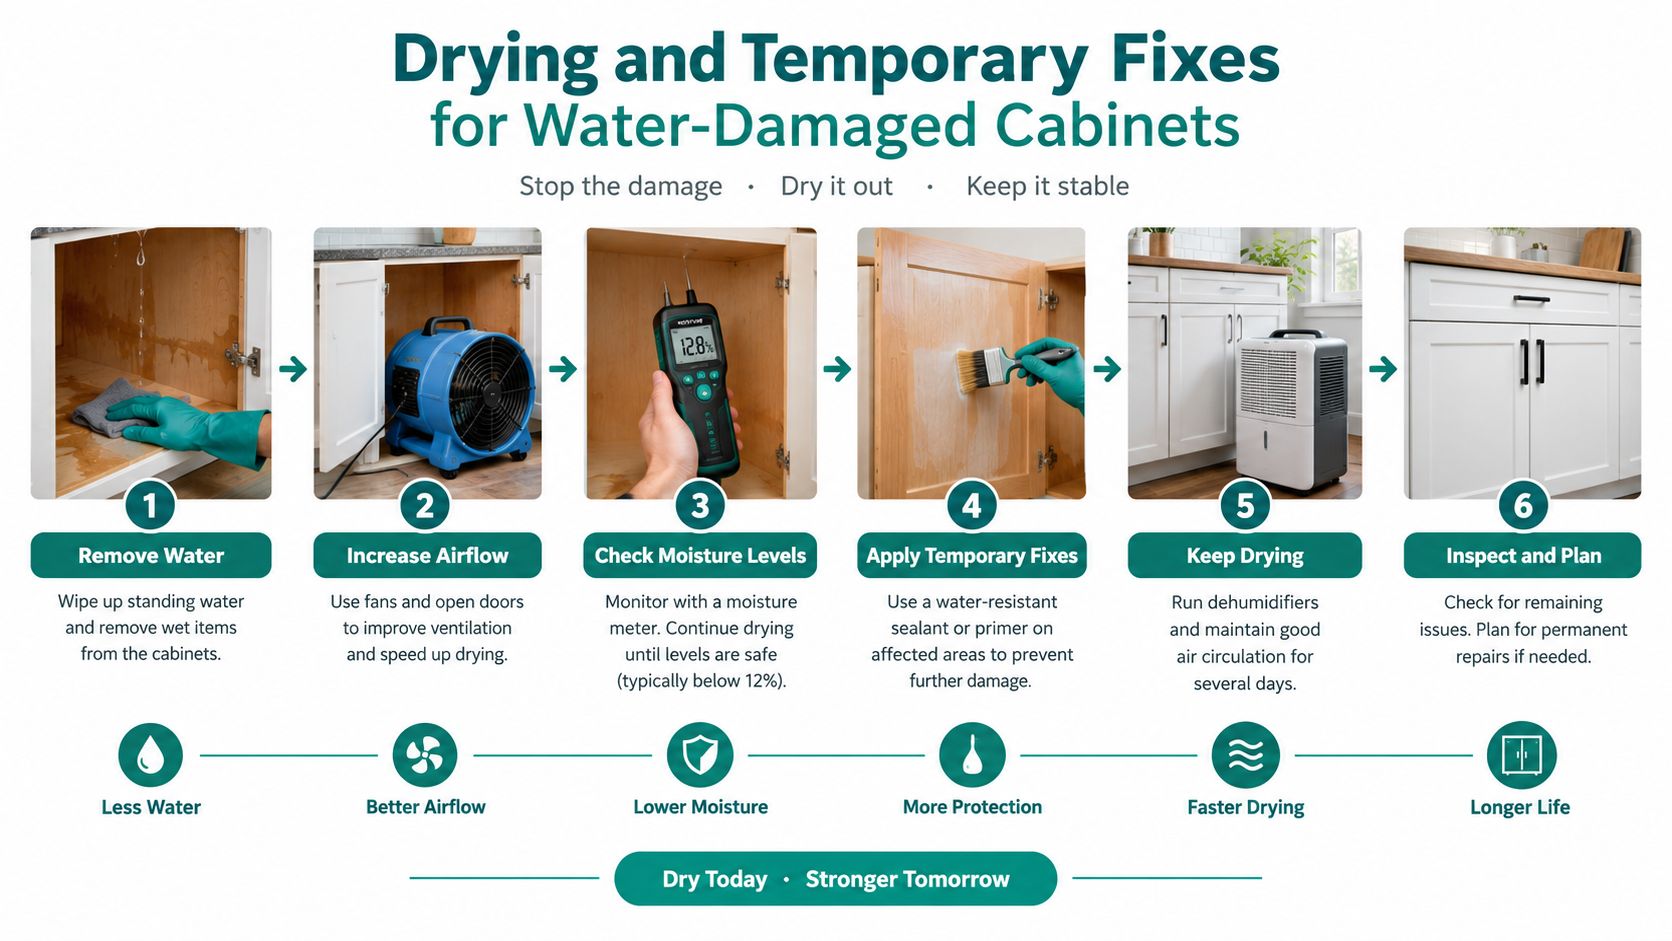
A sealed cabinet box may need controlled access openings to direct air into trapped spaces. Use that approach carefully. Unnecessary drilling or panel removal can create reconstruction work, and aggressive airflow can spread contaminated water into clean areas.
Temporary measures that help
Prop swollen doors gently so they do not remain pressed against damp frames. Remove drawers before swelling makes them bind, and do not force tight hardware. Keep fans moving air steadily without overheating finishes.
Thicker plywood or particleboard cabinets may take 7 to 14 days to reach below 12% moisture content, according to the restoration guidance cited above. Treat that period as a benchmark, not a completion date. Check readings at the toe kick, backs, undersides, joints, and adjacent materials, then assess firmness before sanding or refinishing.
Starting cosmetic repairs while the core remains damp is a costly timing mistake. Paint, filler, and new veneer can conceal continuing moisture while structural damage and mold risk remain inside the cabinet. Document readings, photographs, removed components, and drying dates before deciding whether to repair or replace affected sections.
Repair Versus Replacement Decision Framework
Repair makes sense when the cabinet box remains structurally sound and the damage is confined to removable or refinishable parts. Replacement makes sense when the substrate has lost its strength, the cabinet has distorted, or the same leak pattern is likely to recur.
The best decisions account for three factors: what got wet, how it absorbed water, and whether the source can be controlled. A solid face frame may survive conditions that destroy an absorbent particleboard base. A replaceable toe kick may be damaged while the box behind it remains serviceable.
| Condition | Typical outcome | Recommended action |
|---|---|---|
| Minor finish damage on a firm cabinet | Surface can often be restored | Dry fully, then sand or refinish |
| Peeling veneer with a sound substrate | Localized repair may hold | Re-glue or replace the affected veneer |
| Swollen shelf or back panel | Component may be replaceable | Replace the isolated panel rather than the full box |
| Damaged toe kick with a rigid cabinet box | Cabinet may remain usable | Remove and replace the toe kick after drying |
| Limited loose joints with no widespread softness | Reinforcement may be practical | Re-glue or reinforce after moisture is controlled |
| Saturated particleboard core | Structural strength is unreliable | Replace the affected component or cabinet |
| Widespread softness or crumbling | Patching is unlikely to last | Replace compromised sections |
| Severe warping and poor door alignment | Box geometry has failed | Plan for cabinet replacement |
| Repeated under-sink leaks | New damage is likely to recur | Correct the source before restoring or replacing |
What commonly survives
Hardwood doors and face frames often remain usable when the exposure is limited and drying begins promptly. A cabinet box can also be retained when its joints remain tight, its panels stay firm, and moisture readings return to an appropriate level.
Isolated damage deserves an isolated solution. Replacing one shelf, back panel, or toe kick can preserve a sound cabinet run and avoid unnecessary removal. Re-gluing lifted veneer can work when the substrate beneath it hasn't swollen or broken apart.
What usually fails
Saturated particleboard is the difficult case. It may look merely swollen at first, but the fibers can lose compression strength and crumble around screws, staples, and joints. Filler can improve the appearance temporarily without restoring the load-bearing capacity.
A repair also fails when the original leak remains unresolved. A new toe kick or freshly refinished panel won't protect the cabinet from another supply-line, drain, or appliance leak. The source has to be controlled before the cabinet work is considered complete.
A firm, dry box with limited finish damage is a repair candidate. A soft, distorted box with recurring exposure is a replacement candidate. That distinction protects against both unnecessary demolition and false optimism.
When to Call Professional Water Damage Restoration
Professional help becomes important when the cabinet's hidden condition can't be established reliably. Persistent sponginess after 24 to 48 hours of drying is a warning sign, especially when swelling or delamination is already visible. A restoration source notes that a base remaining firm after this drying period usually has a better chance of survival, while a base already spongy or swollen is unlikely to recover further, as described in this cabinet restoration assessment.
Situations that exceed a simple cleanup
Call for an assessment when:
- The leak affected concealed cavities. Water under a cabinet bank, behind toe kicks, or inside wall-connected backs can't be judged from the open shelf alone.
- The cabinet box is soft or distorted. Structural failure may extend beyond the visibly damaged panel.
- The water source was uncertain or recurring. Repeated exposure changes the repair decision and can leave adjacent materials wet.
- Drying equipment hasn't resolved the readings. Persistent high moisture levels suggest that airflow isn't reaching the trapped area.
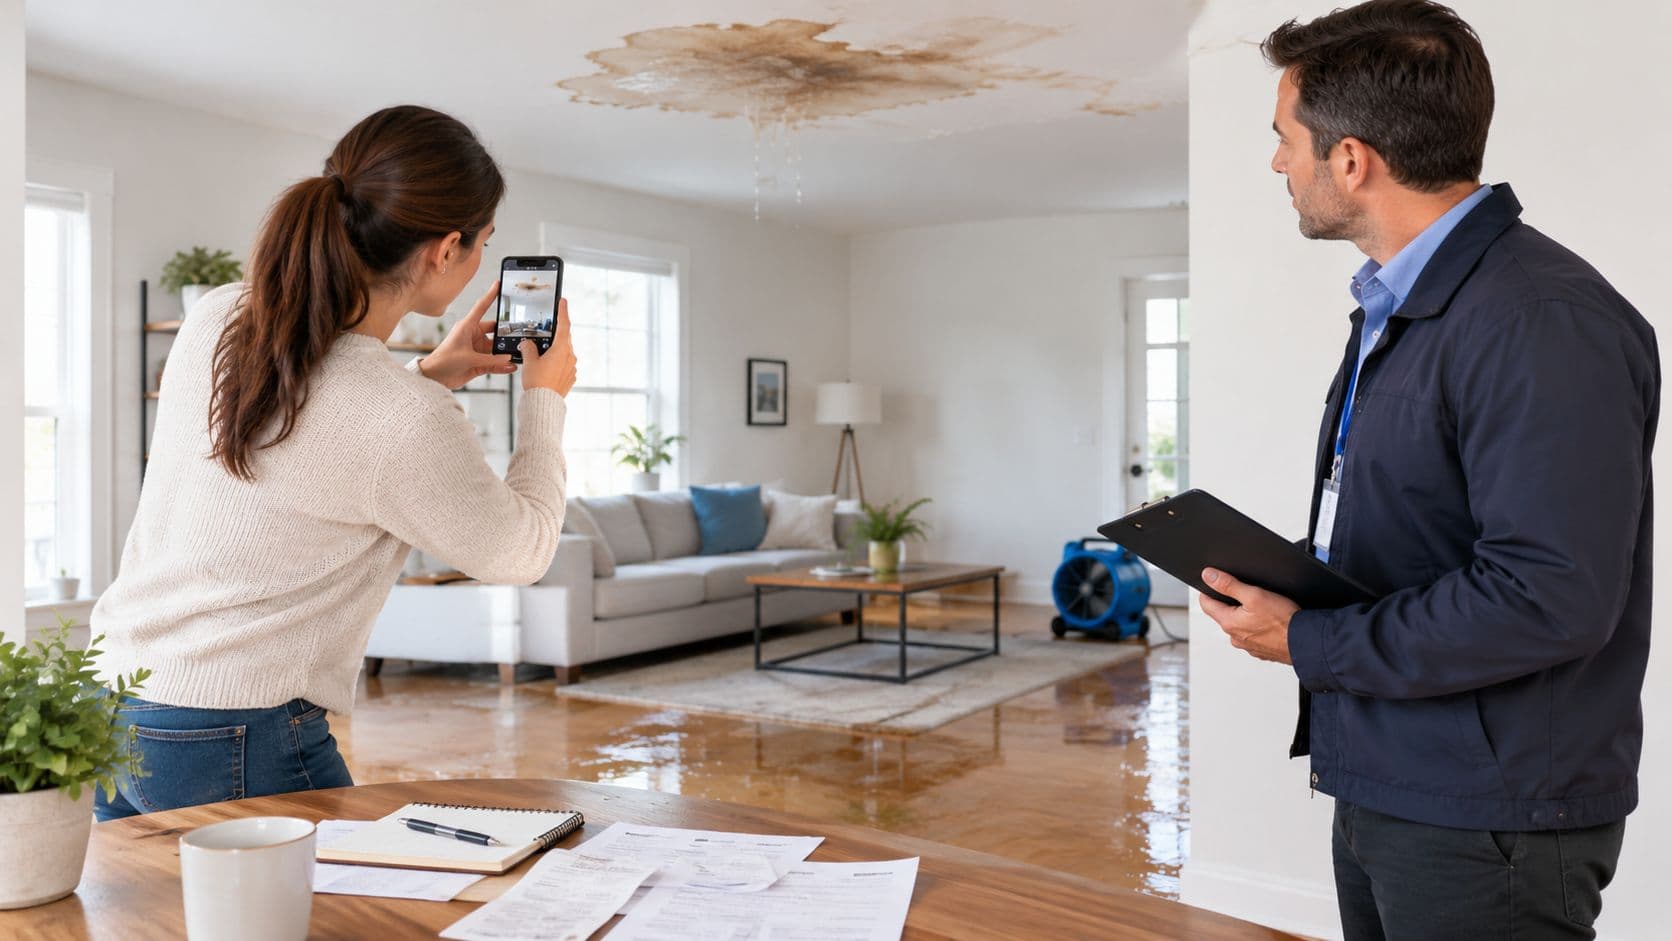
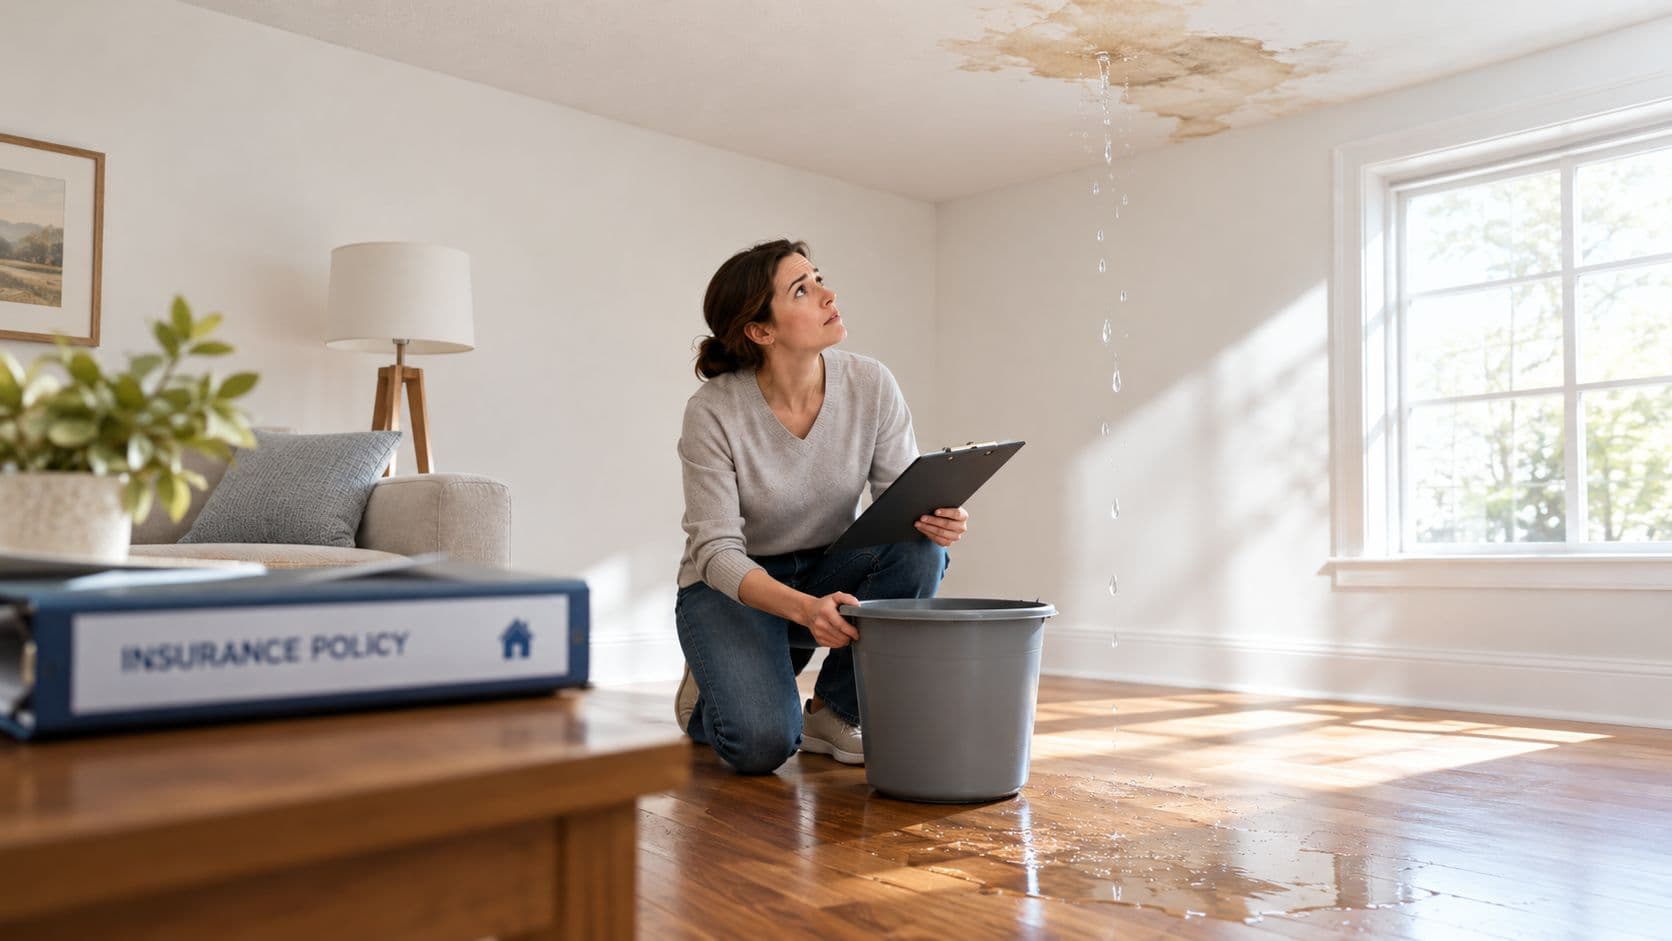
- An insurance claim is possible. Photographs, moisture maps, drying records, and preserved materials can help establish what happened and what work is justified.
Restoration professionals can use moisture mapping, controlled airflow, dehumidification, and documentation to identify wet materials that ordinary room fans won't reach. They can also distinguish cabinet damage from related wet drywall, flooring, subfloor, or wall-cavity damage.
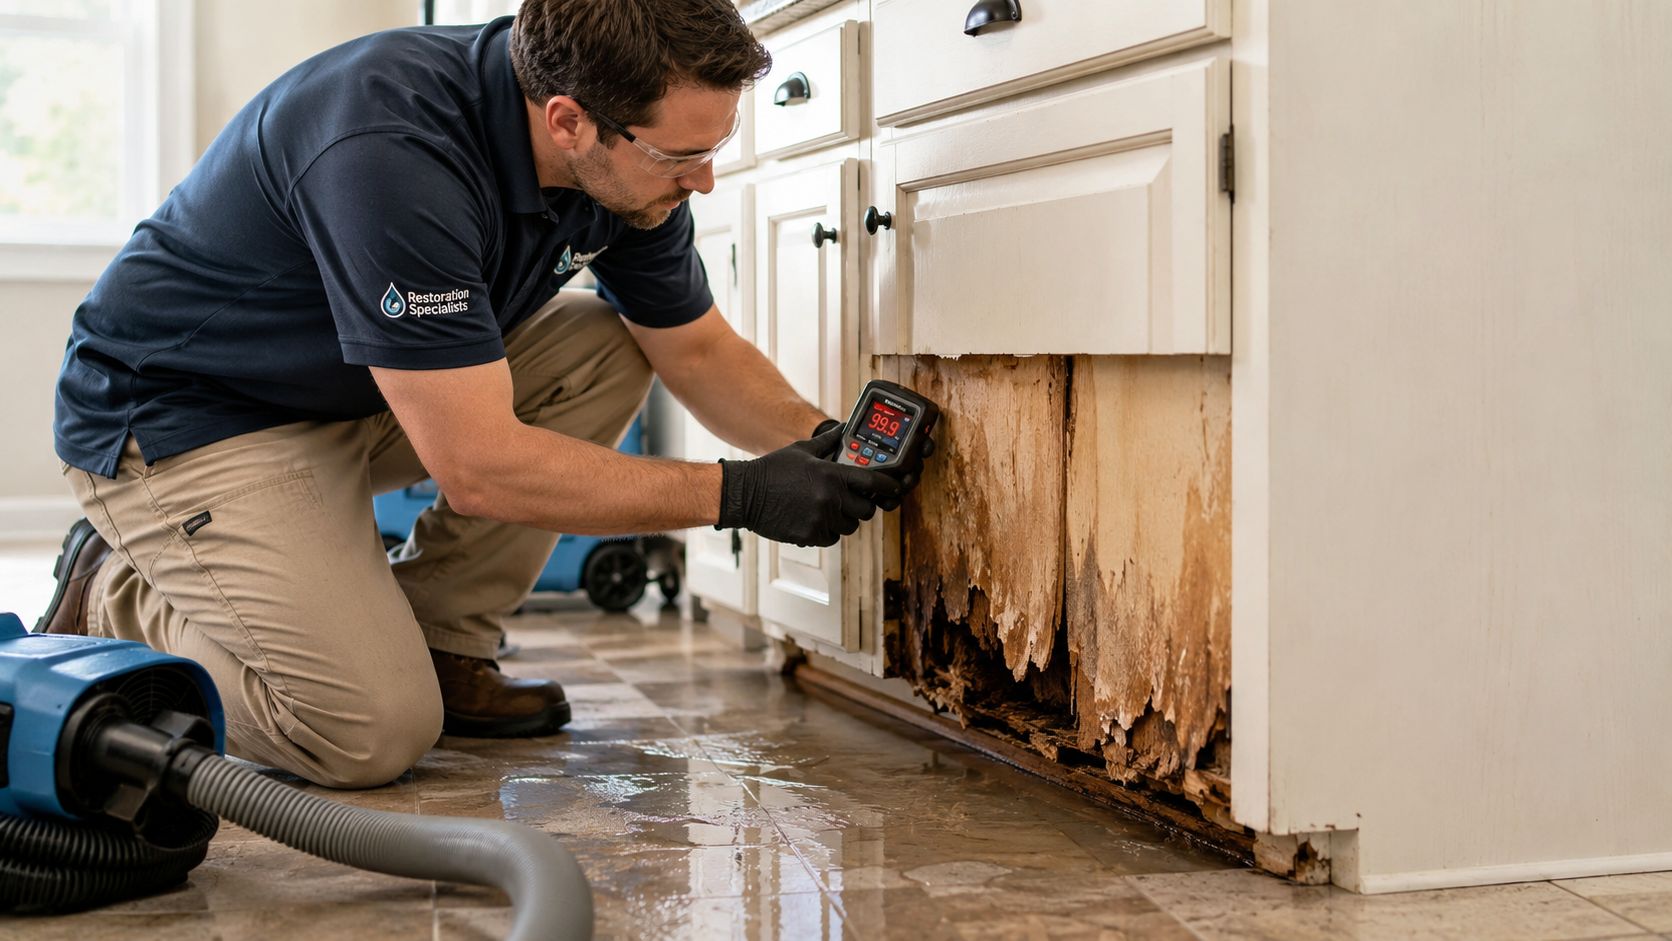
Protect the claim before permanent work
Insurance coverage depends heavily on the cause and timing of the loss. Independent guidance explains that mold and rot are usually excluded unless they result from a covered sudden water event, while gradual leaks or seepage are commonly not covered, as outlined by the Texas Department of Insurance guidance on water damage and mold coverage.
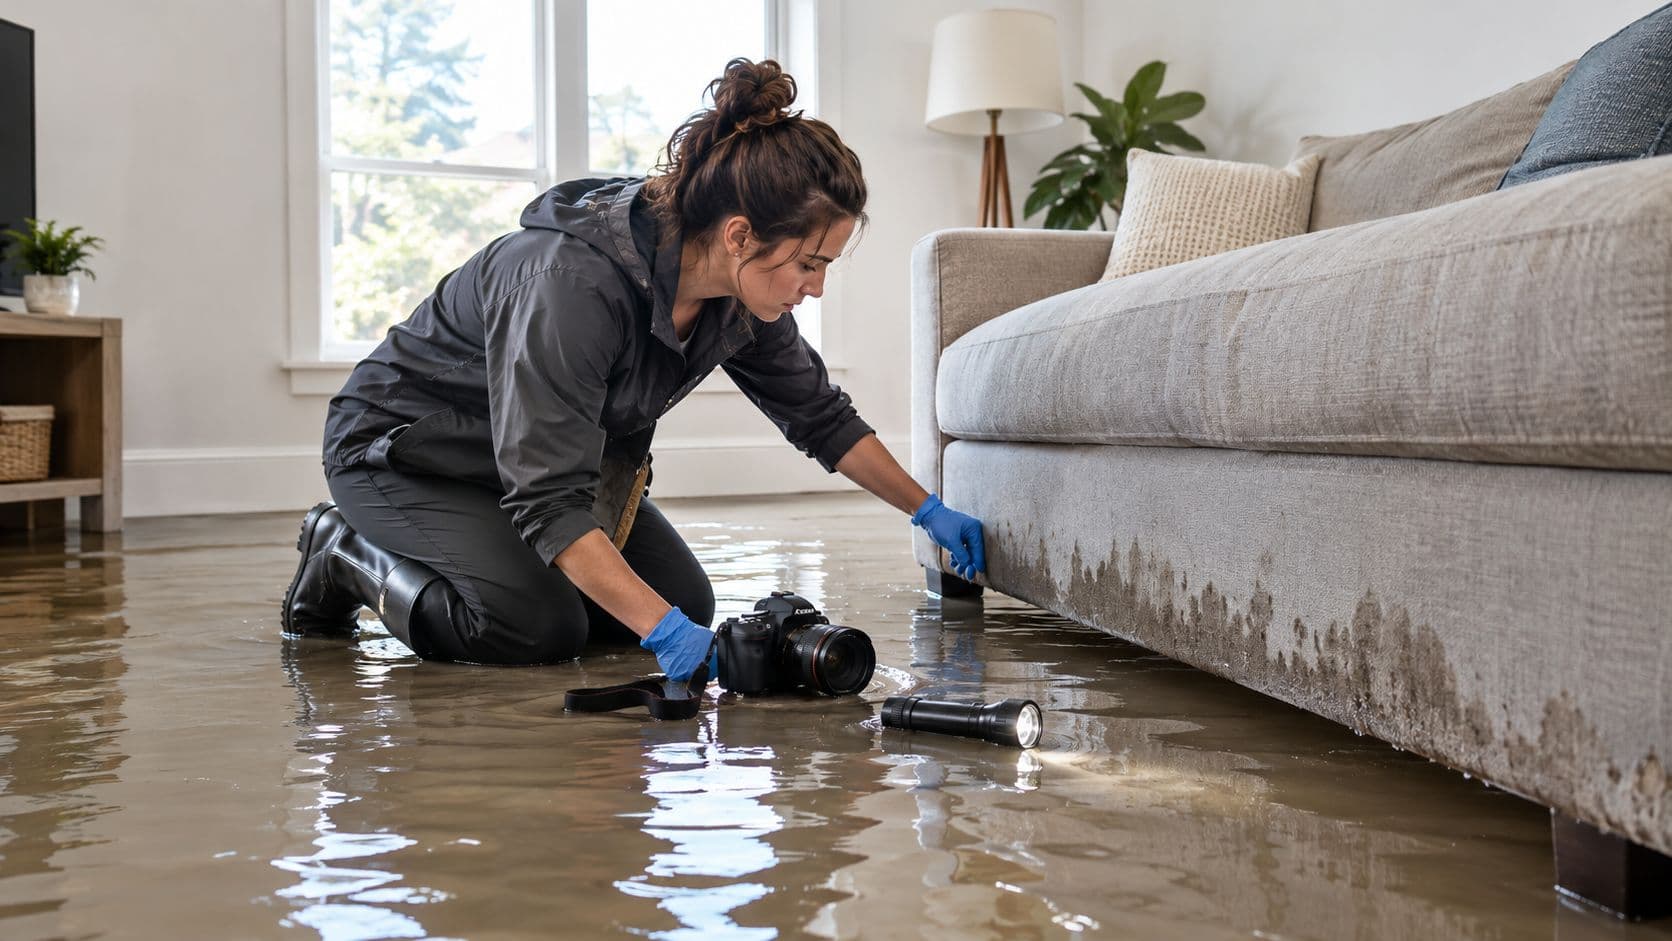
That distinction makes documentation essential. Photograph the source, cabinet interiors, toe kicks, swollen edges, standing water, and surrounding materials before disposal or permanent repairs. Preserve damaged components when safe, keep written notes about discovery and drying, and obtain independent estimates before committing to replacement.
A professional assessment doesn't automatically mean full cabinet replacement. Its value is reducing guesswork when hidden moisture, structural risk, and coverage questions overlap.
Key Takeaways and Next Steps After Cabinet Water Damage
Water damage kitchen cabinets should be treated as a moisture investigation, not a cosmetic project. The visible stain may be limited, while the toe kick, underside, back panel, or particleboard core remains wet.
The immediate priorities are straightforward:
- Control the source: Stop the leak before drying begins.
- Expose the damage: Empty the cabinet, remove standing water, and open drawers or removable panels.
- Dry quickly: Work within the 24 to 48 hour window when possible to reduce mold likelihood, following the EPA guidance cited earlier.
- Measure, don't guess: Below 12% moisture content supports refinishing decisions, while readings above 15% signal increased risk according to the cited restoration guidance.
- Protect evidence: Photograph the condition, preserve damaged materials where practical, and retain estimates and drying records.
- Match the remedy to the structure: Repair sound boxes with isolated finish or panel damage. Replace softened, crumbling, or severely warped components.
- Escalate when needed: Persistent softness, hidden cavities, recurring leaks, or insurance uncertainty justify professional assessment.
A cabinet can look acceptable and still be moving toward failure. Conversely, a stained or peeled panel doesn't automatically require removal of the entire cabinet run. The reliable decision comes from combining moisture readings, structural inspection, drying history, and recurrence risk.
Property owners dealing with uncertain cabinet damage can share the incident details, photographs, and source information with PostDamage to understand the appropriate next step and connect with suitable local water-damage professionals. The platform provides guidance and a single-request referral path, so one request doesn't turn into five sales calls.